

Hello, beautiful day! It's a pleasure to greet you🌞. I hope you are all doing very well, dear and appreciated friends. I warmly welcome you to a new blog where I will be sharing with you the creative process of what we will do here step by step. Feel comfortable and thank you for being here reading this blog.✨💗
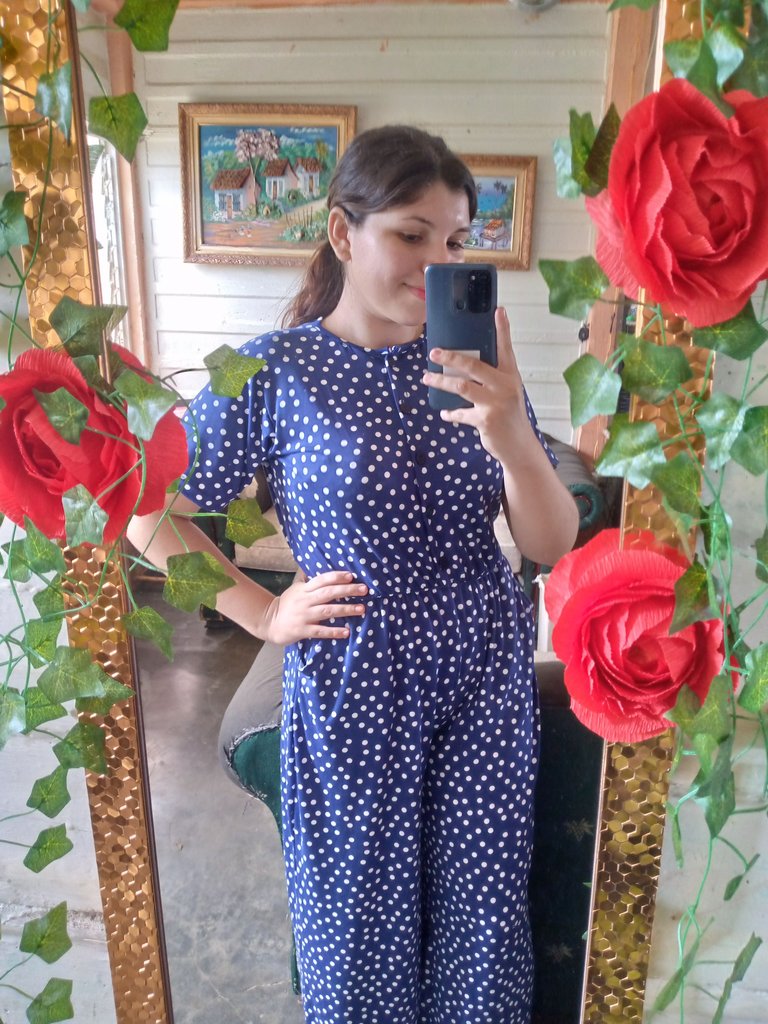
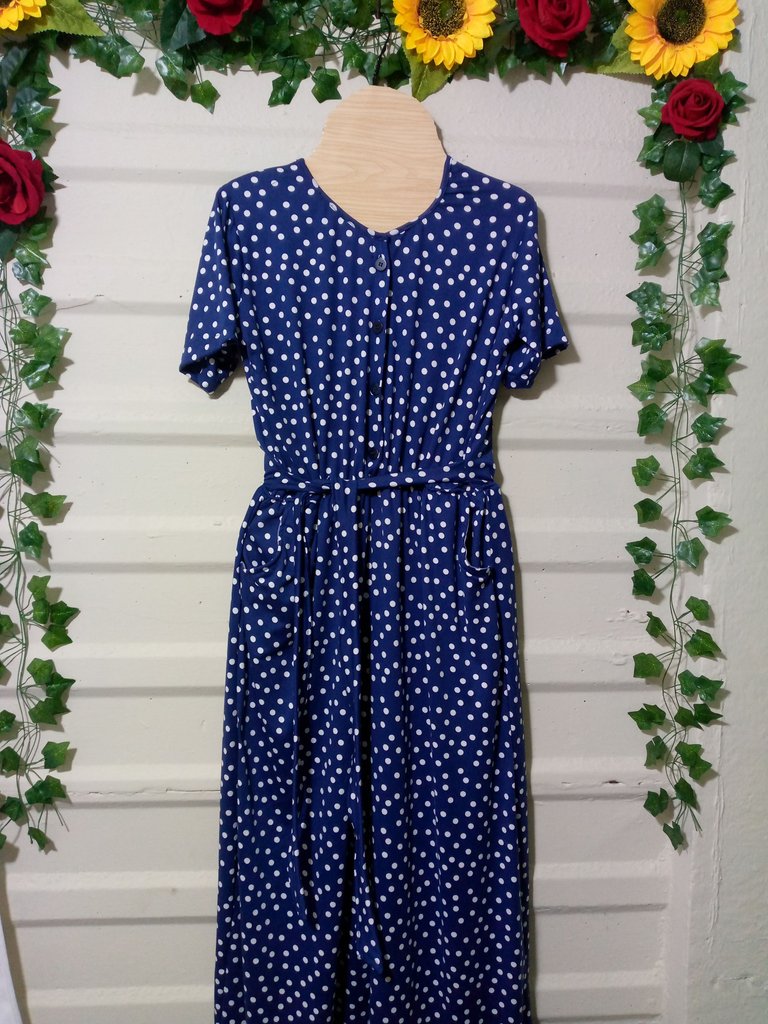
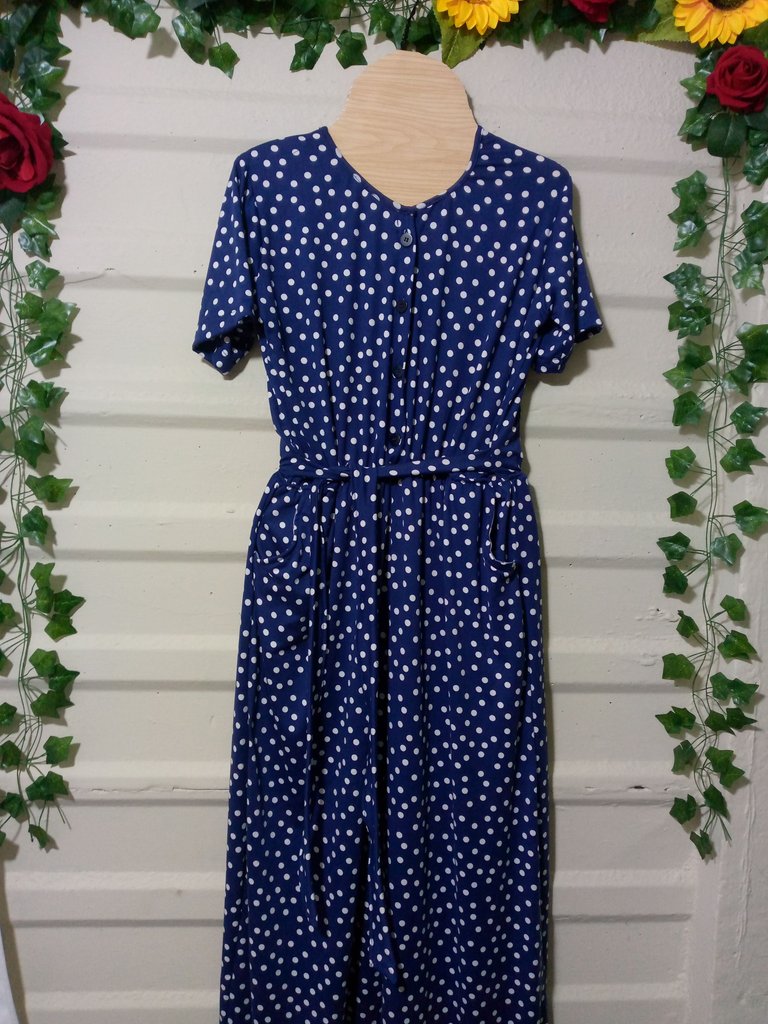
On this occasion I want to show you my loves how to make a one-piece lady's panty to go out, formal, and for meetings, I tell you that because I had never used this type of panties and returning to the subject that they are special for formal meetings because I wanted to do it, I used exactly two meters of fabric for me because I am tall even though I am size M, you can make them according to your size and I feel it is very easy because I have simply cut the front piece of the blouse part and the piece of the pants part and join them, in the front waist part you can make any design you like but the important thing is that you make the neck wide so that the panty can enter the body much more easily 😉, if you would like to appreciate this tutorial you are welcome and feel comfortable.
Materiales:// Materials:
- 2 metros de tela
- Máquina de coser
- Hilo
- Tijeras
- 5 botones medianos
- Patrones o medidas de referencia
- 60 cm de elástico de 2 cm de ancho
- 2 meters of fabric
- Sewing machine
- Thread
- Scissors
- 5 medium buttons
- Patterns or reference measurements
- 60 cm of 2 cm wide elastic
Pasos a seguir://Steps to follow:
Paso 01
Step 01
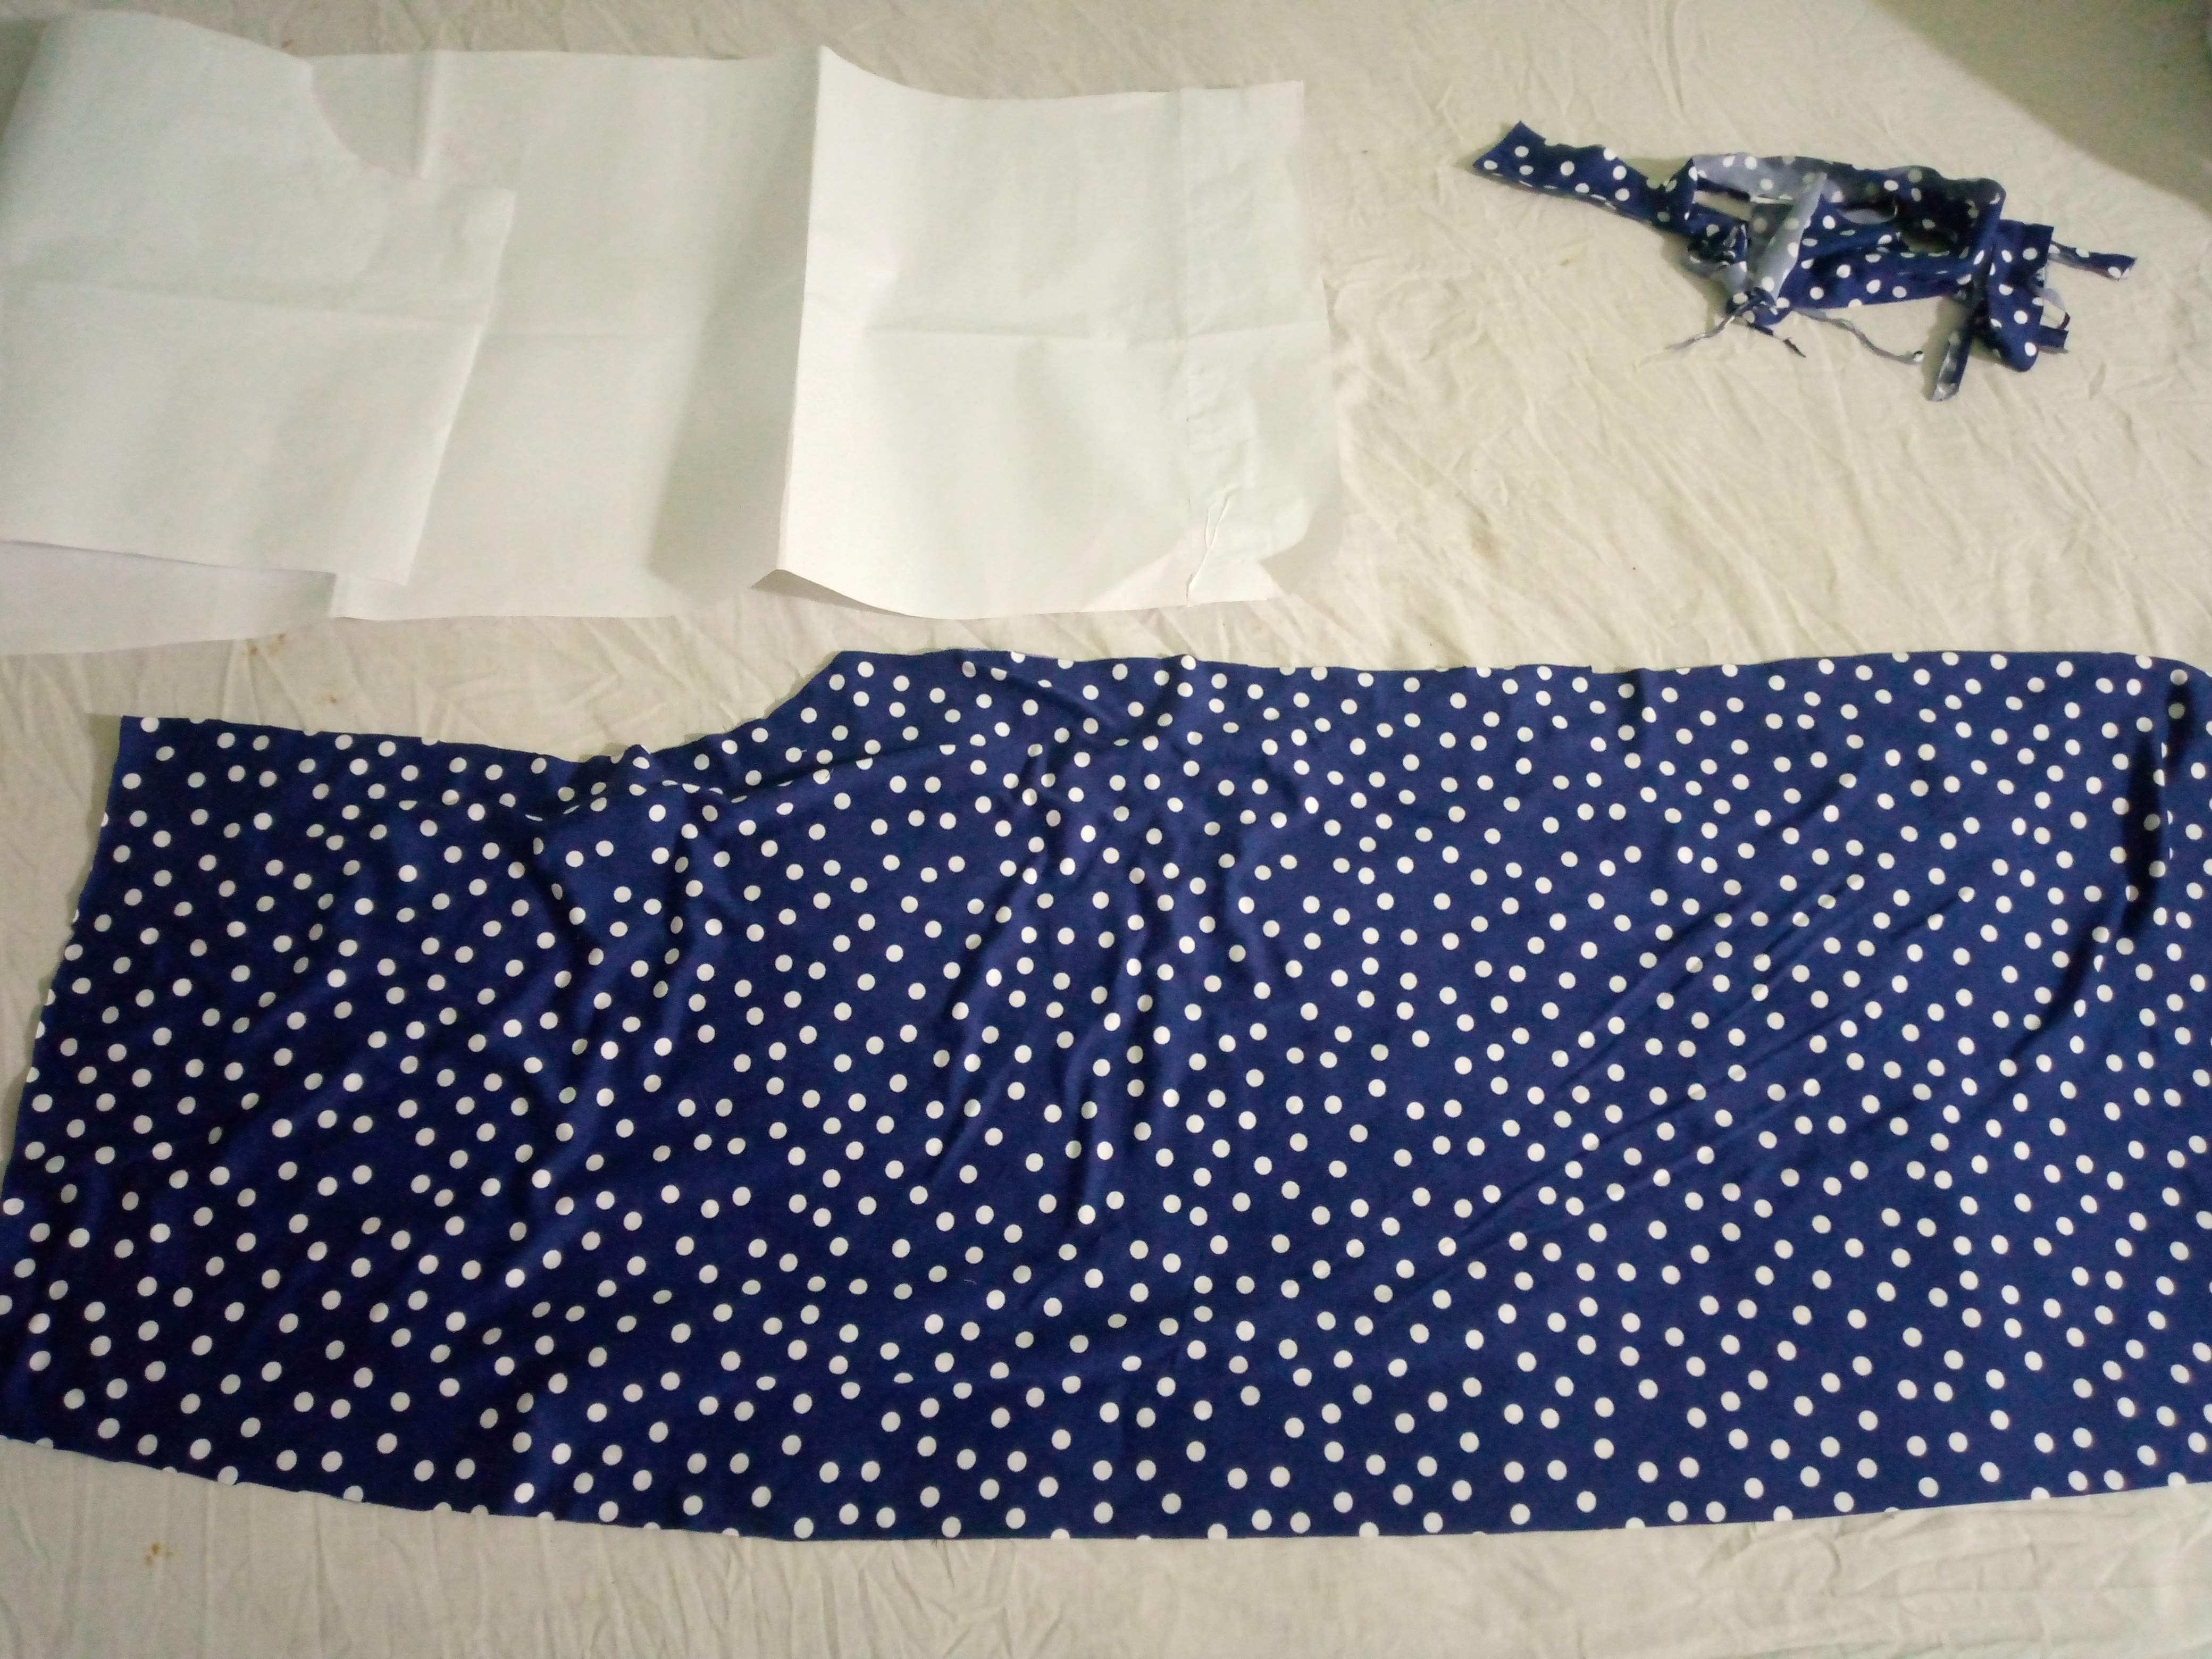
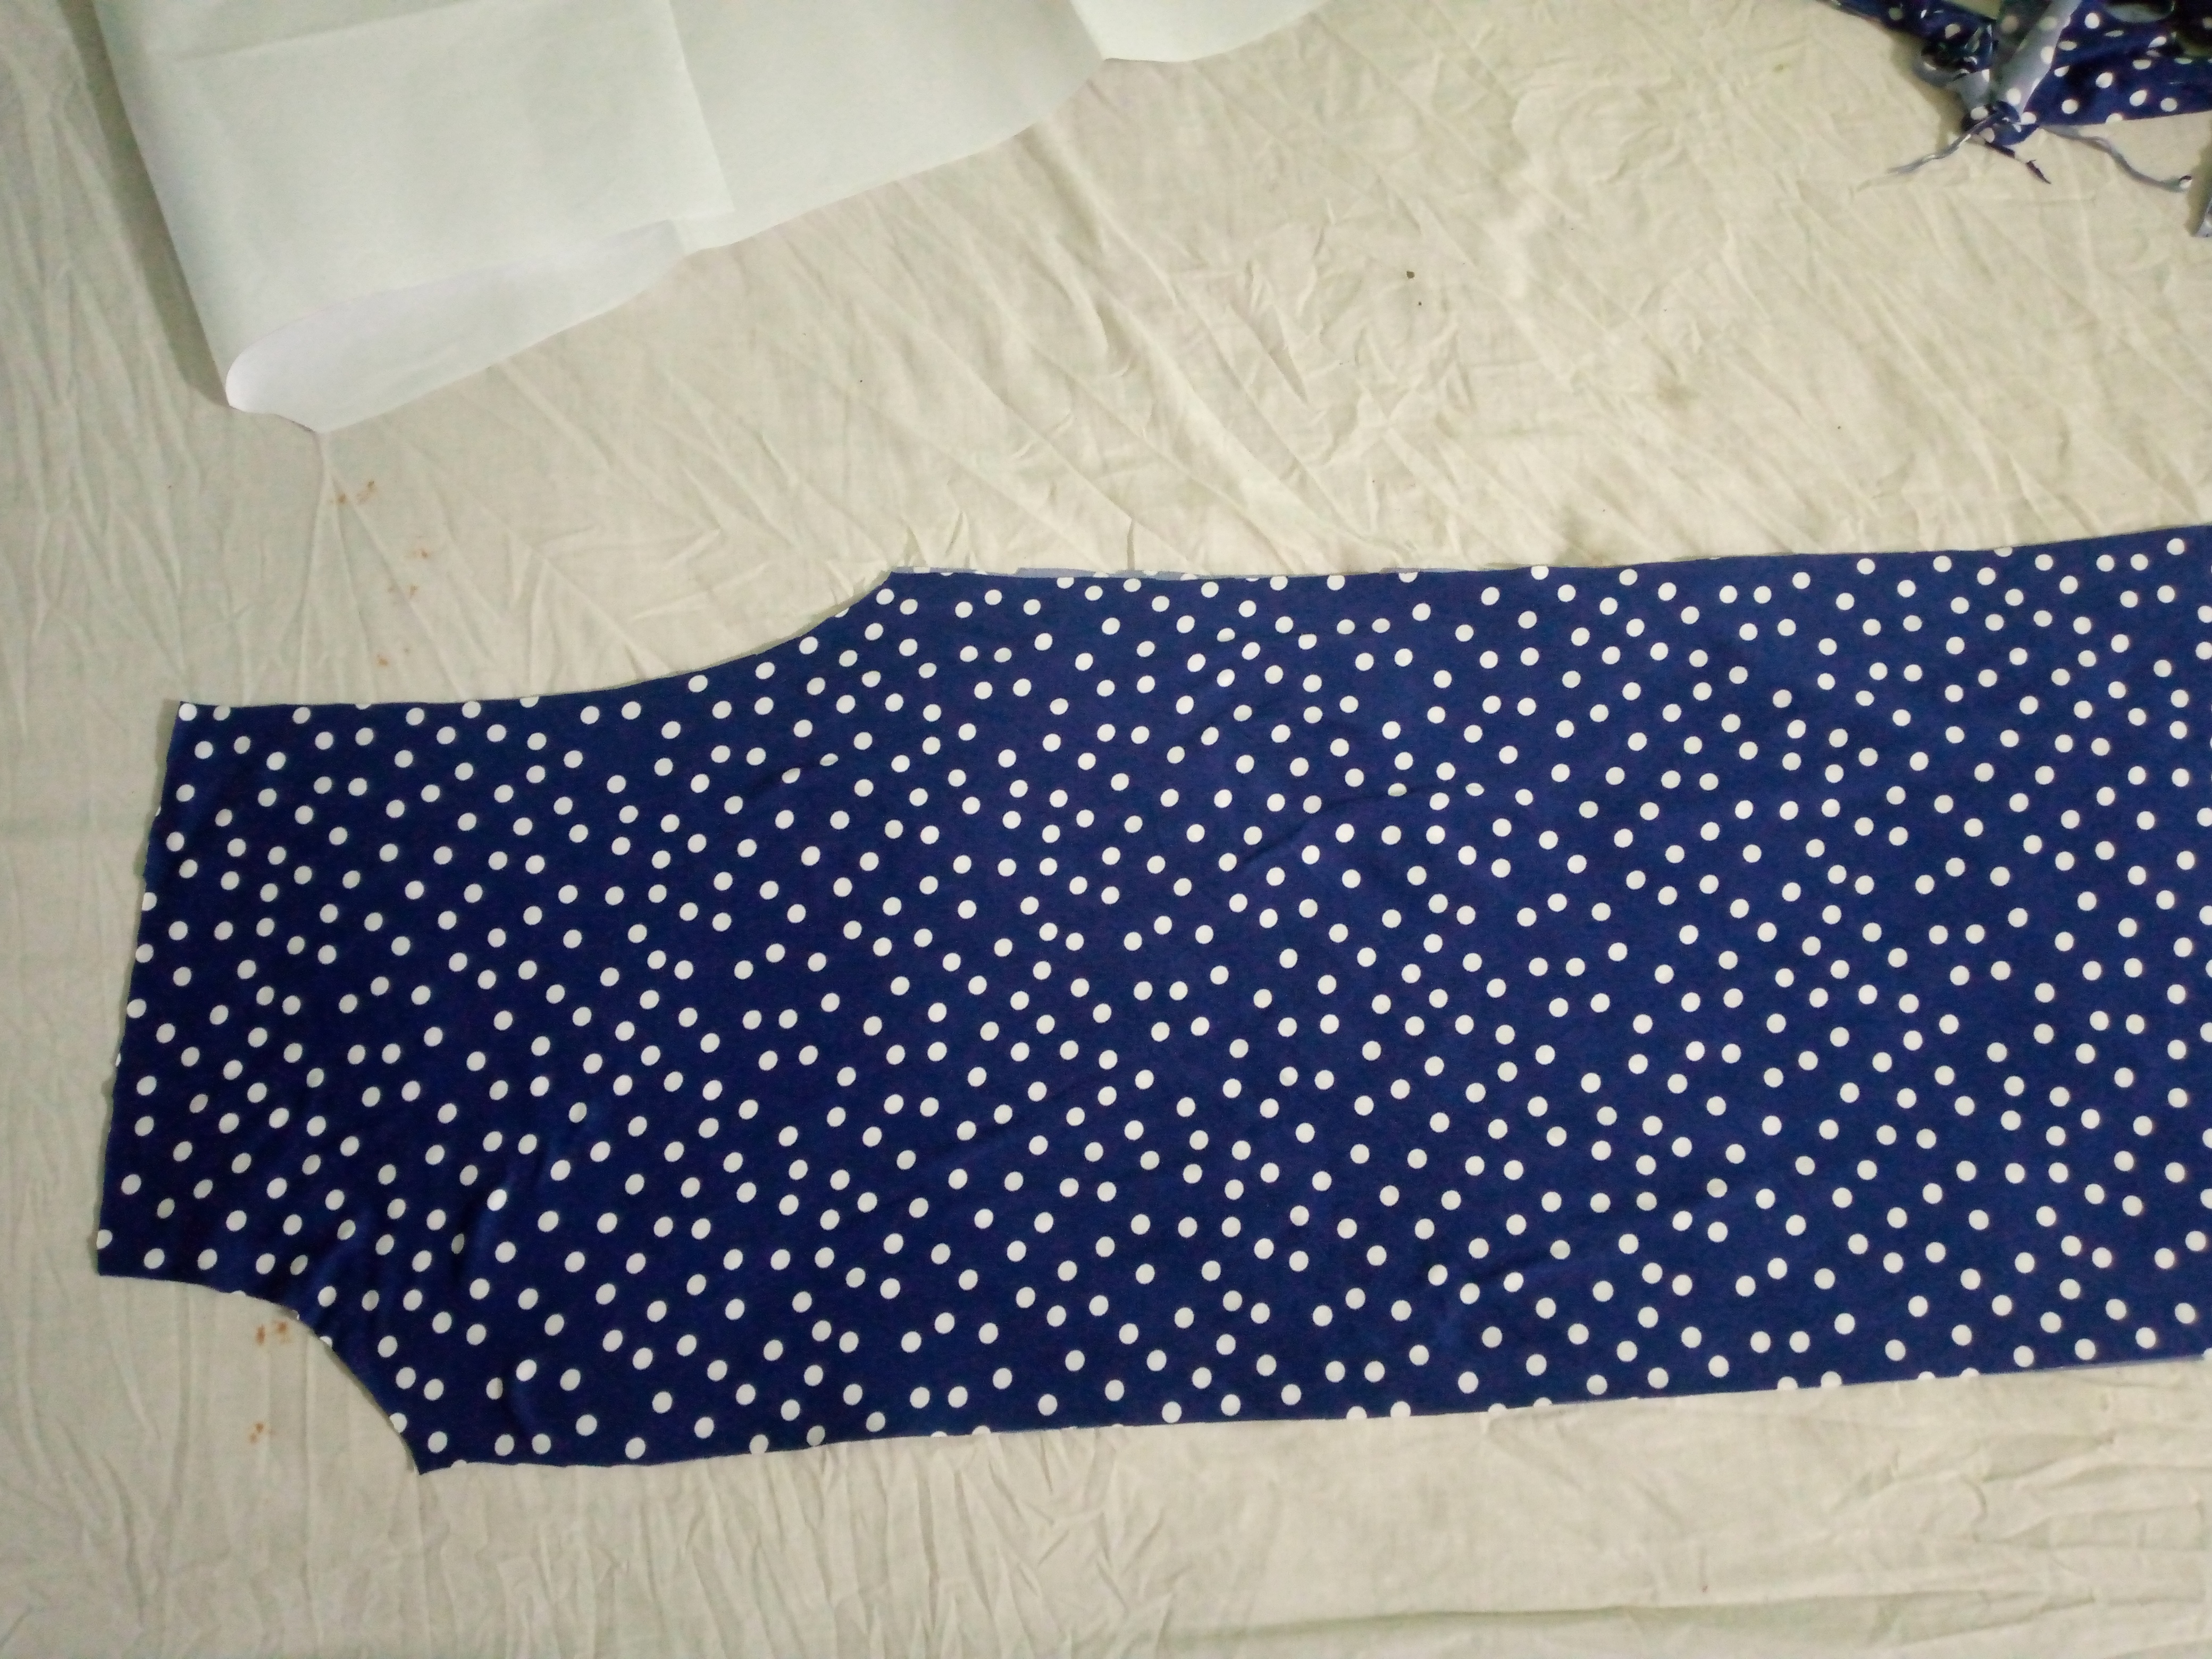
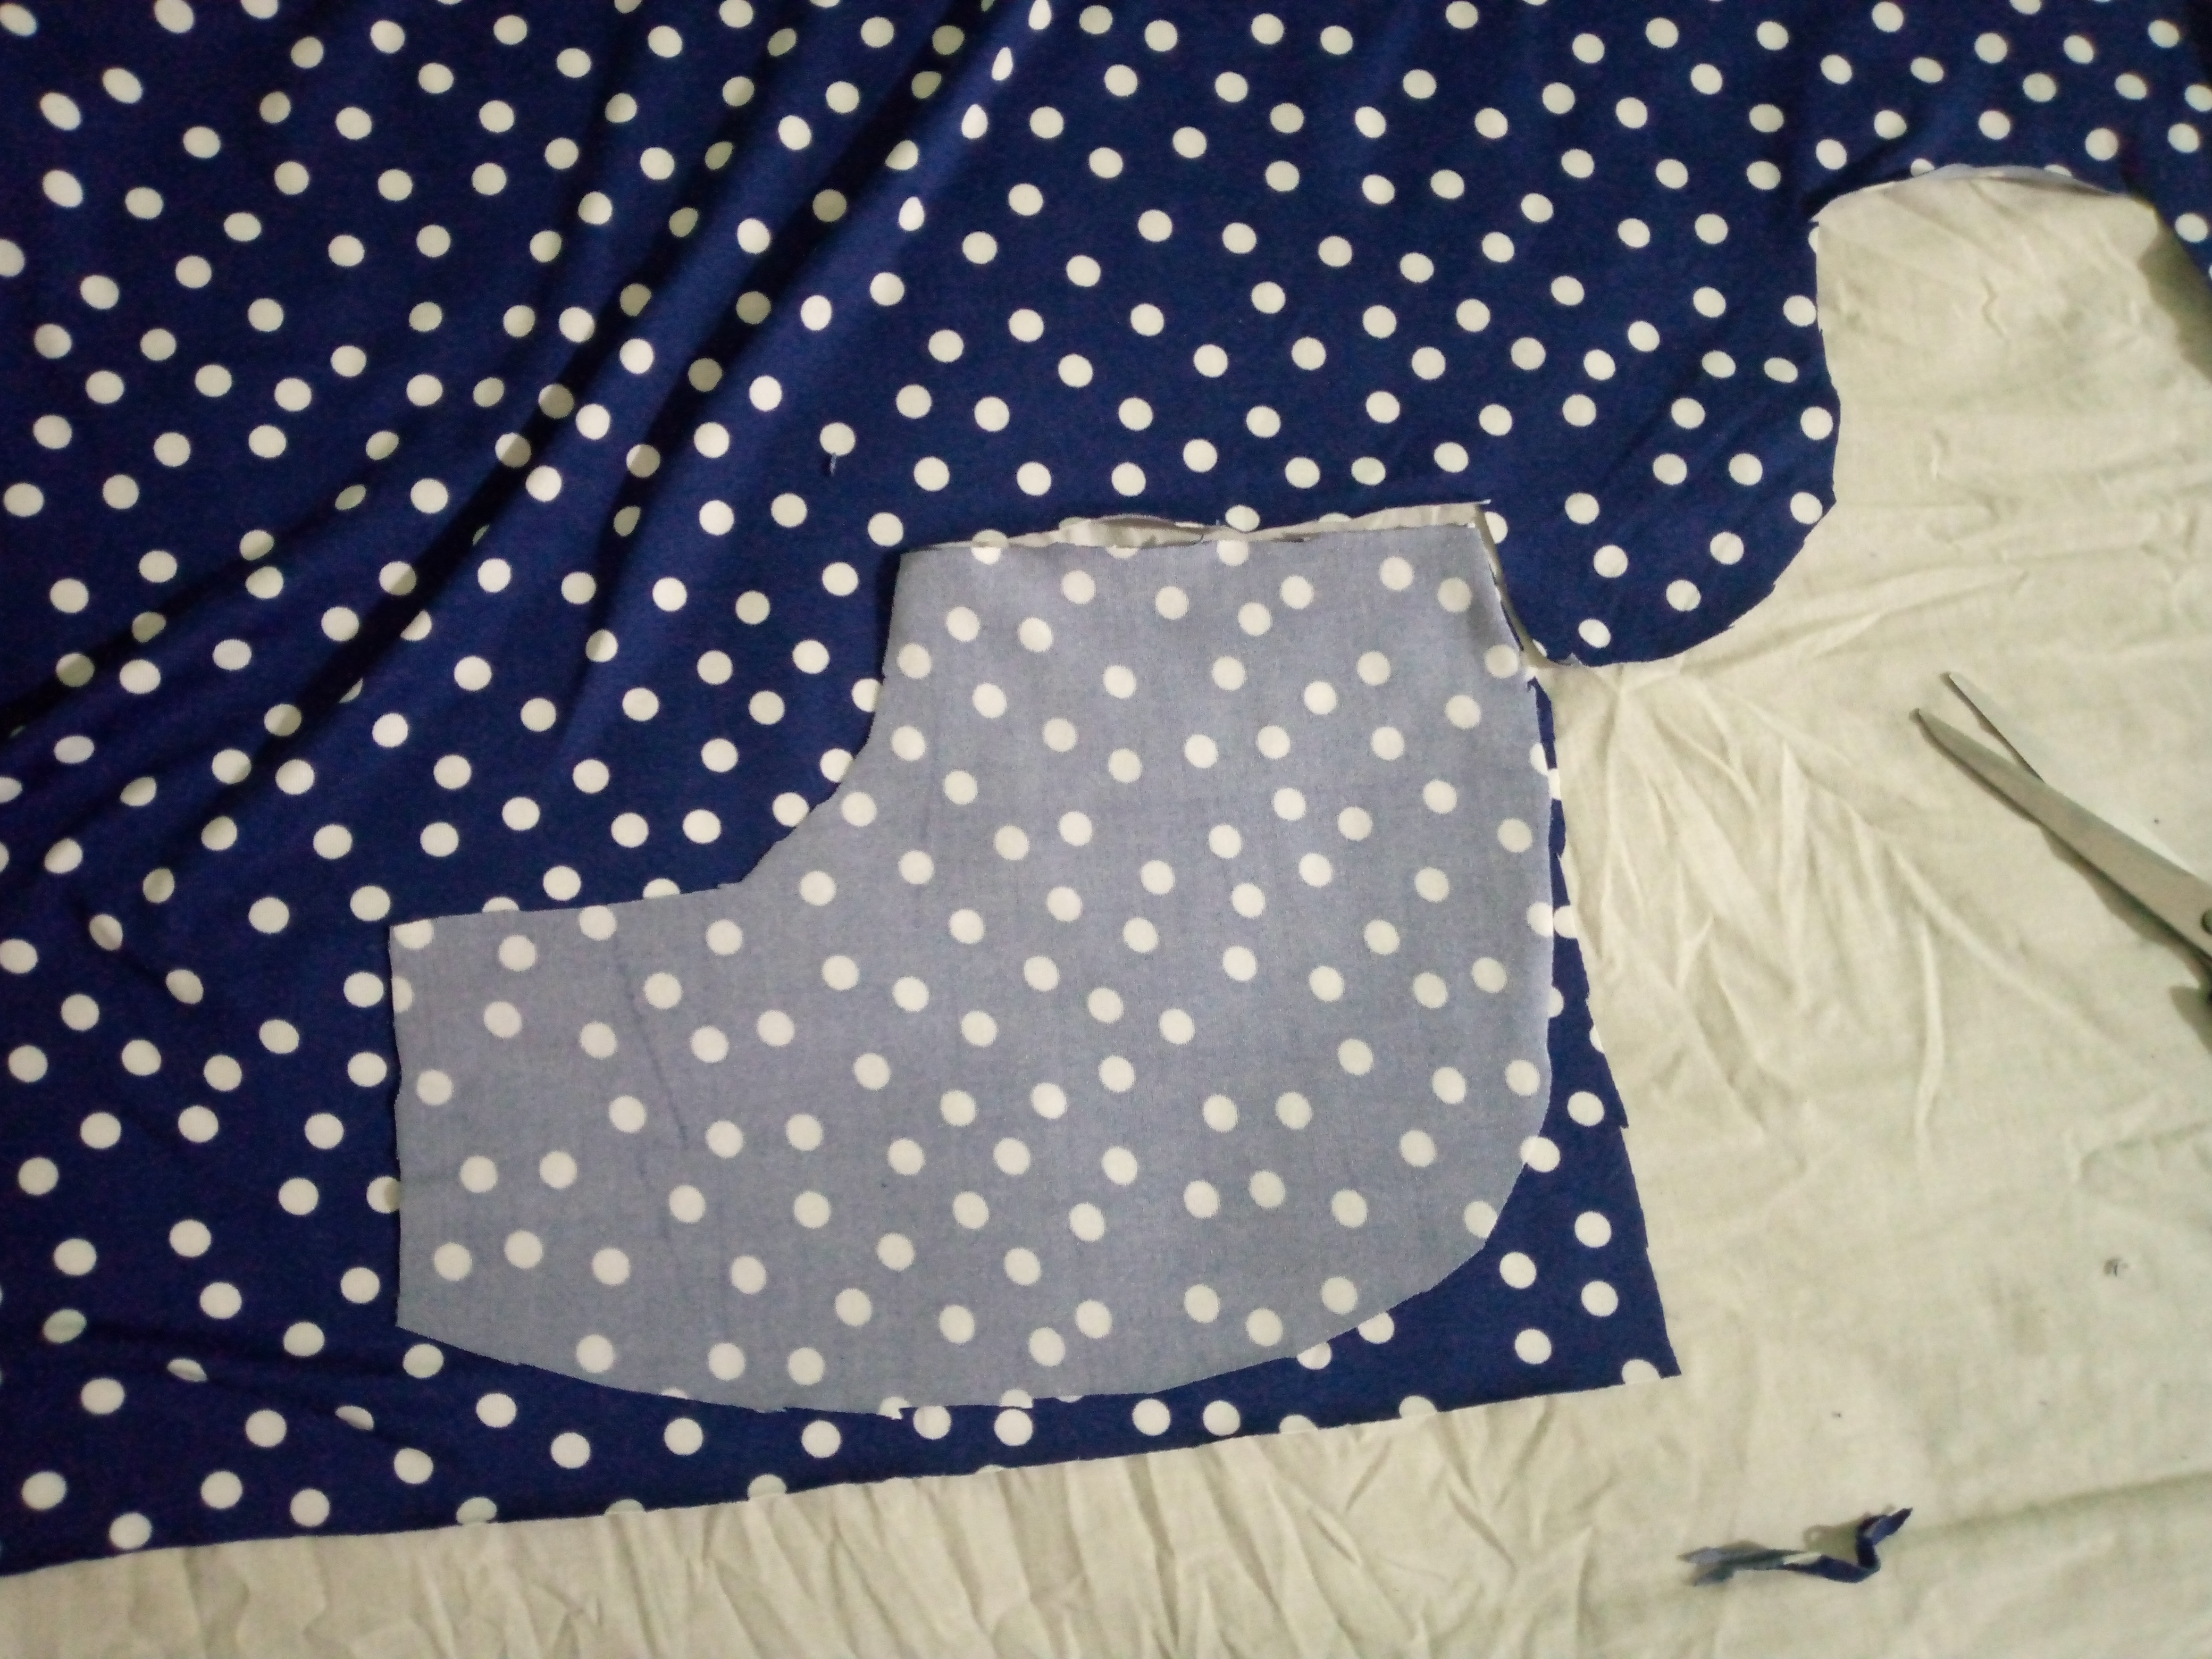
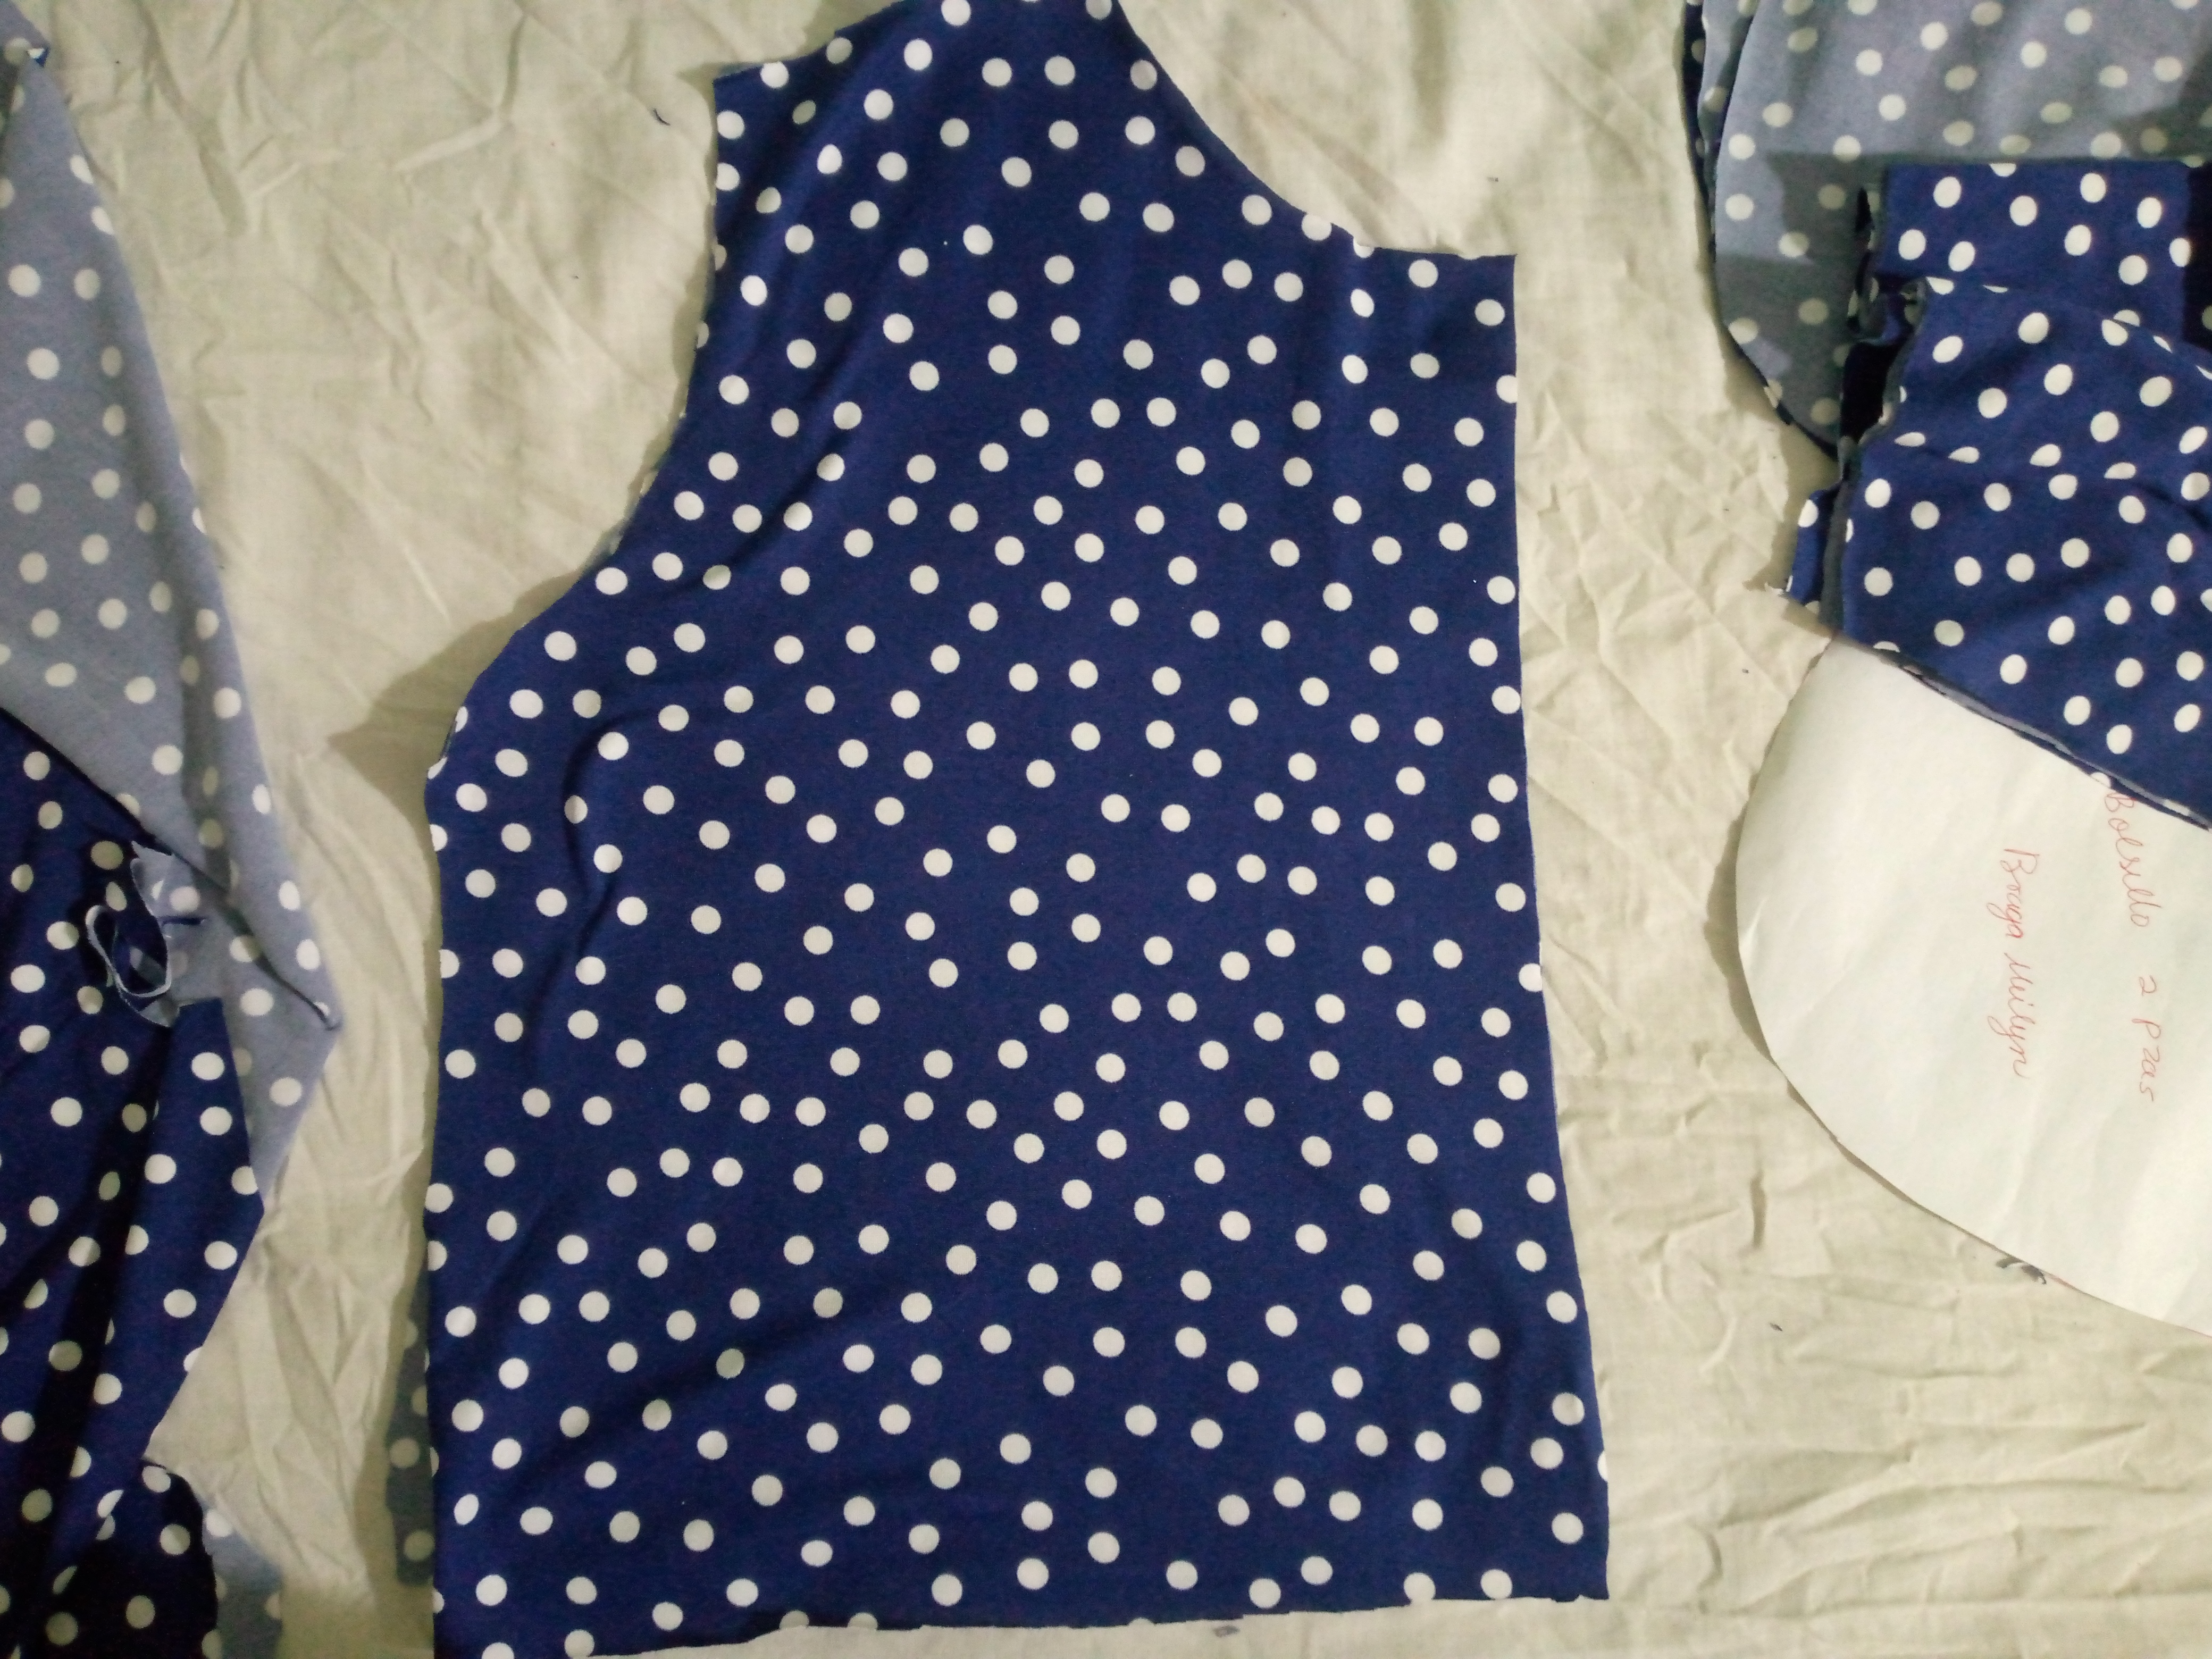
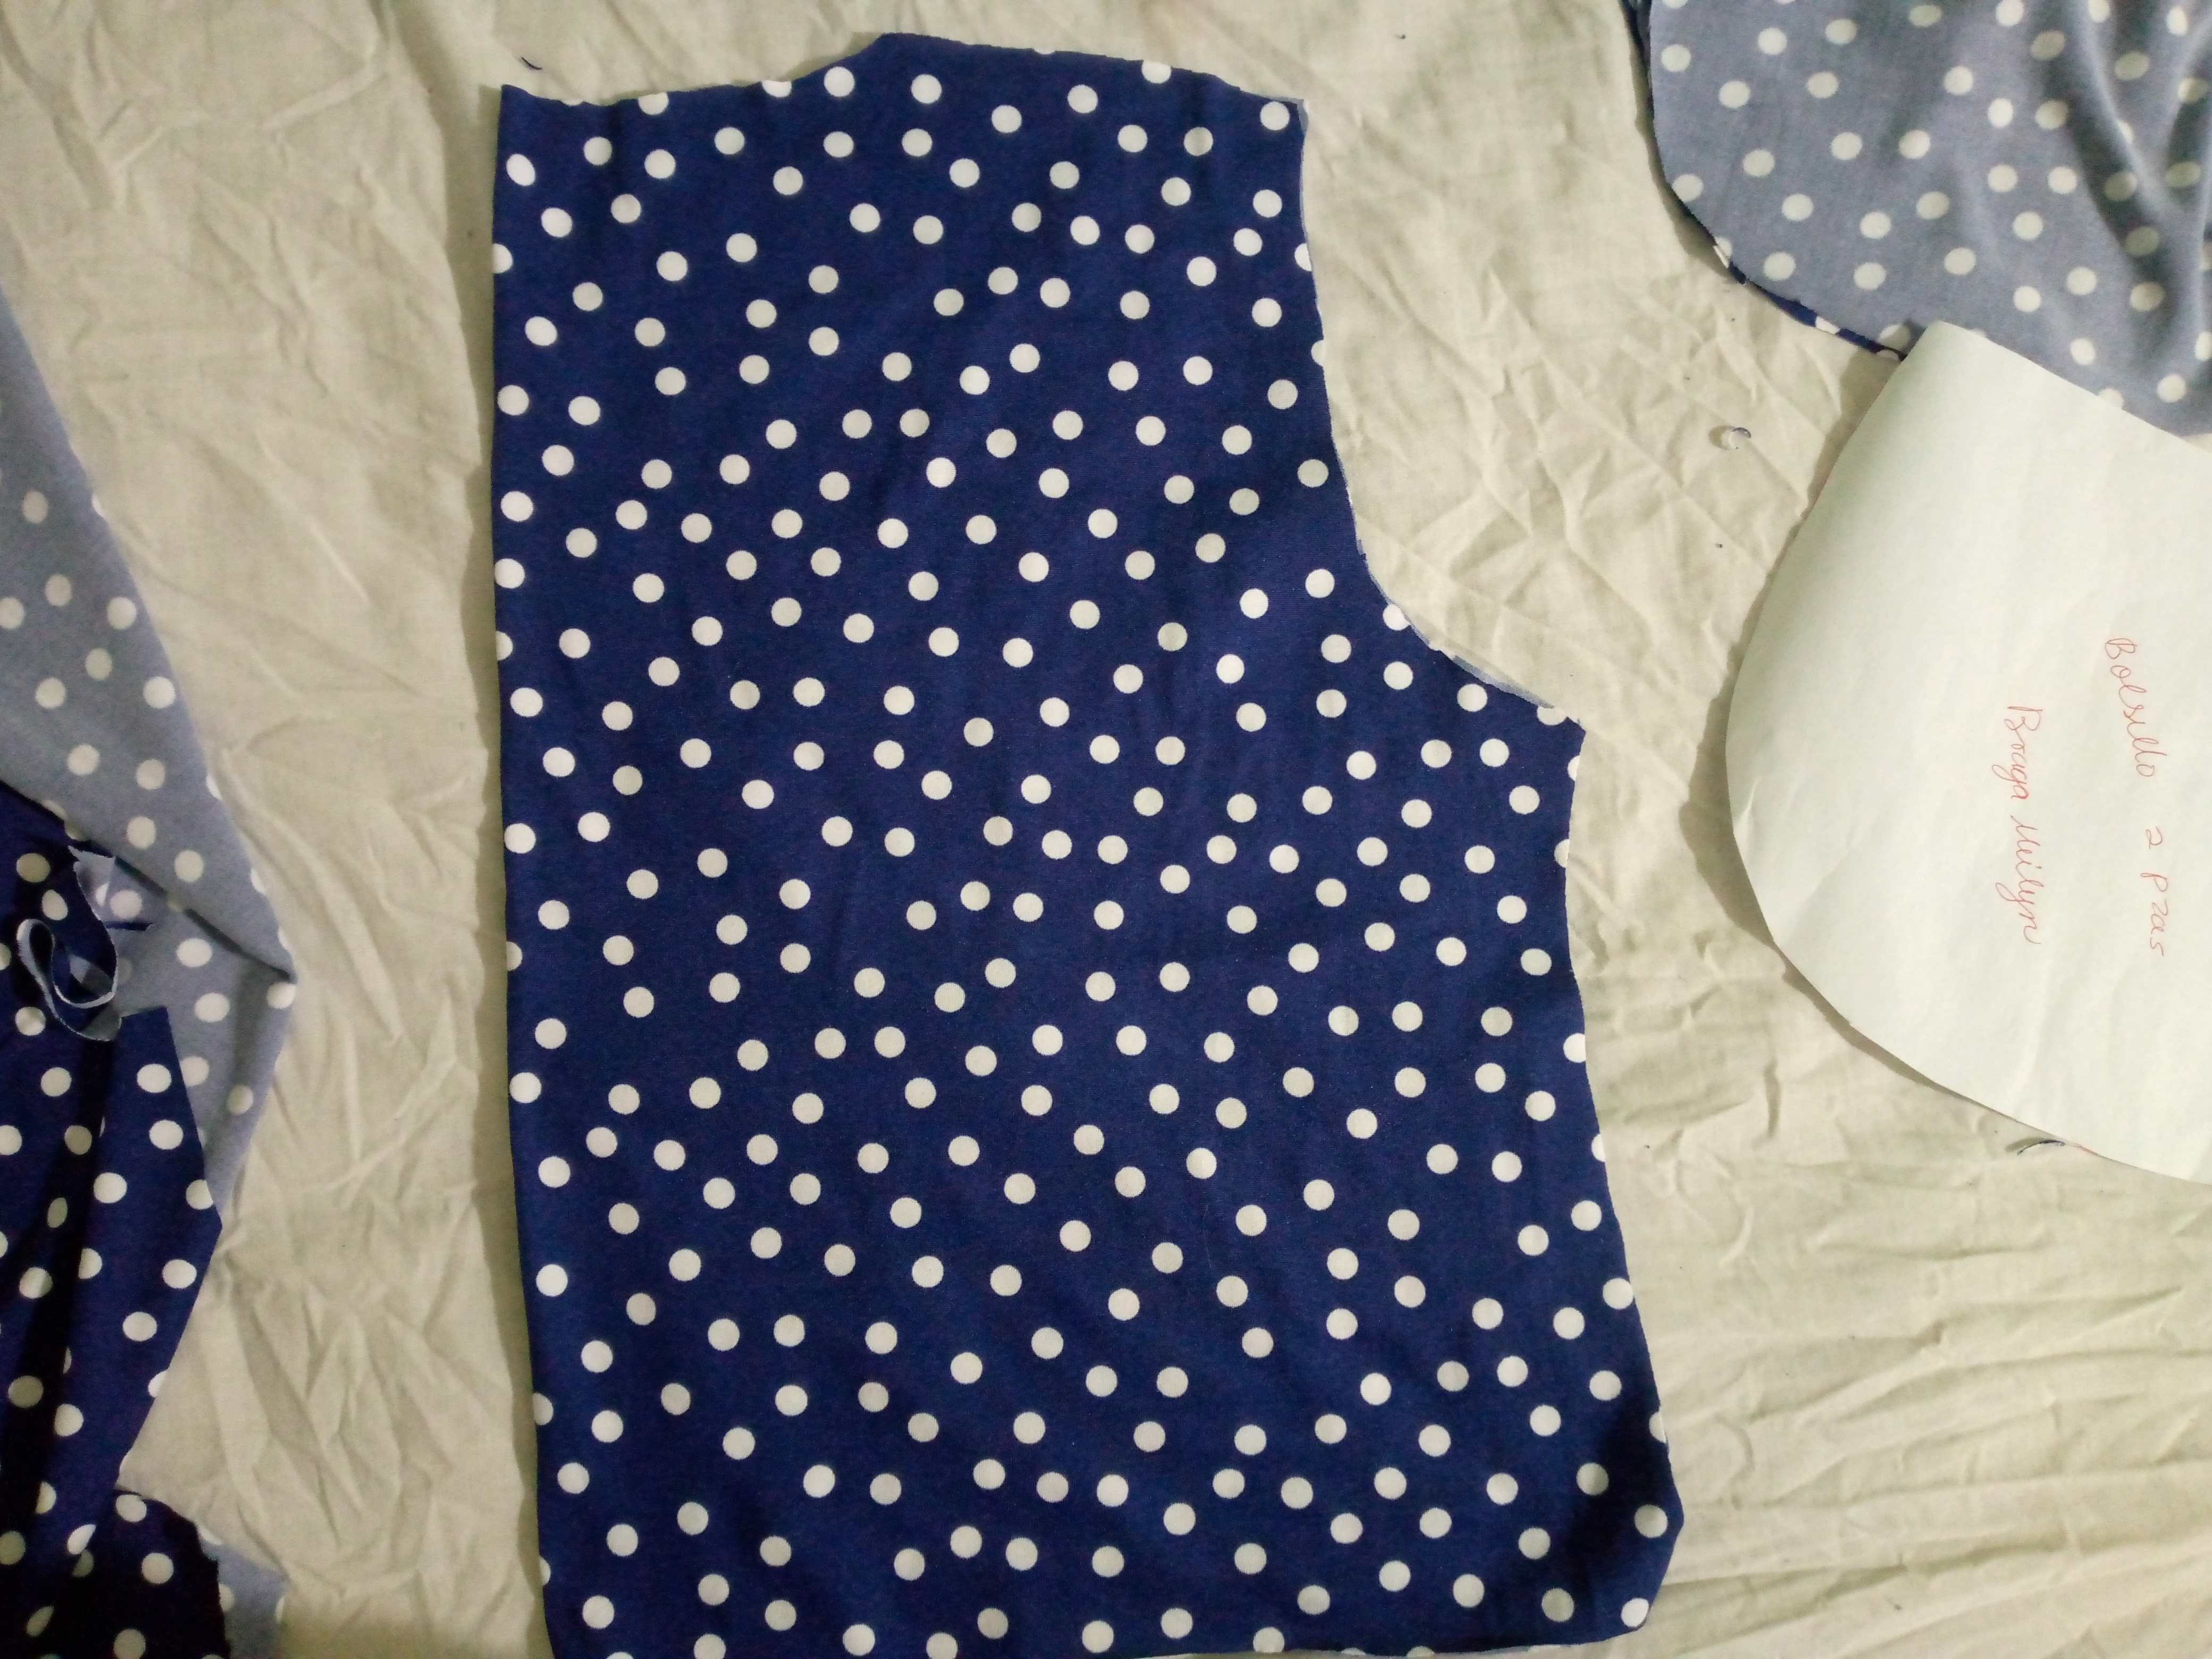
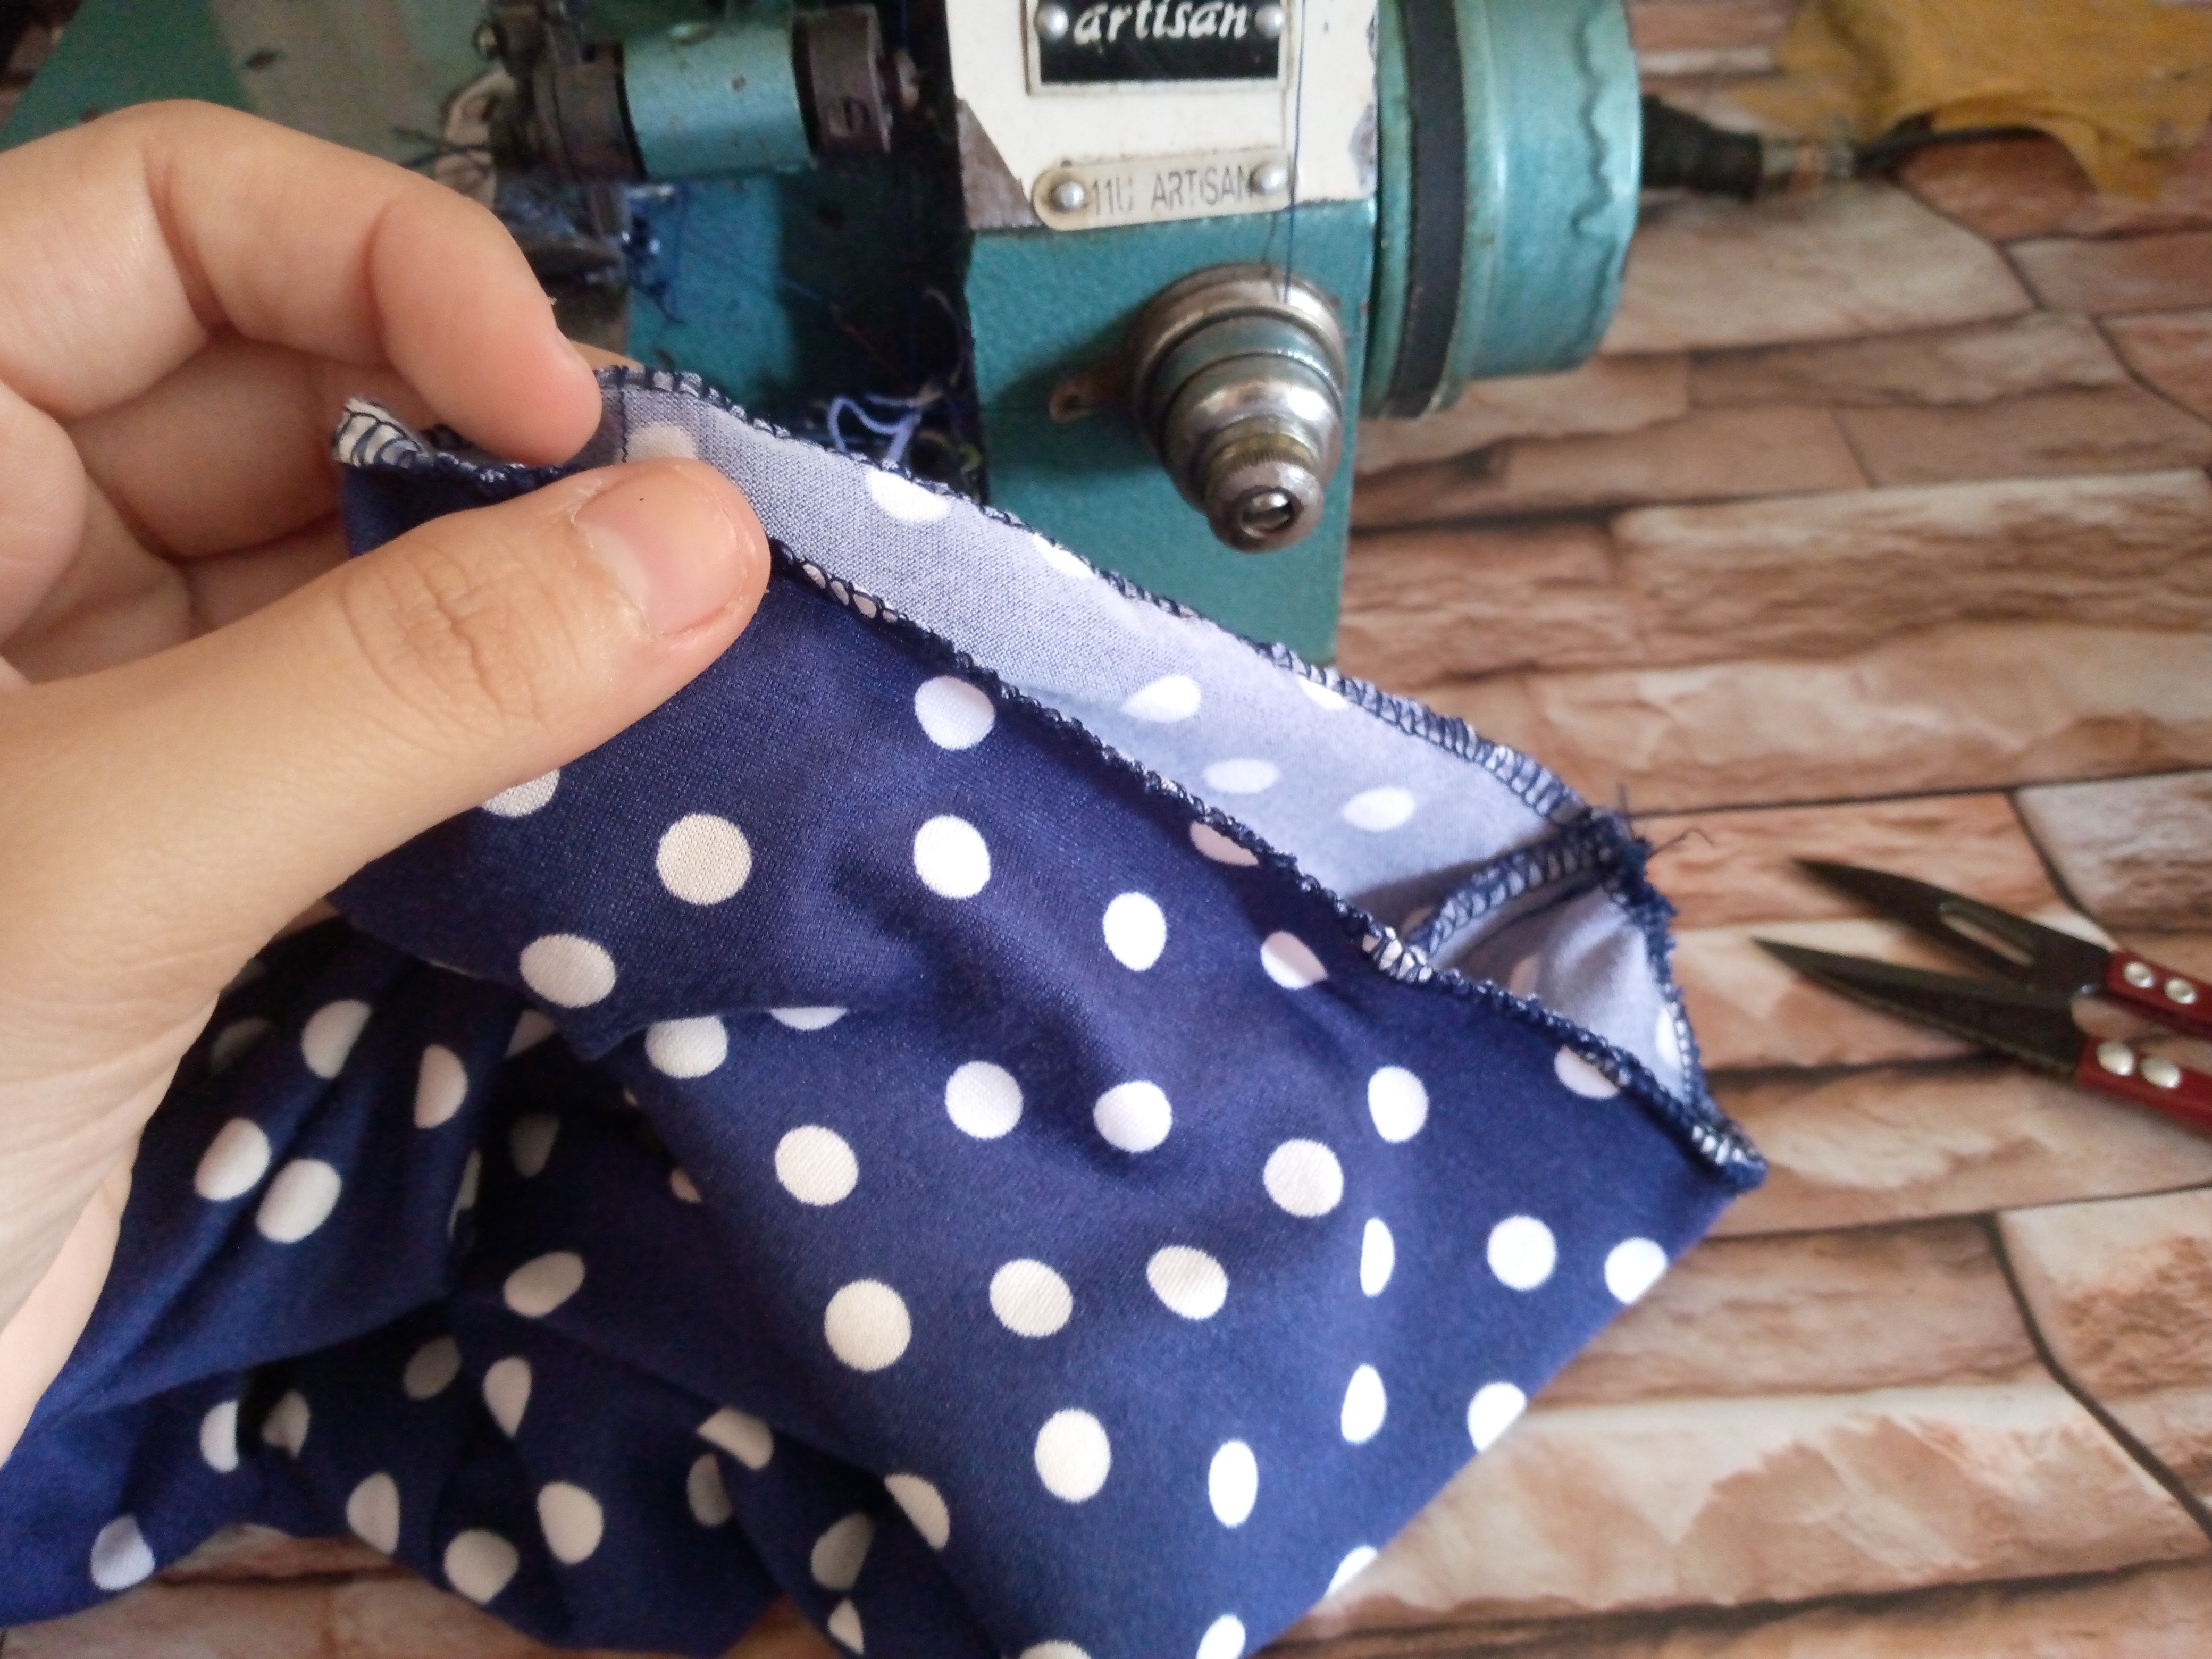
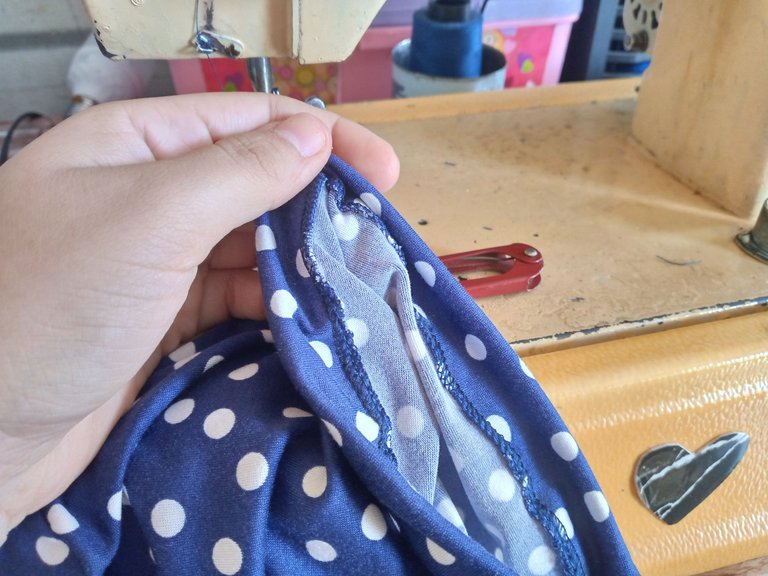
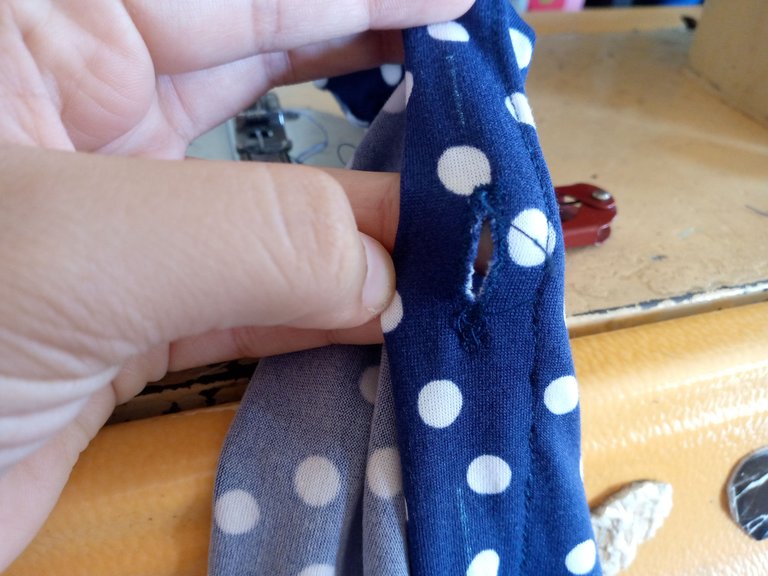
We start by cutting the main pieces of the panties, such as the bust pieces, and since we are going to place the buttons on the front, we will cut these pieces in half, leaving 2 cm of fabric space for the buttons and buttonholes. We cut the sleeves and the pants pieces. In the two front pieces of the pants, we cut the pocket part, the inside pieces of the pocket, the bias and the pieces of the waist straps.


Paso 02
Step 02
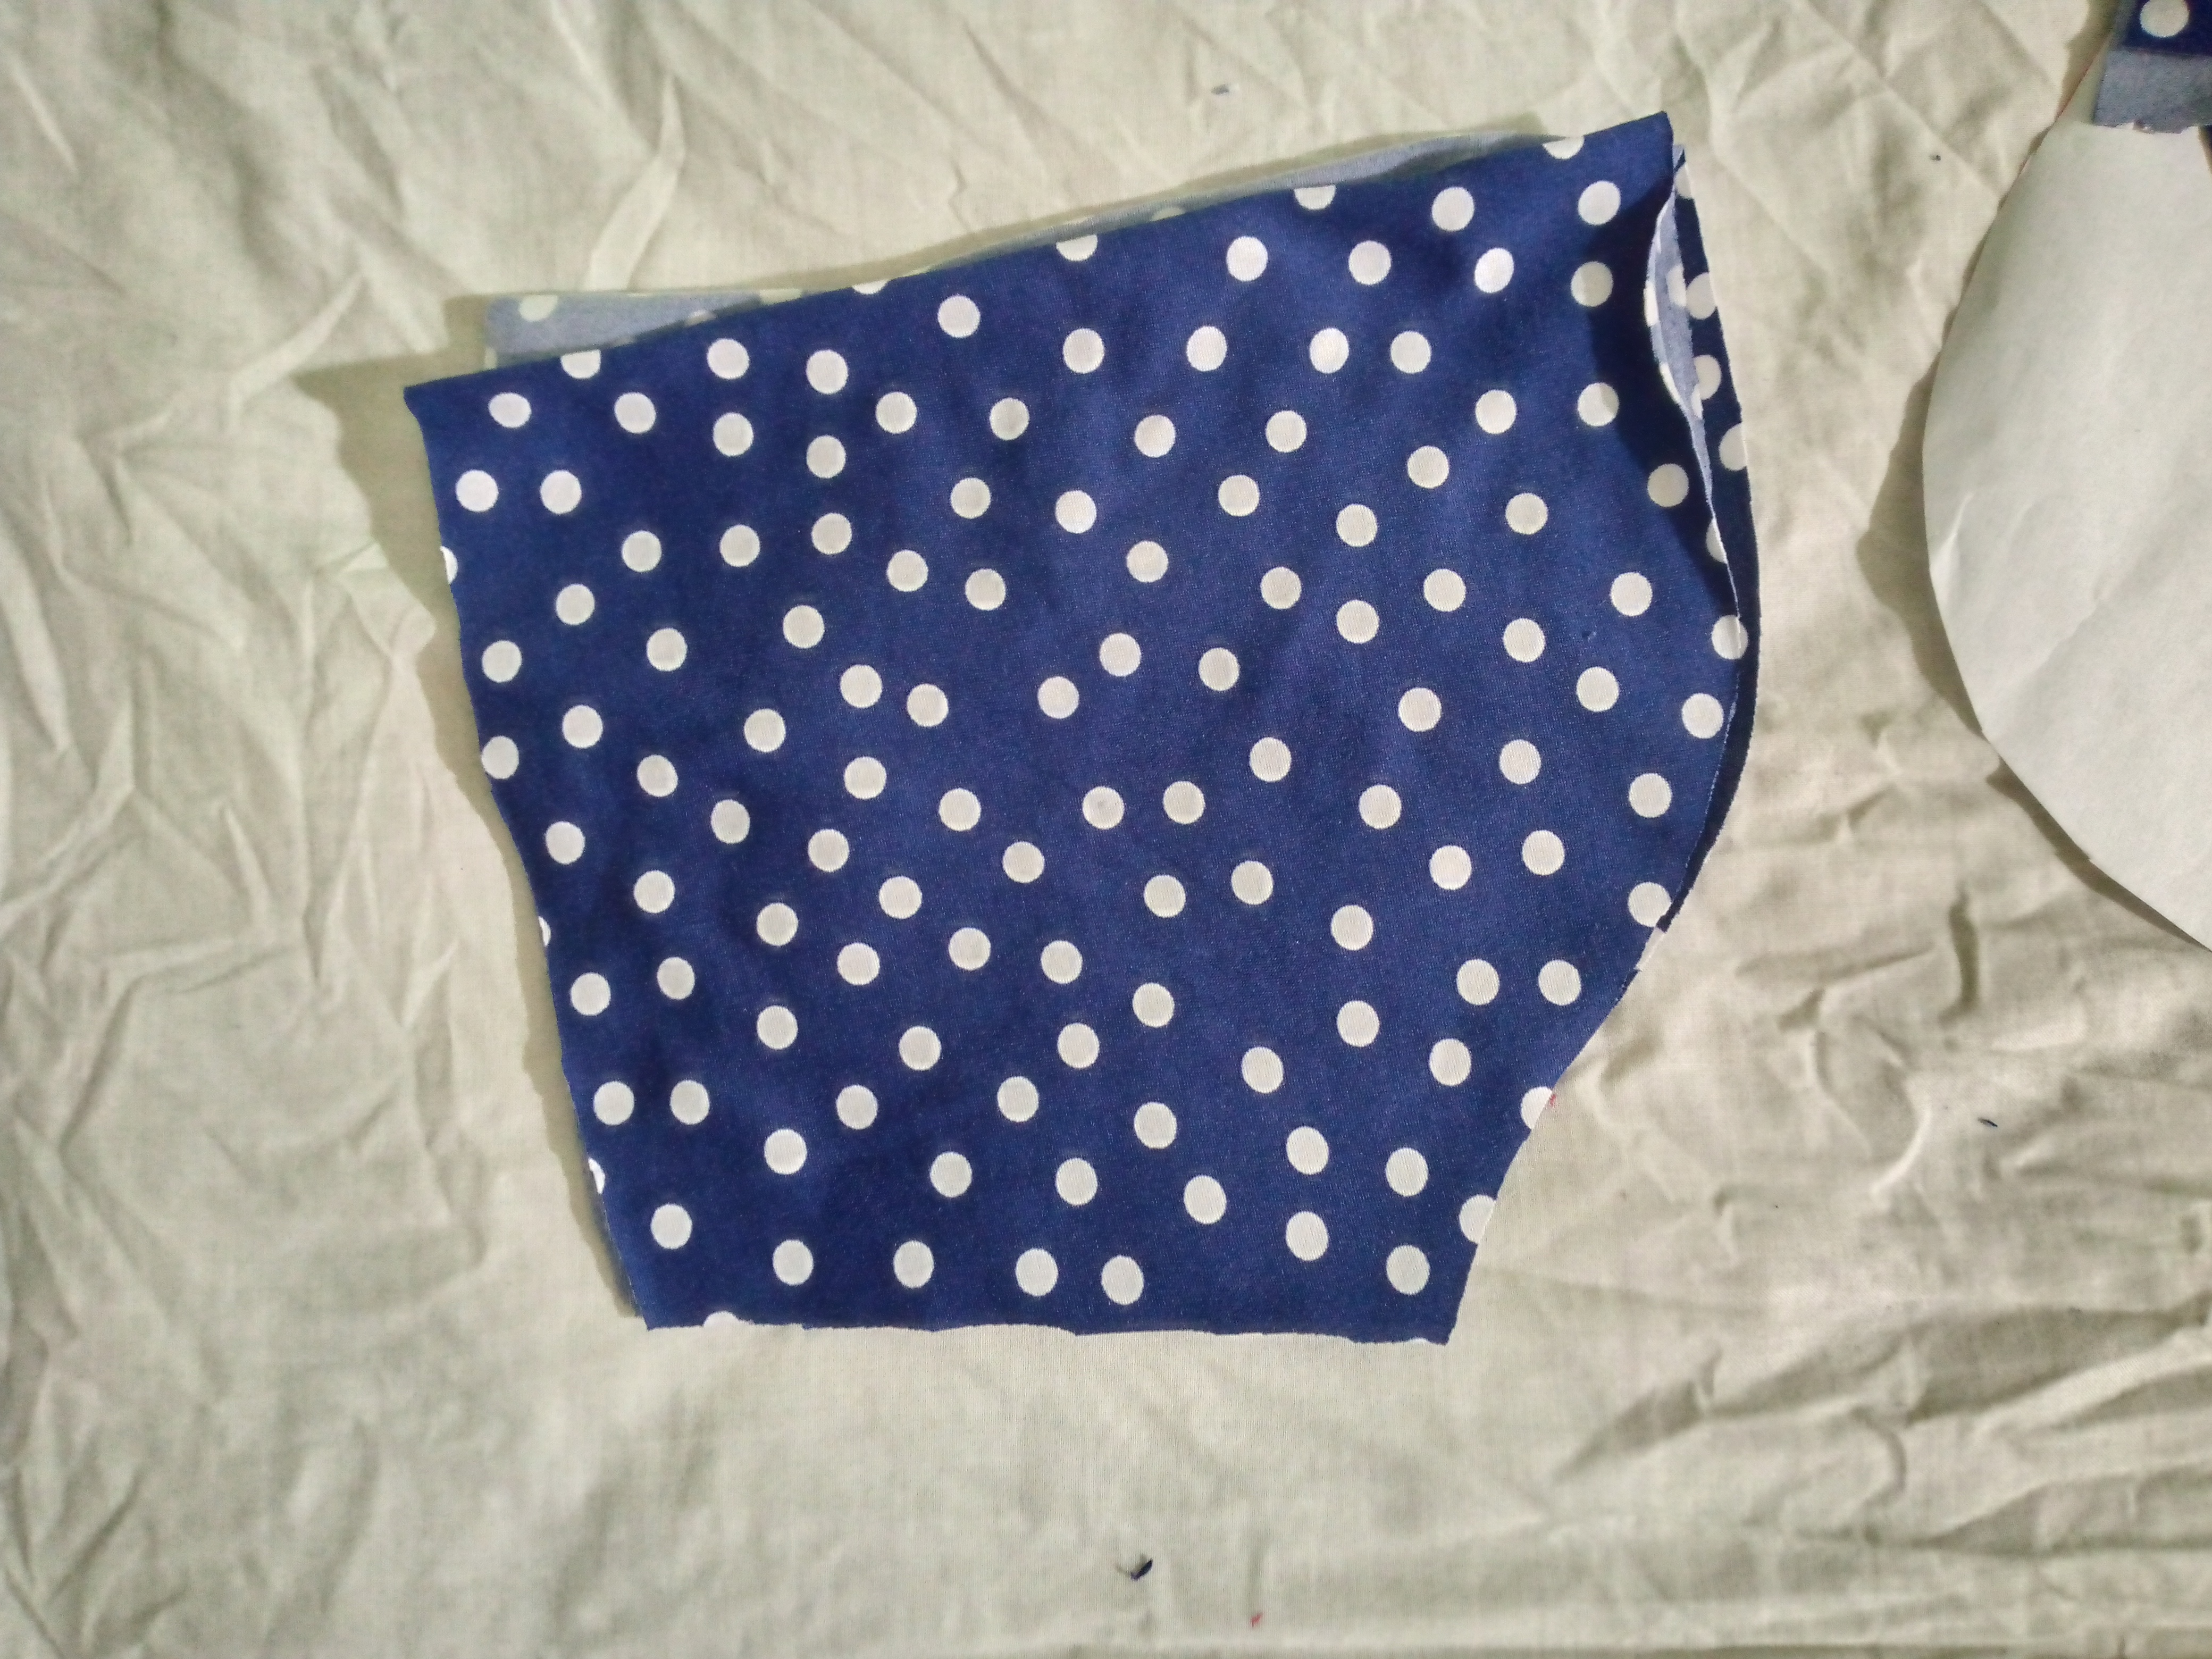
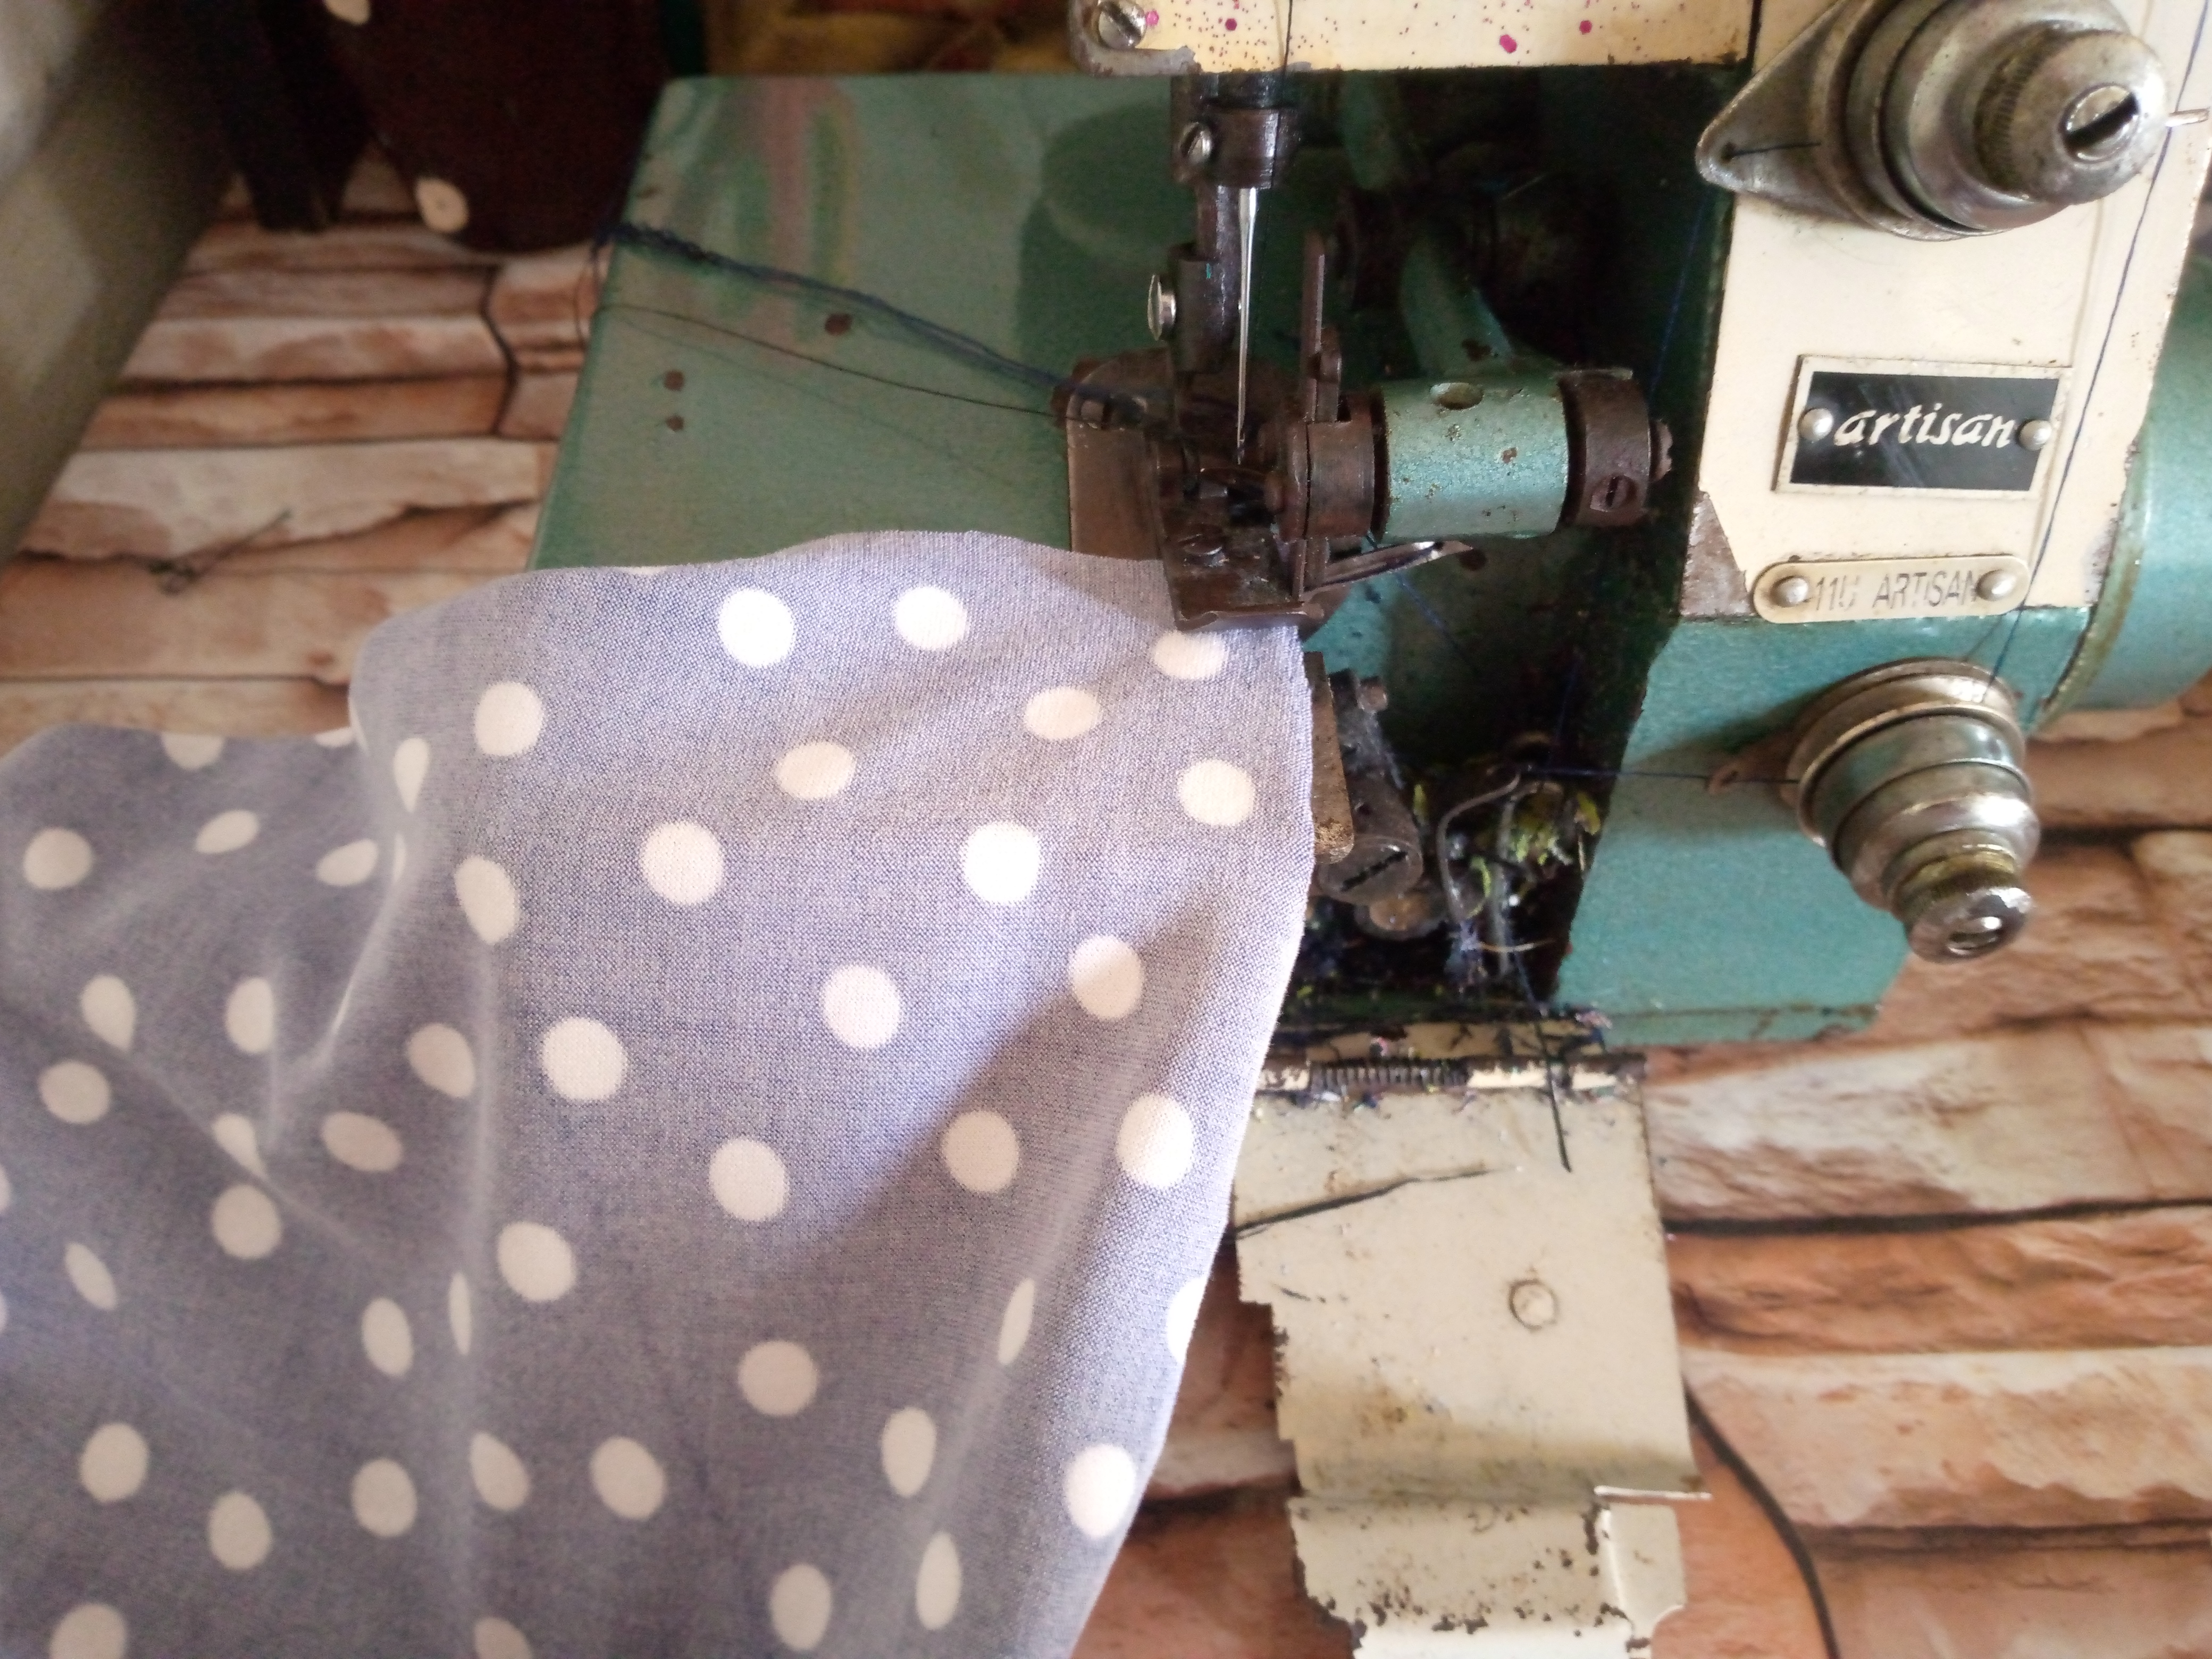
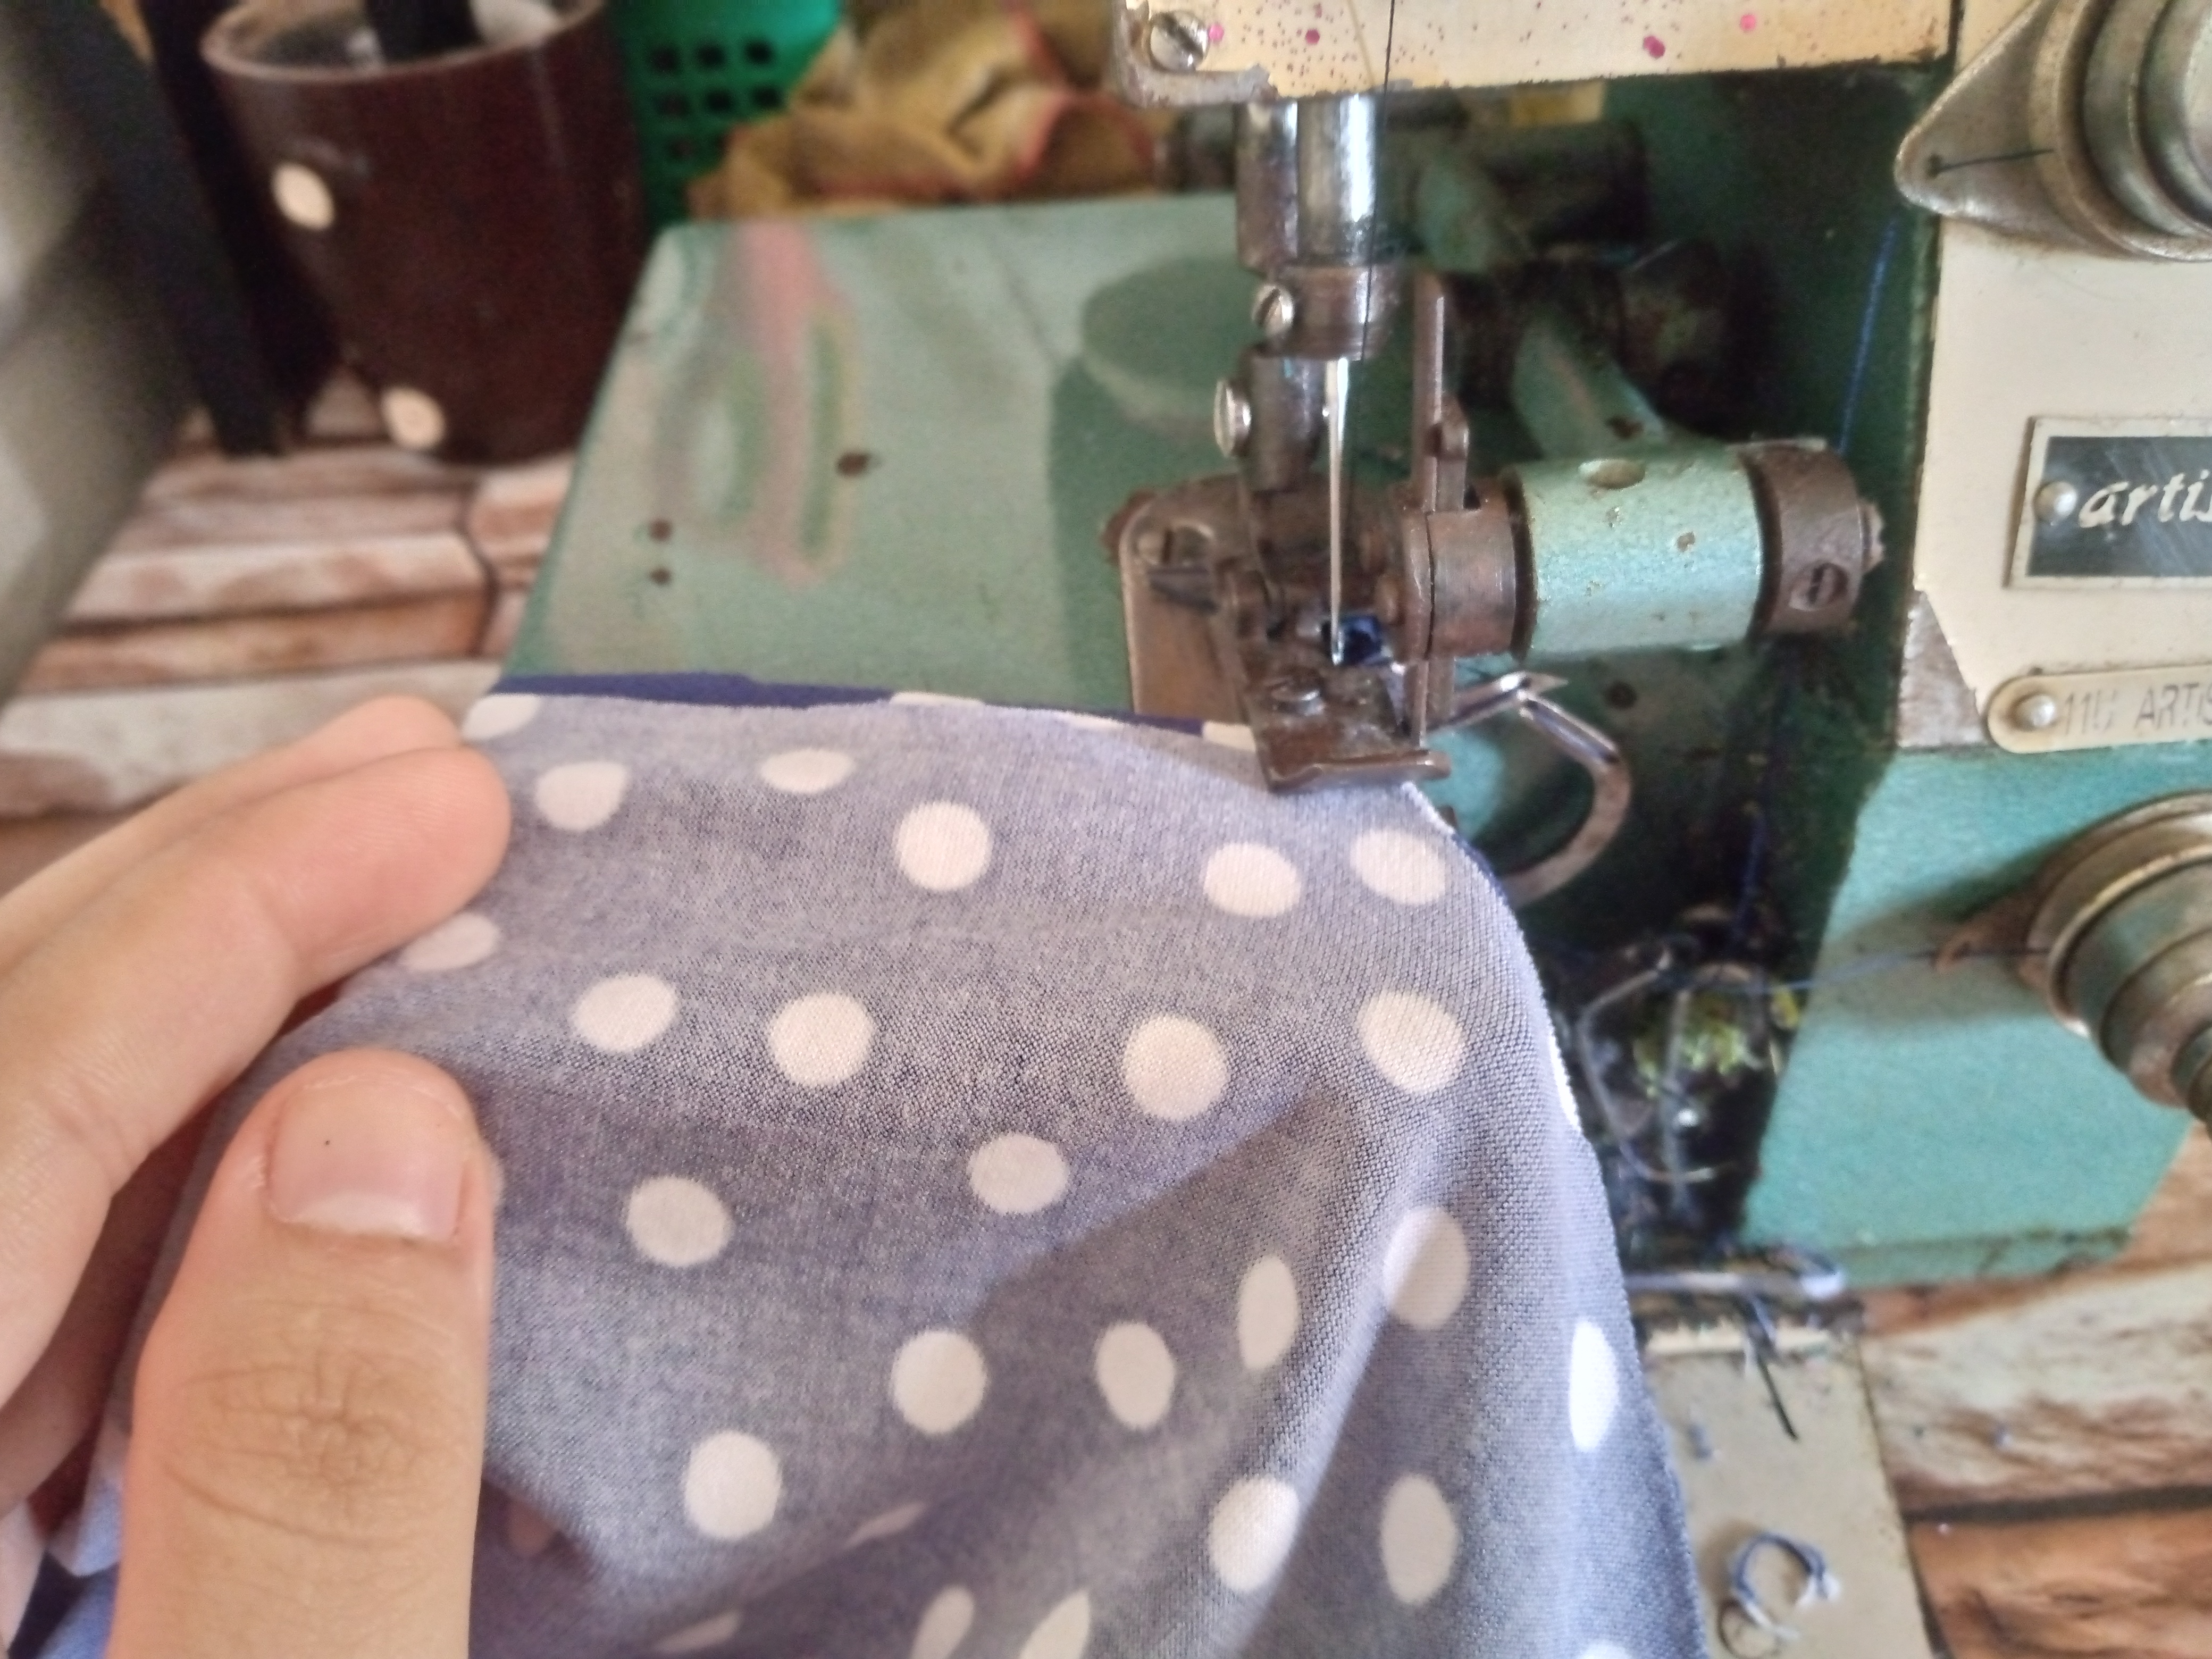
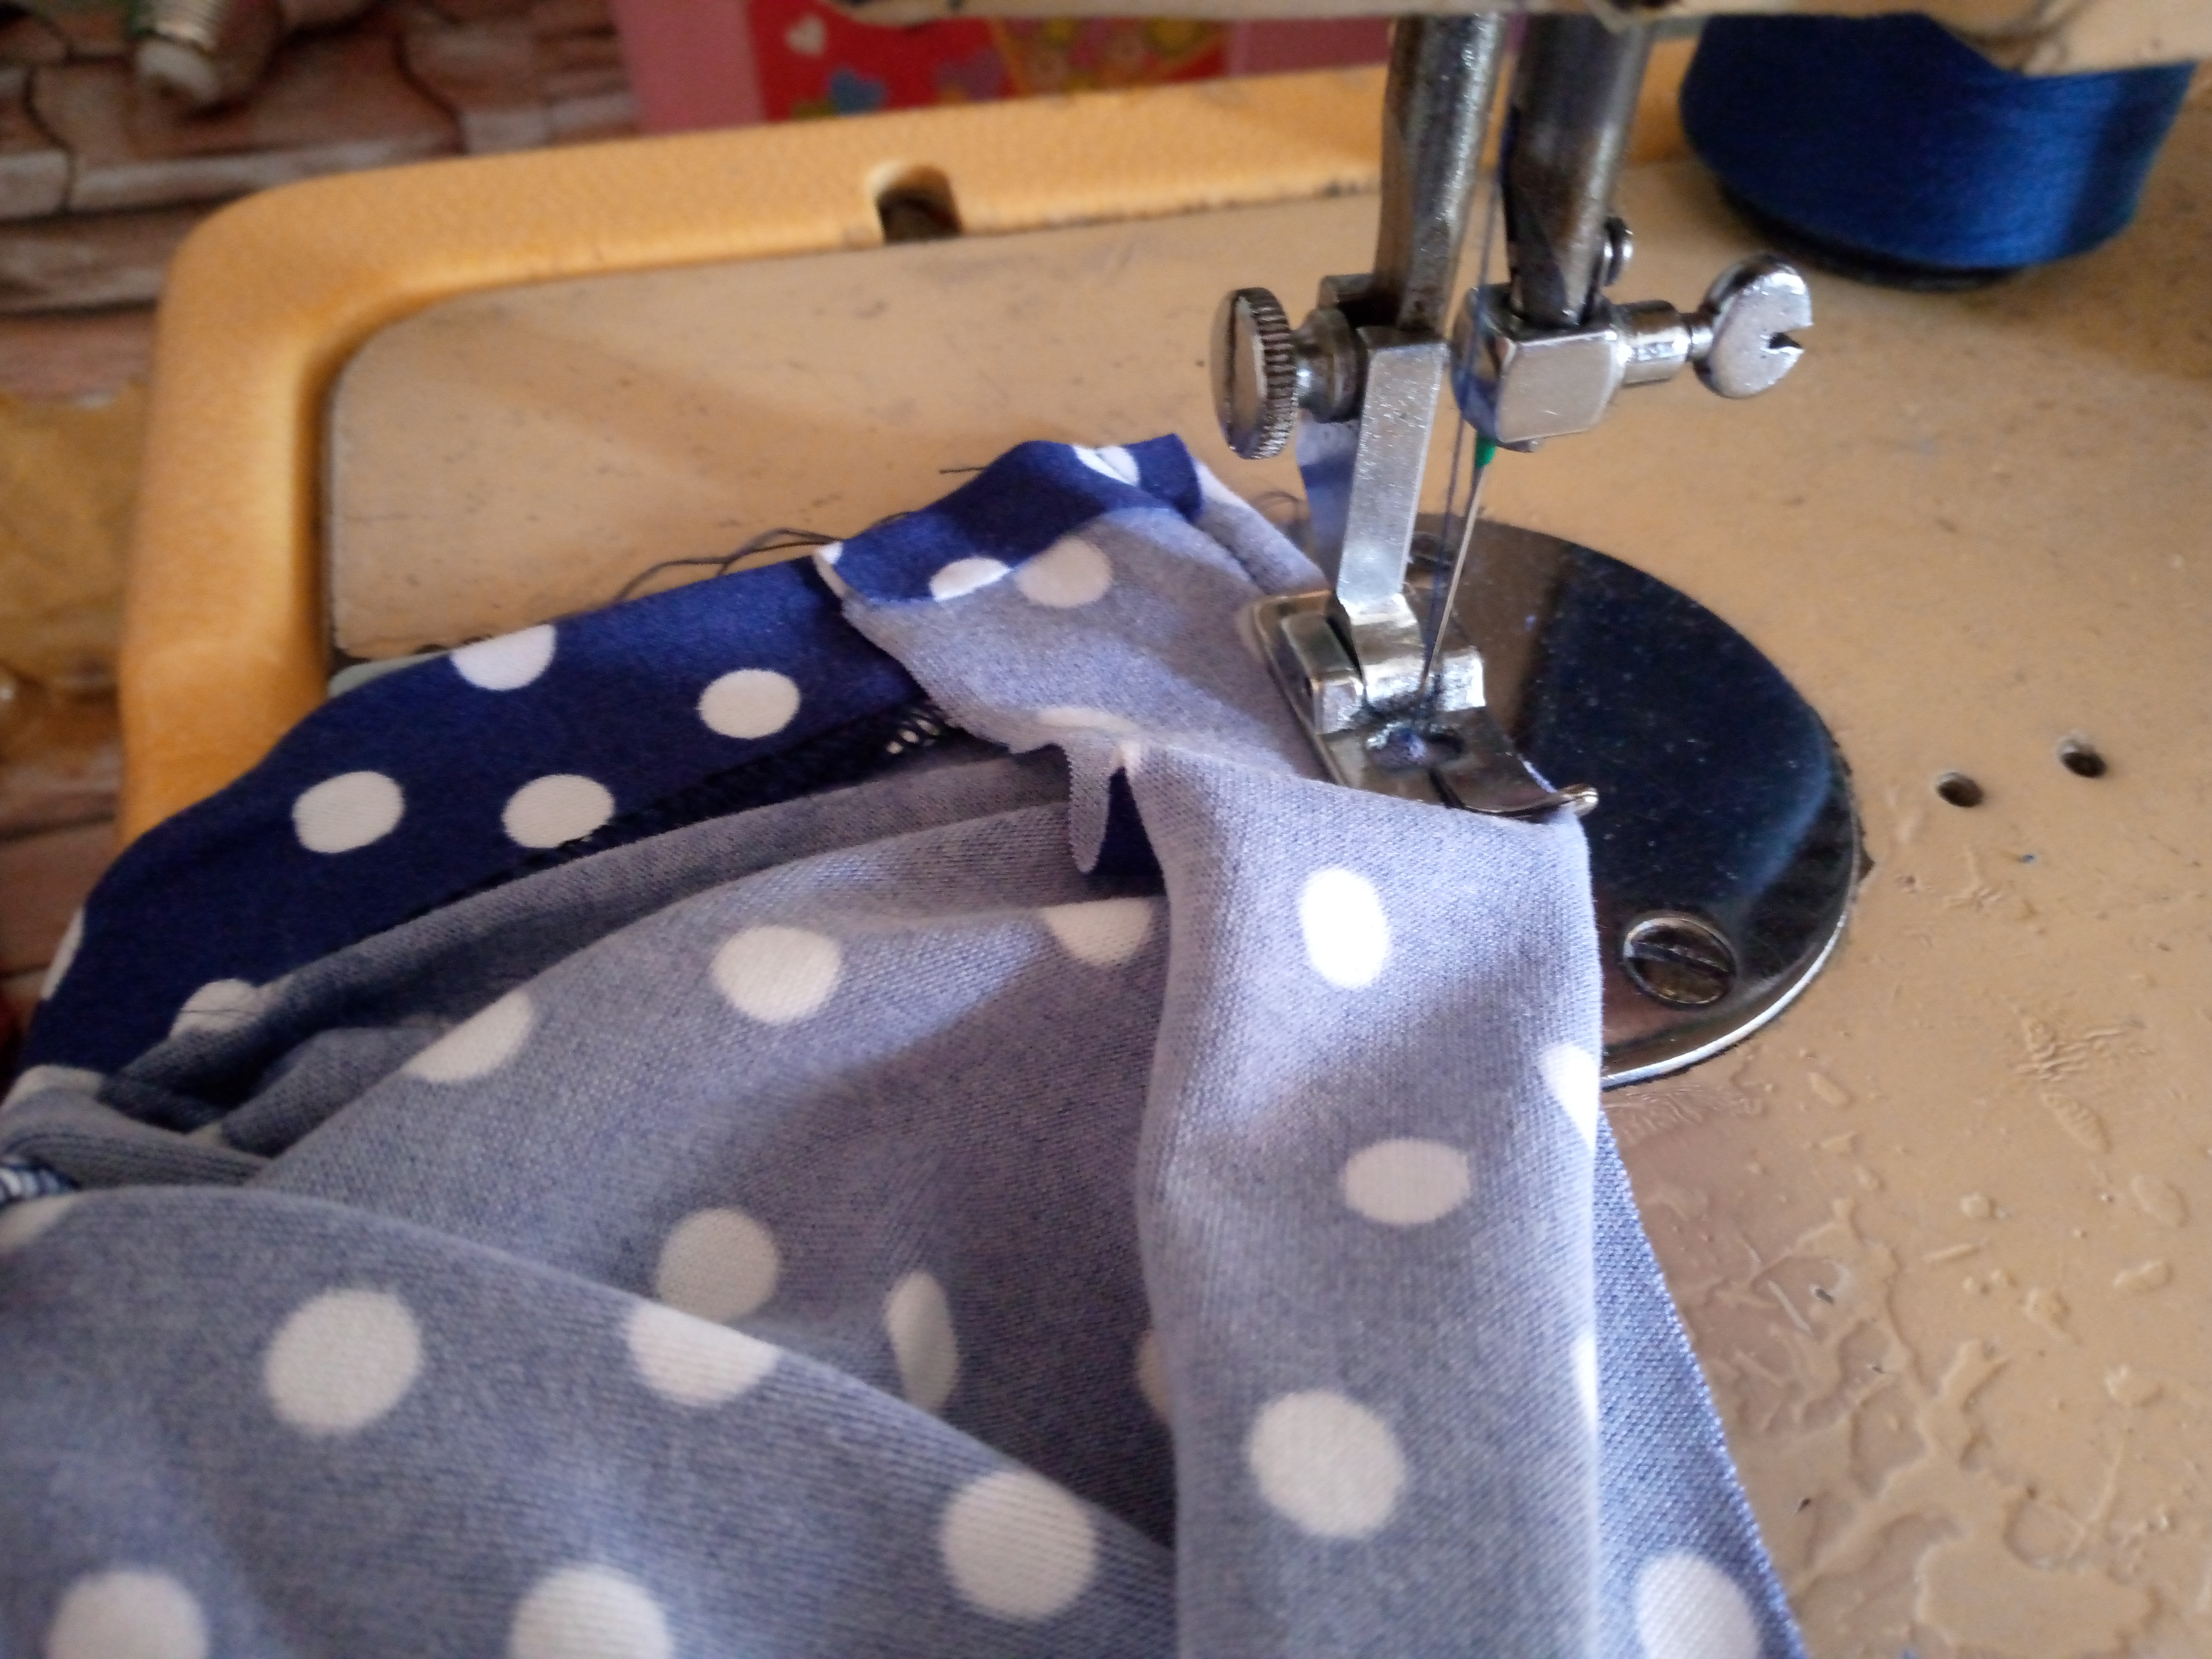
I started by sewing the inside pieces of the pocket. It is important to sew these pieces in advance and then assemble the pants. Once the pocket pieces are assembled, we will simply join or seal the pants along the sides and from the crotch to the bottom. Then we will assemble the front and back waist pieces or the blouse.


Paso 03
Step 03
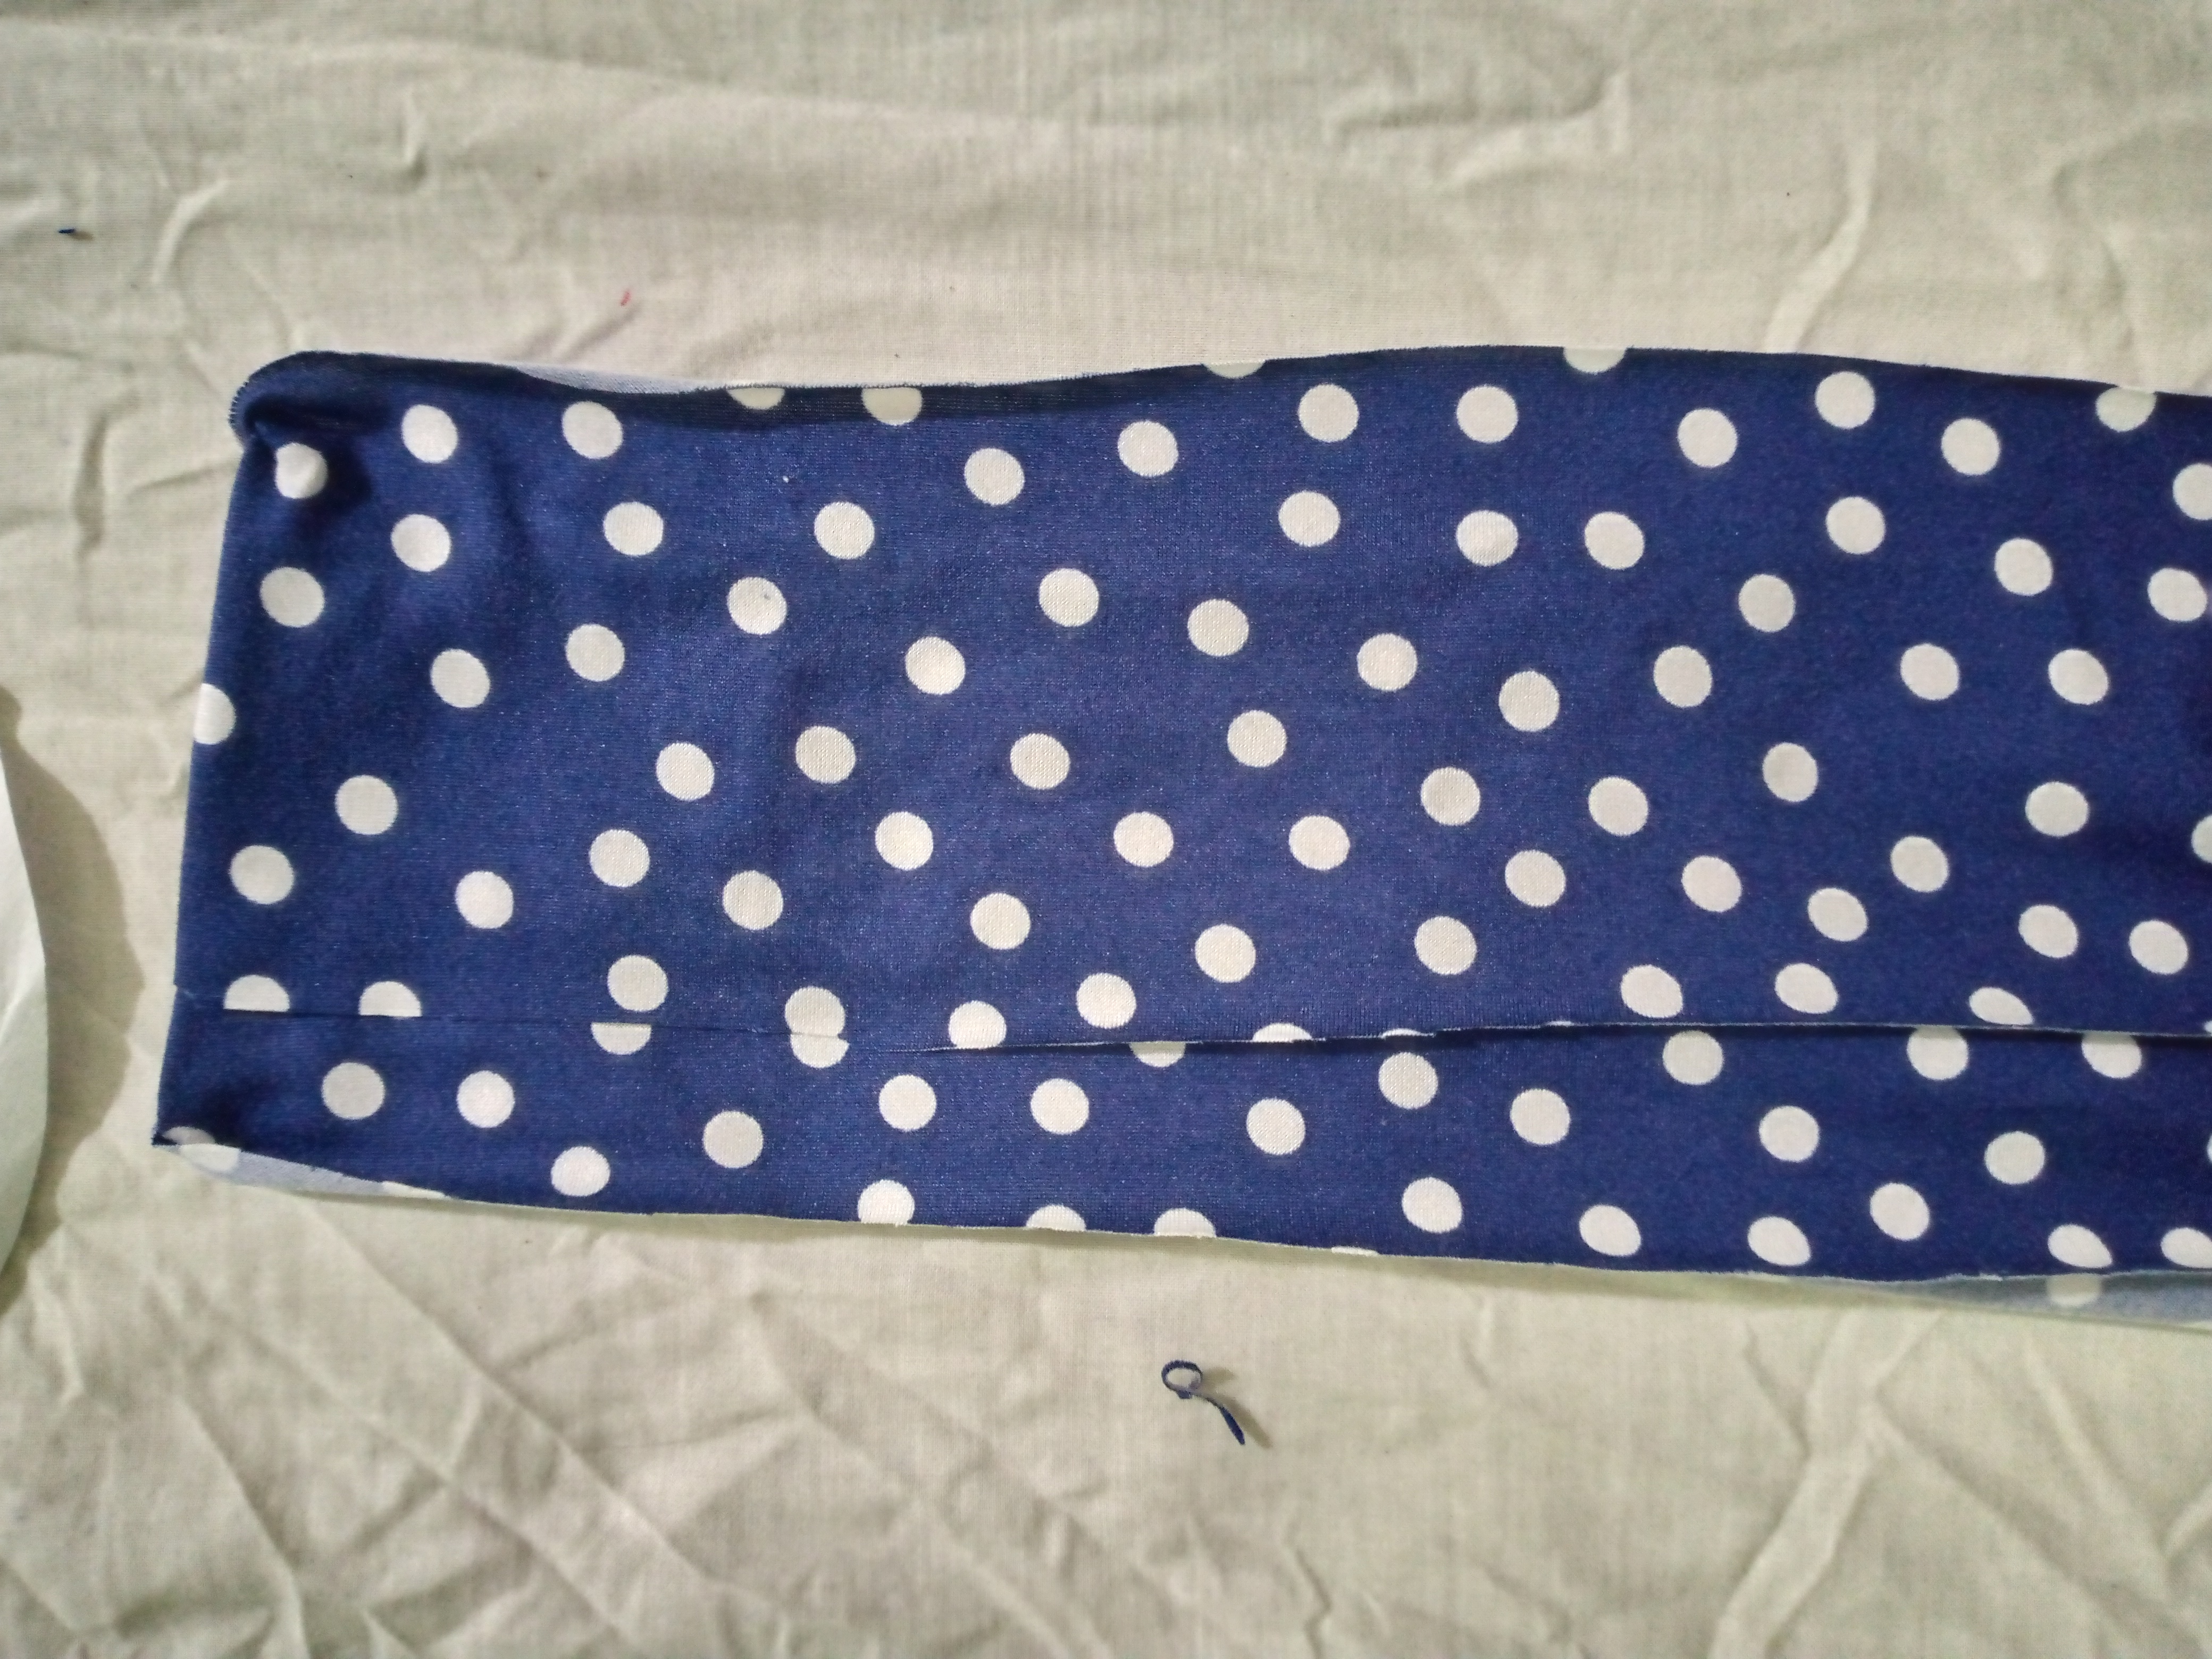
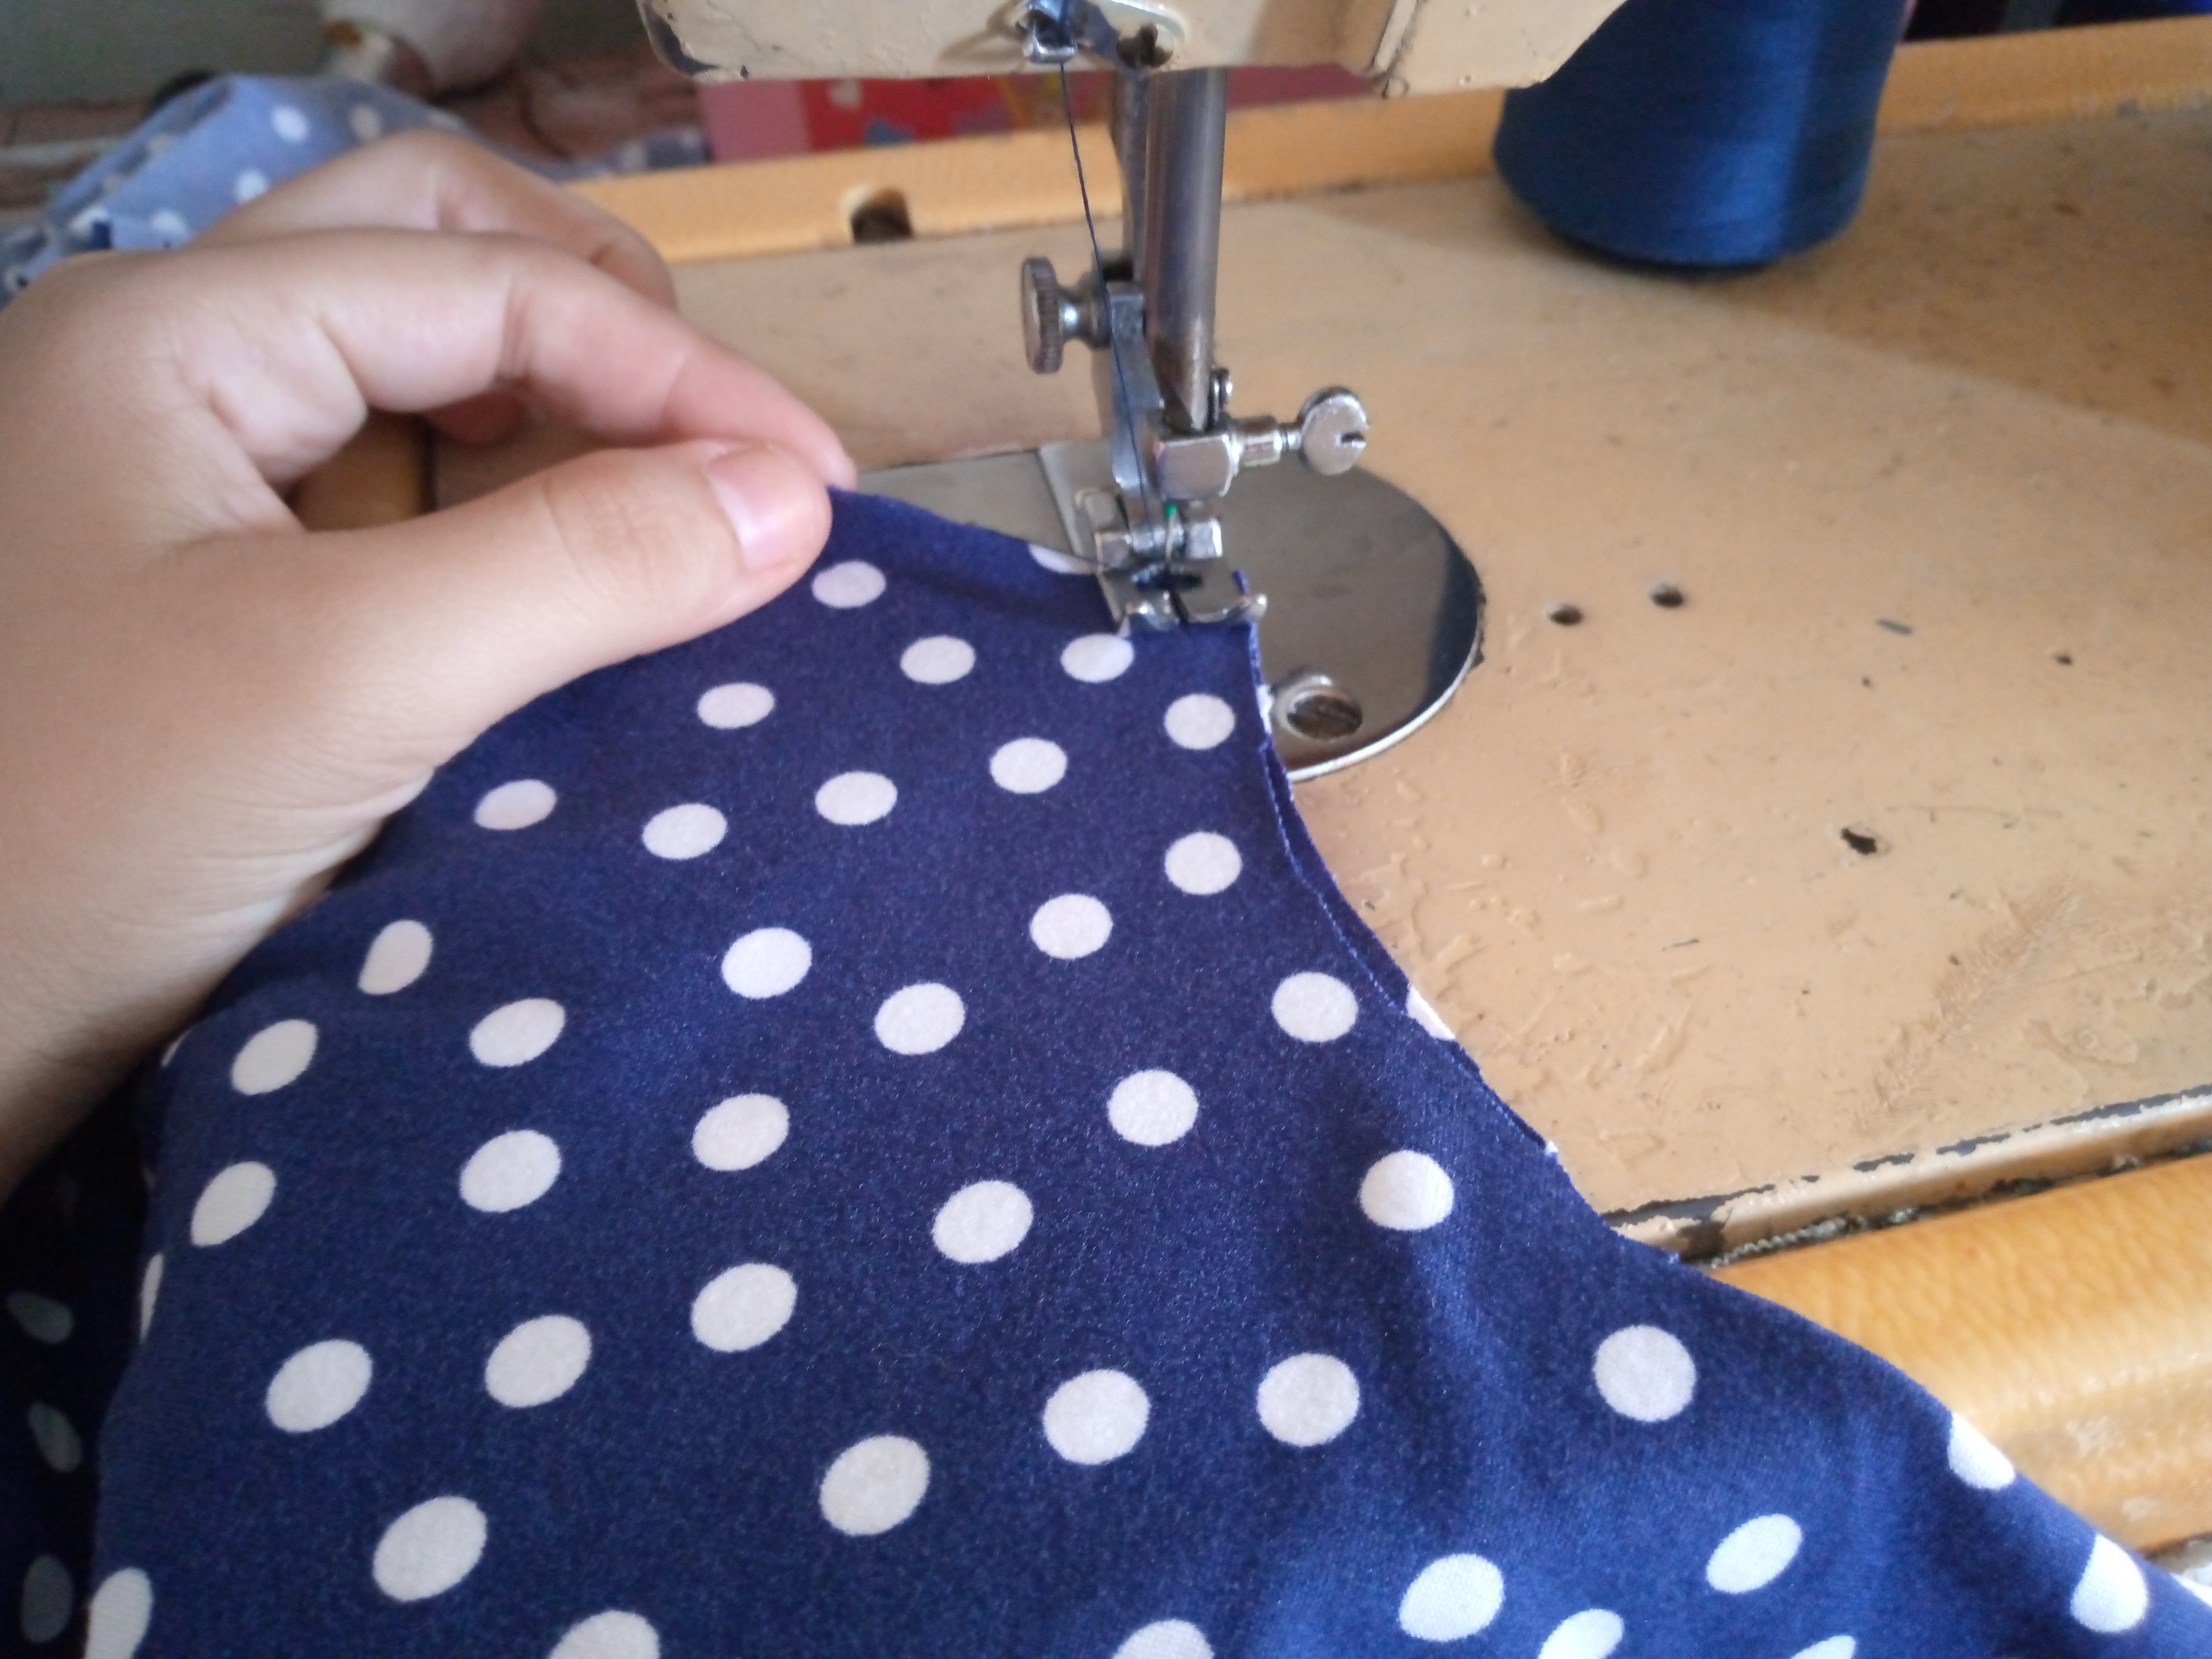
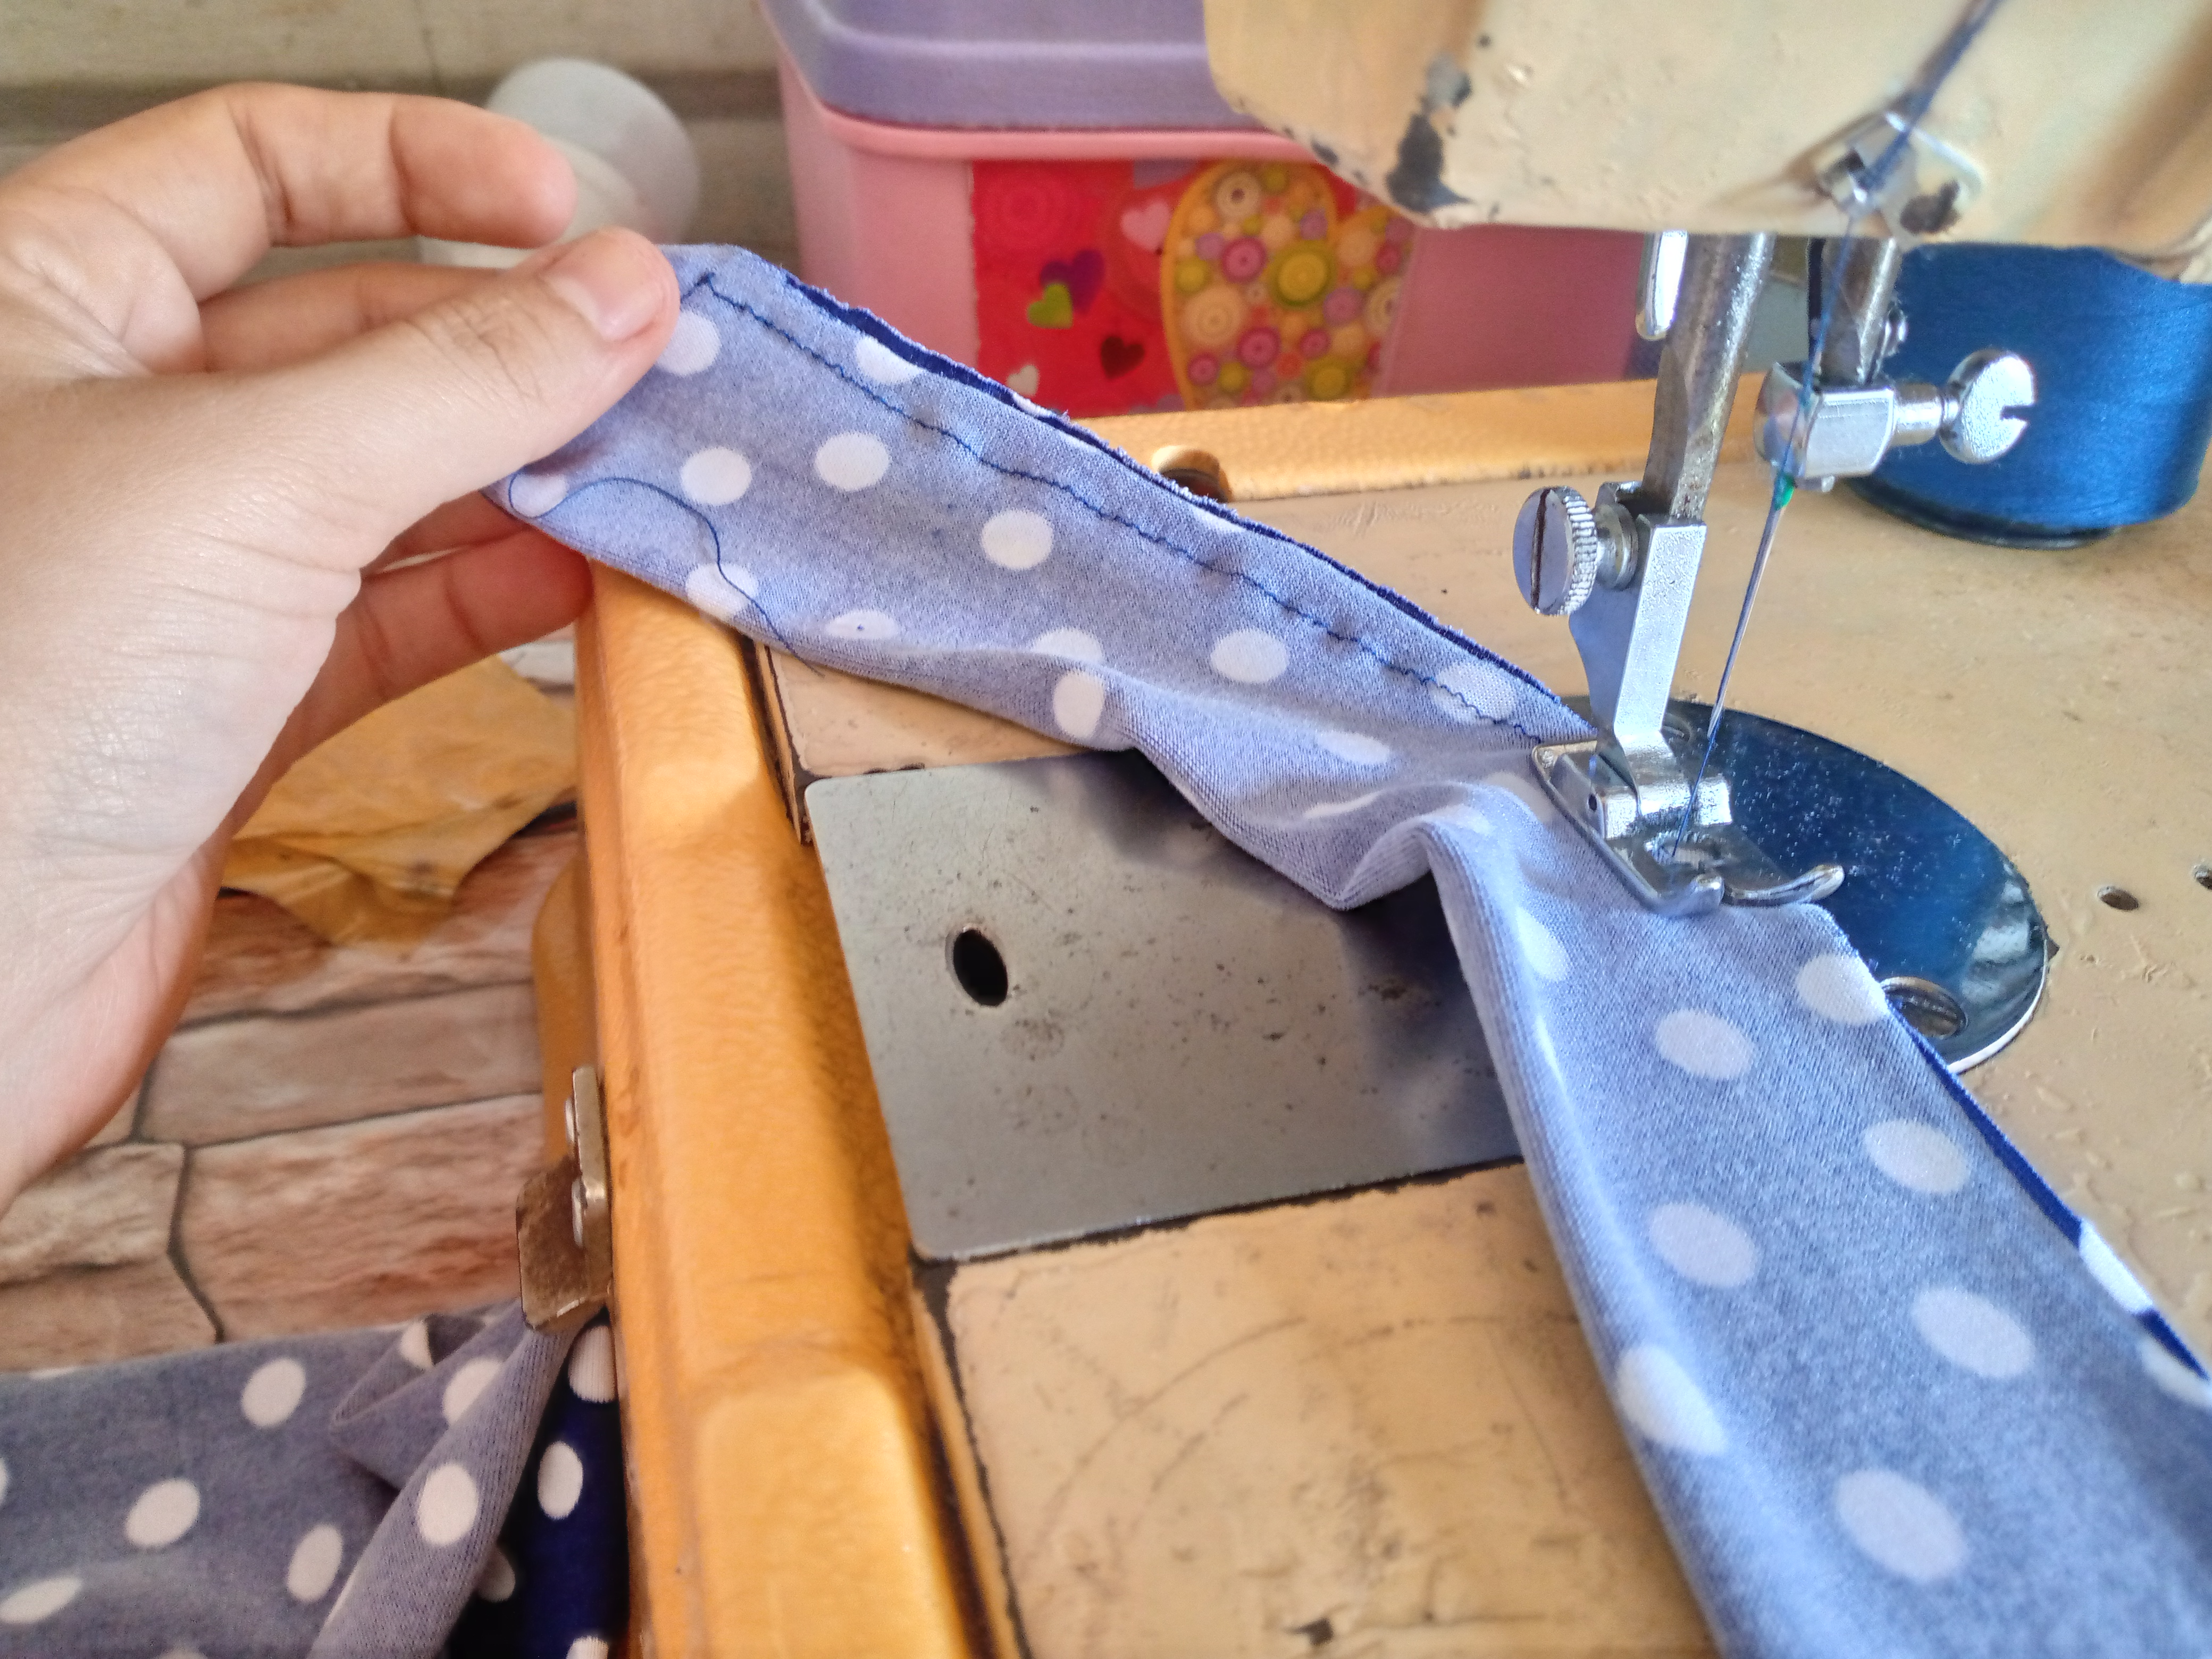
We continue sewing the pieces on the sides of the blouse to seal it, then we sew the pieces of the side strips and turn them over, then we sew them on the sides and sew the edge of the sleeves.

Paso 04
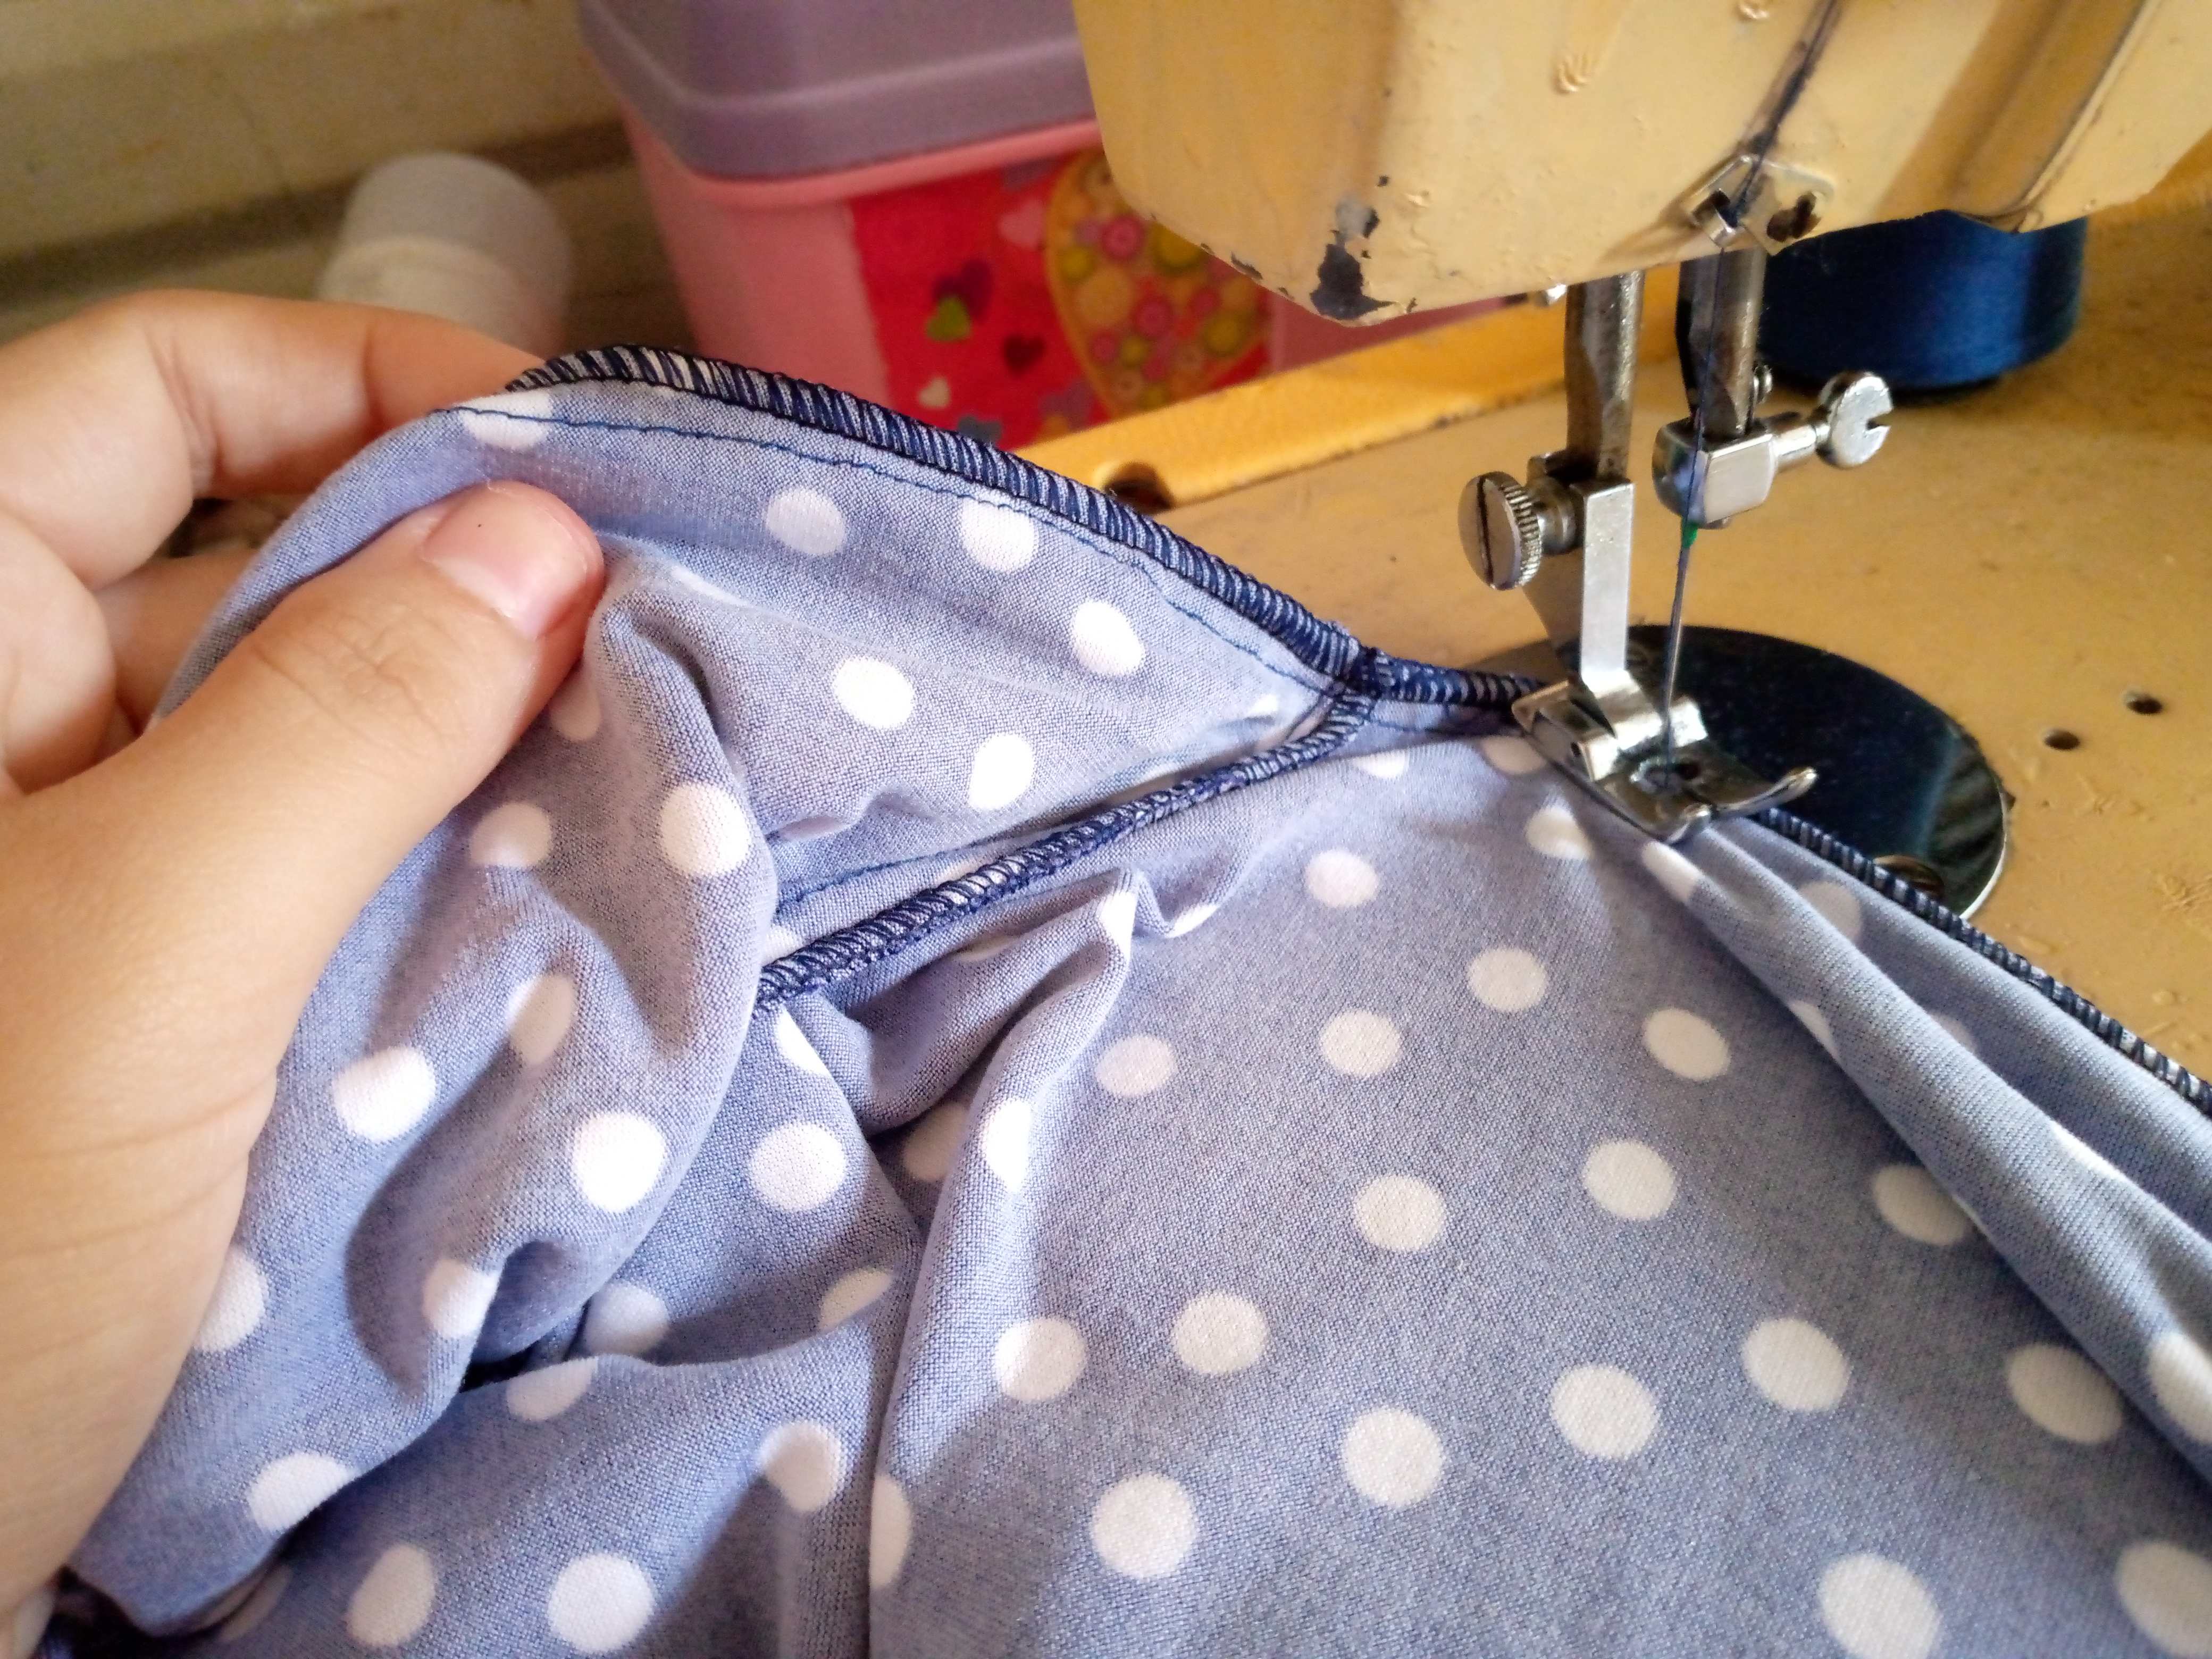
Step 04
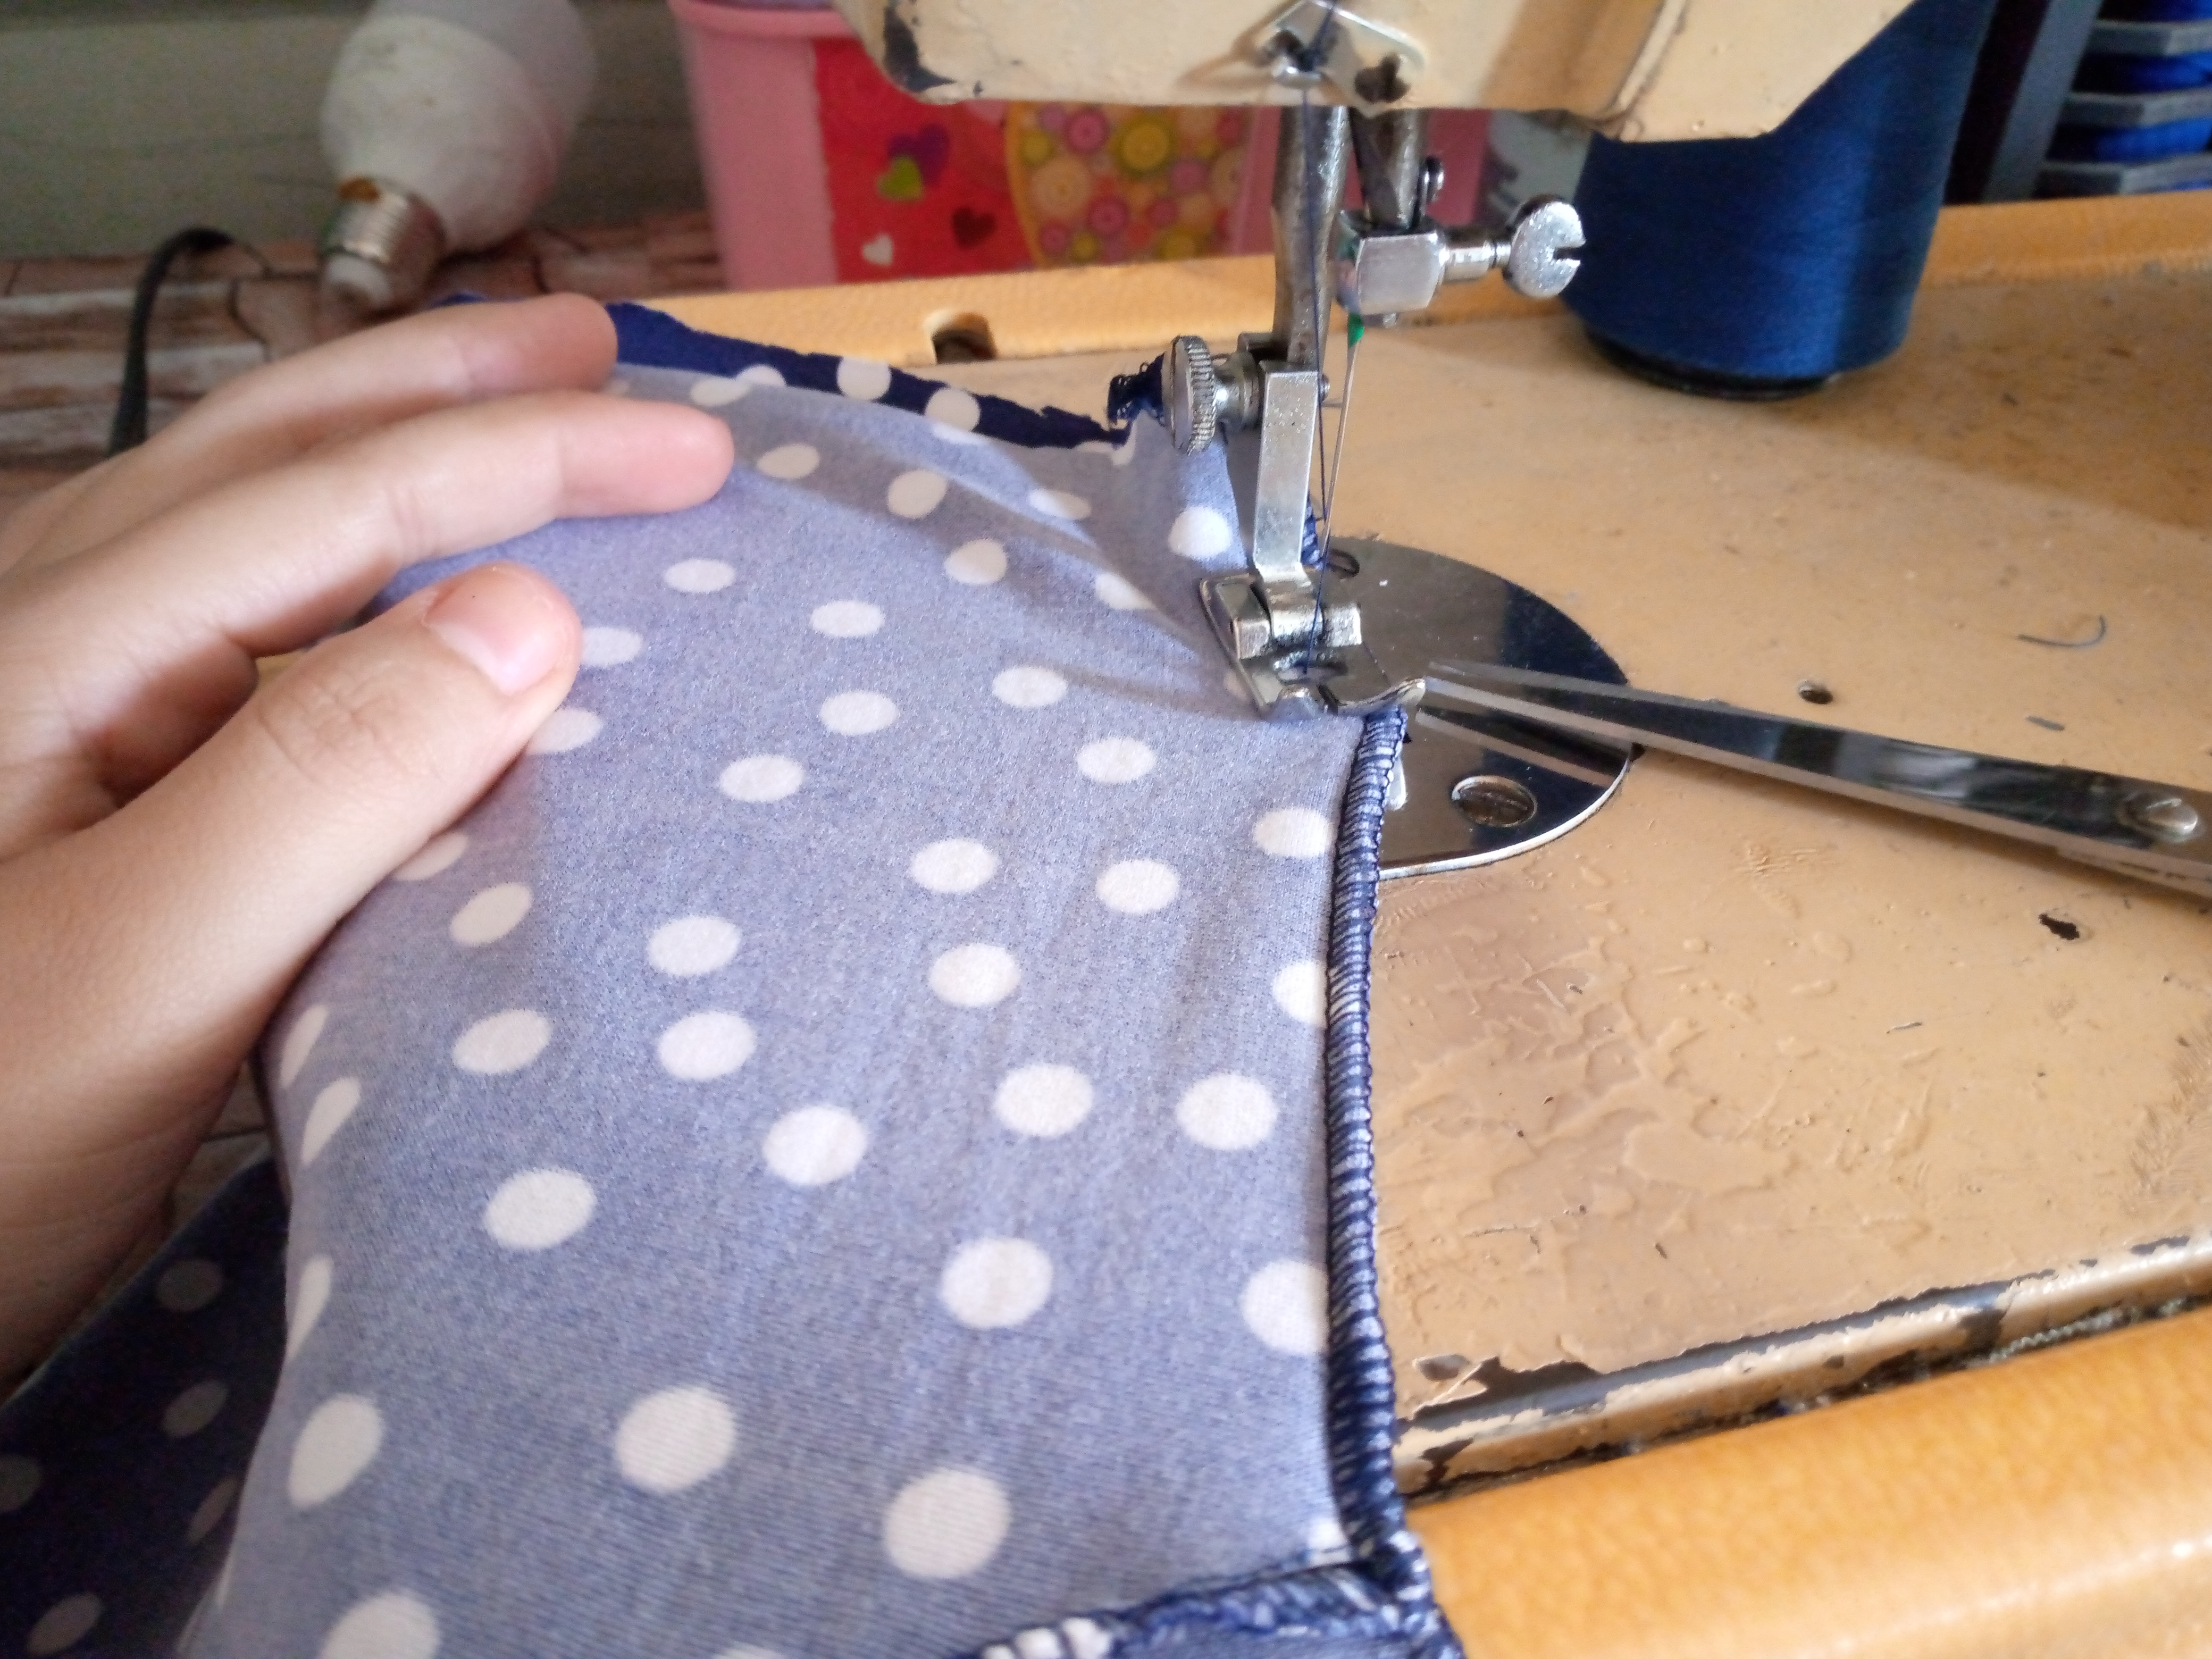
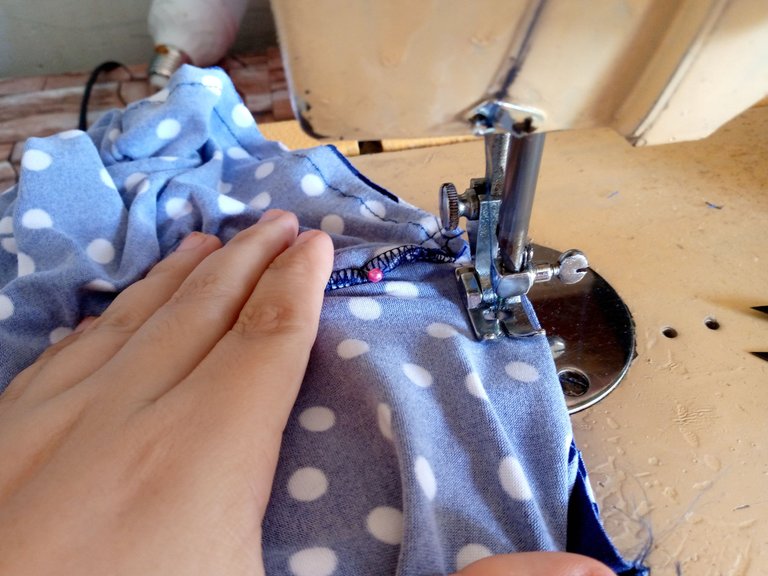
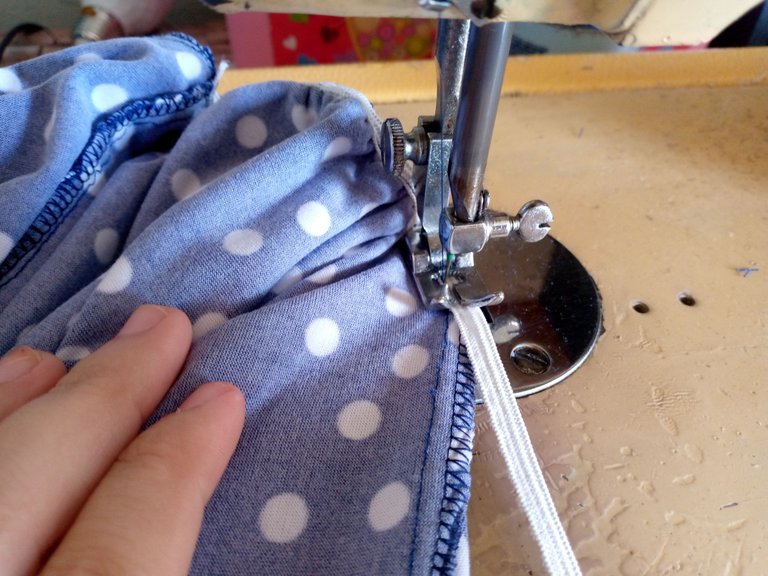
Finally we are going to sew the bias on the neck part from the inside out and we will overlay it with a straight seam, we also sew the hem of the pants and the part of the buttonholes and where I will sew the buttons and then I will join both parts, the blouse with the pants and then we sew the elastic around the waist to adjust it, finally I have sewn the buttonholes and the corresponding buttons in place 🥰.
Resultado:// Result:
This is how we have this beautiful panty ready and made, 🥰😍 I really loved the final result, I hope you like it too and tell me what you think and if you have had the opportunity to make this comfortable garment, it is a pleasure for me to always show you my sewing work and for today I have shown you this one, we have even arrived with this tutorial, we will read each other on another next occasion until soon 🥰 I wish you a happy day.
Gracias por visitarme y apreciar un tutorial más conmigo!!.🧥🪡
Thanks for visiting me and enjoying another tutorial with me!!.🧥🪡
Creating things with love 🌷❤️
🦋✨ All the images in this publication are my author ,📱taken with my TecnoSpark8C cell phone |📸Photos edited in PicsArt and Canva. Text translated in Google Translate.

WOW! It is stylish, elegant, and beautiful. It looks amazing. It shows your skills. You did a great job! Keep it up!
selected by @rezoanulvibes
Thanks 😍😊,@diyhub
Your level lowered and you are now a Red Fish!
Check out our last posts: