
🧵Bienvenidos a mi blog amigos de @needleworkmonday.🪡✨ |🧵Welcome to my blog, friends of @needleworkmonday.🪡✨
Espero estén pasando una linda tarde, verán,en el tutorial pasado les mostré como podrías descoser y cortar un ruedo y la forma en como yo aprendí a hacerlo muy sencillo la verdad,ahora hoy vamos a estar transformando una falda ancha de capas en una pegada corte "A",si te gustaría ver cómo luce el resultado de esta transformación te invito a que te quedes conmigo y disfrutes del proceso de esta bonita transformación.💖🧵
I hope you're having a lovely afternoon. In the last tutorial, I showed you how to unpick and cut a hem, and how I learned to do it—it's really easy. Today, we're going to transform a wide, layered skirt into a fitted A-line skirt. If you'd like to see the result of this transformation, I invite you to stay with me and enjoy the process of this beautiful makeover. 💖🧵


Materiales: | Materials:
- Tiza de costura
- Tijeras
- Máquina de coser
- Descosedor
- Sewing chalk
- Scissors
- Sewing machine
- Seam ripper

Pasos a seguir: | Steps to follow:


Paso 01
Step 01
Okay friends, in the first step I unpicked the side pieces where each skirt seam is joined. For this I used the seam ripper and unpicked up to the top, leaving 2 centimeters of seam allowance undone because this skirt has a bell-shaped cut at the bottom of each seam. So what we will do is cut each seam straight so that we can sew them together again.


Paso 02
Step 02
I unstitched the seams on the front and proceeded to cut them straight vertically and sewed them back on top with a double straight stitch as it was sewn before, that way I will level the skirt on the front.


Paso 03
Step 03
Once I leveled them, I proceeded to place my skirt, which was already taking shape, and fold it in half. I'll be using another skirt in my size that fits perfectly to mark the shape of the skirt at the sides of the hip area. I cut off the excess fabric of the skirt by that measurement, as it was previously too wide at the sides. Once I cut it, I proceeded to sew and seal it. I'll also take this opportunity to cut 1 centimeter off the hem because it was too long.


Paso 04
Step 04
Finally, I sewed the hem and the top part at the waist, I took in 1 centimeter because it was too wide. In that simple way I finished it and was able to renew it.

Resultado: | Result:
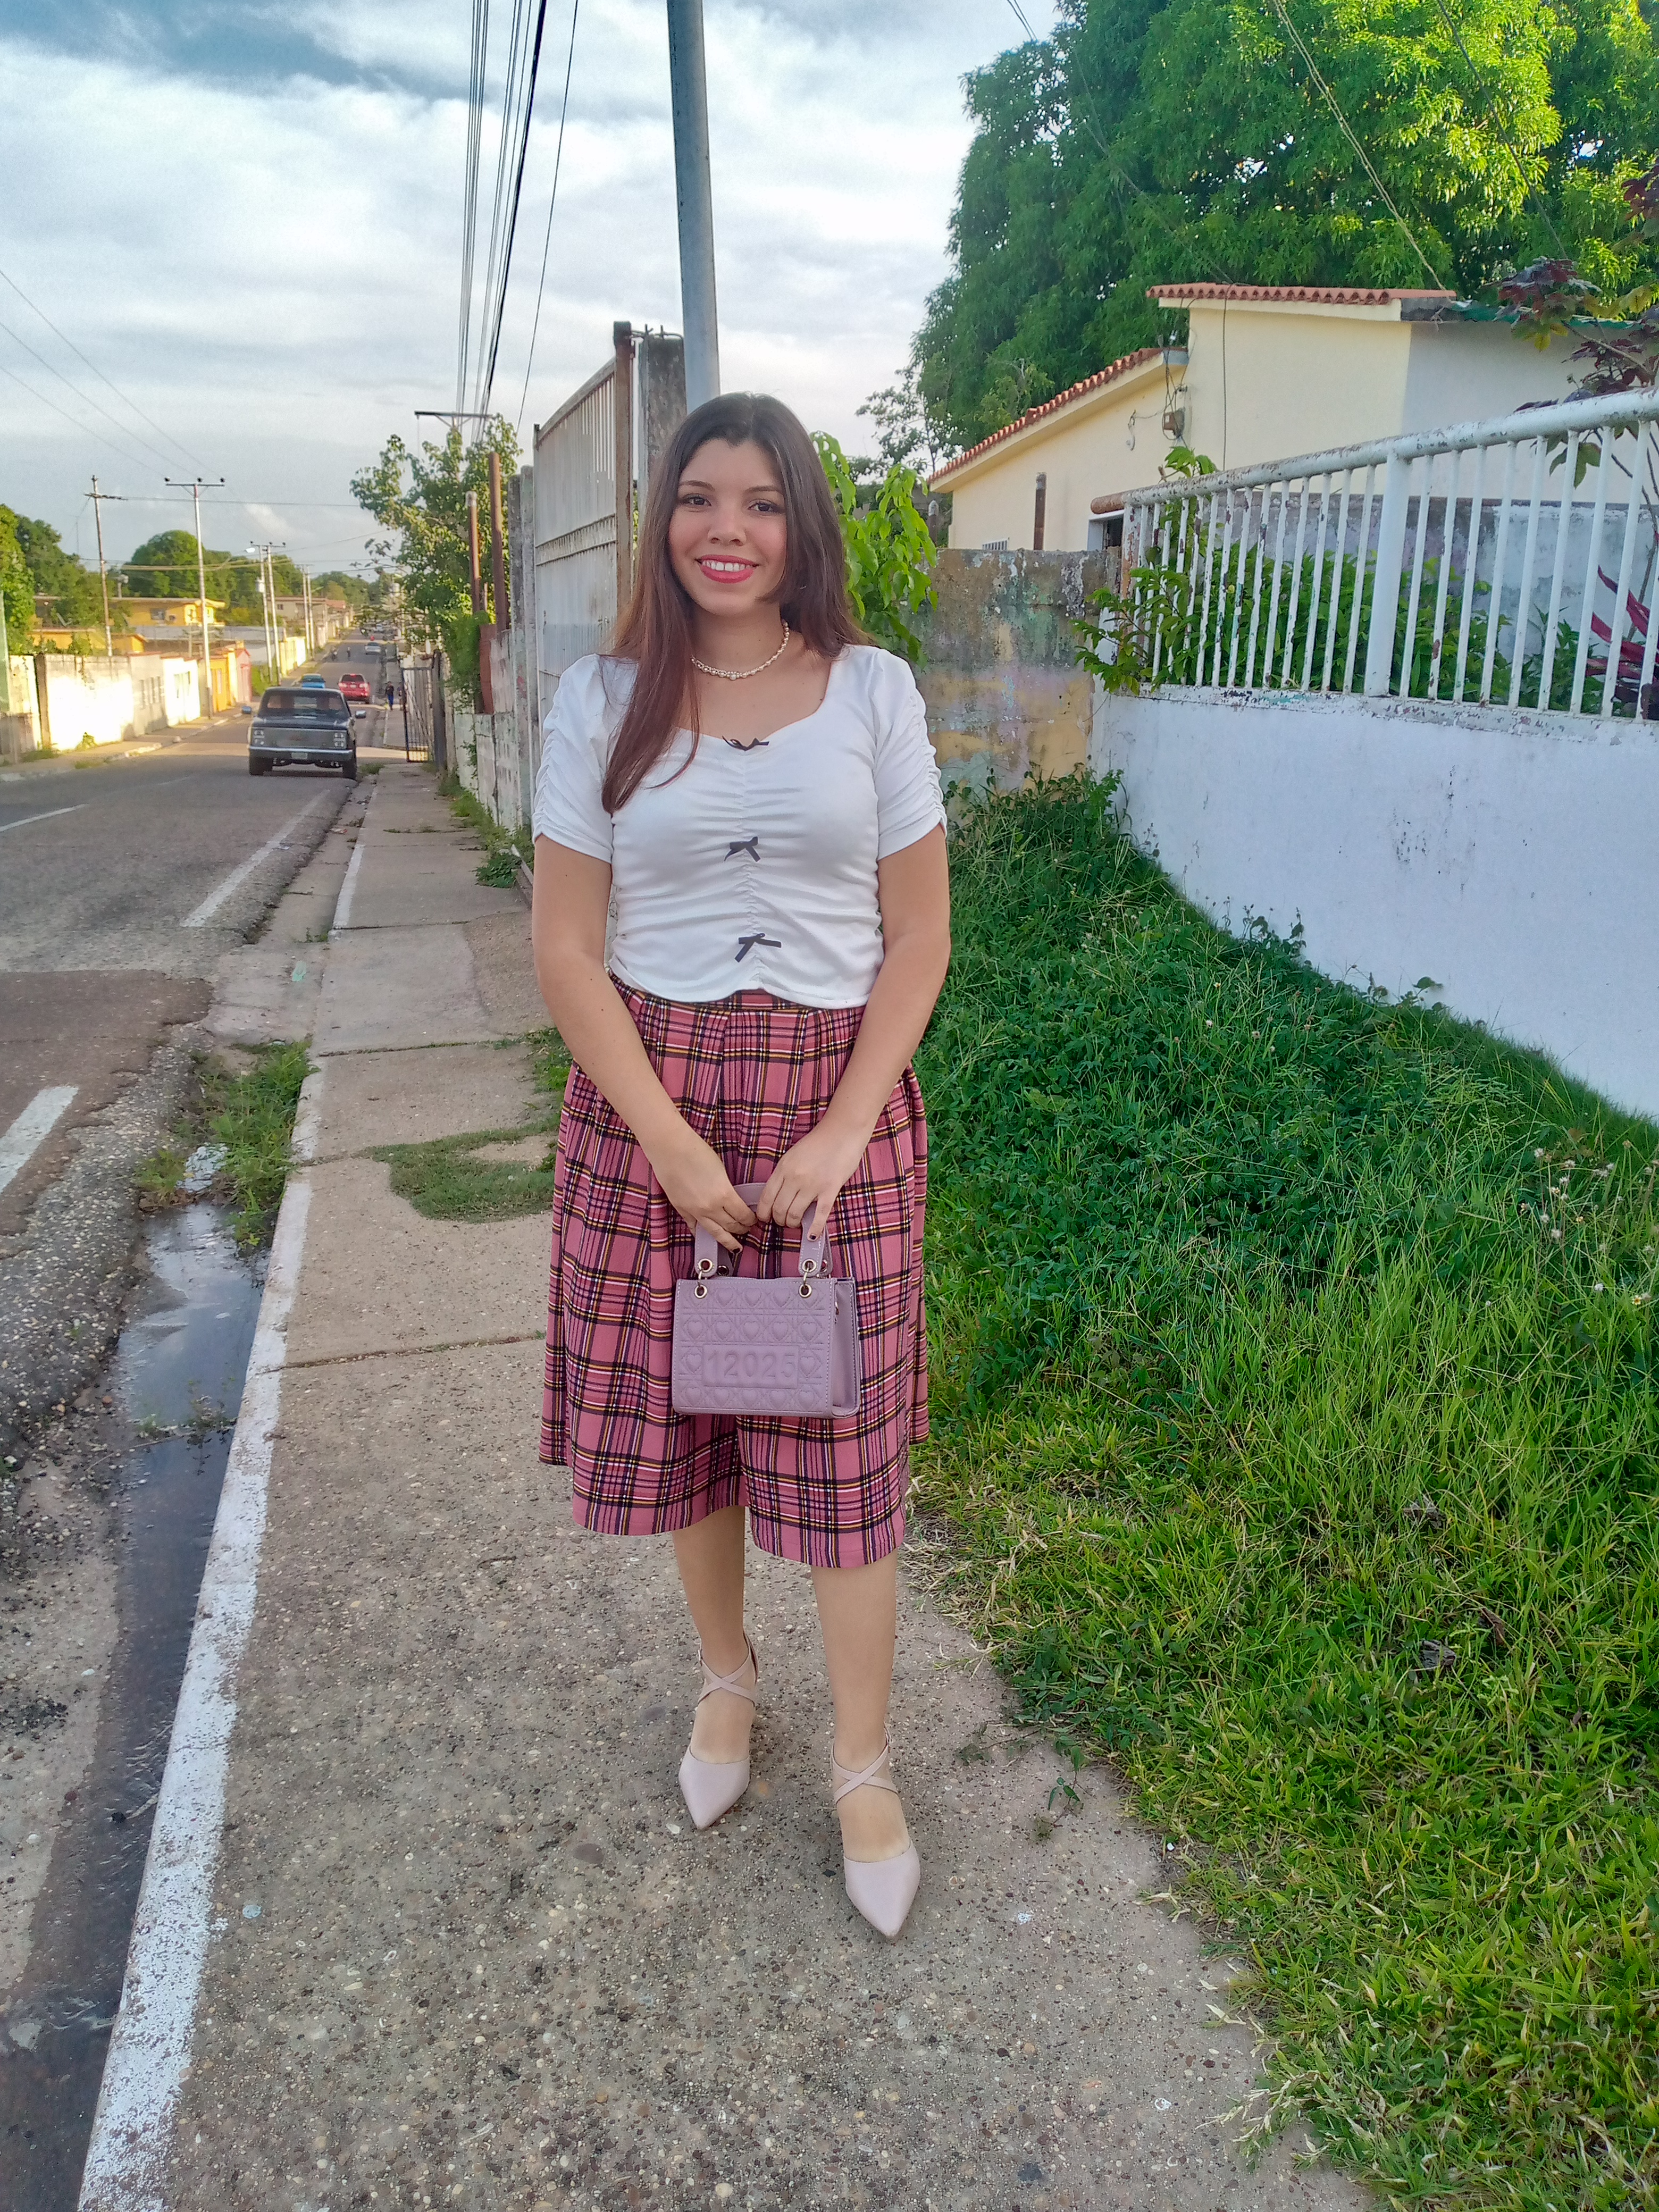
Estos son los resultados finales de mi falda ya con la transformación,miren como se aprecia antes y después de haberle hecho el trabajo,sin duda me quedó perfecta y ya no andaré con mi falda que se me caiga a cada momento,🤭si te ha gustado esta sencilla transformación no dudes en comentar ,les deseo una feliz tarde un feliz domingo ,saludos los quiero mucho 🥰❤️.
These are the final results of my skirt after the transformation. Look how it looks before and after the work I did. It definitely turned out perfect, and I won't have to worry about my skirt falling down anymore! 🤭 If you liked this simple transformation, feel free to comment. I wish you a happy afternoon and a happy Sunday. Greetings, I love you all!🥰❤️


¡Hola!...Soy Annie
Una chica que le apasiona el diseño,la costura las manualidades y crear cualquier cosa de mucho uso con mis manos,tengo como hobbie la música ,el maquillarme,la pintura y el dibujo,expresar mis ideas y sentimientos en un dibujo es algo que me gusta hacer,amo la naturaleza,un atardecer ,la playa y disfrutar con mis familiares de los buenos momentos de la vida.❤️
Creando las cosas con amor🌷♥️ | Creating things with love🌷♥️
Images:my own work | Edited by:Canva® and PicsArt © | Translator:Google Translate |Device:TecnoSpark 8C .

It is well fitted and looks great. It is fashionable and beautiful. You did a great job! Nice work!
selected by @rezoanulvibes
Hello! Thanks for the support friend ☺️
Your level lowered and you are now a Red Fish!
Check out our last posts: