
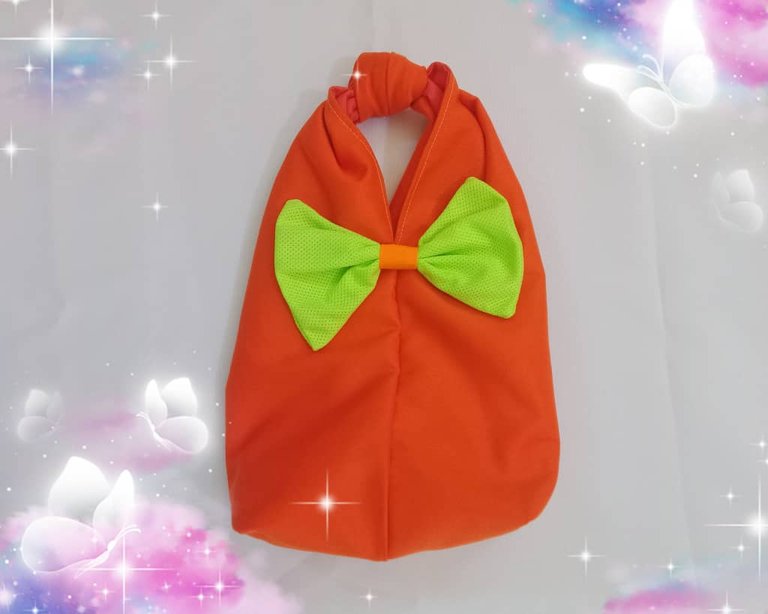
Hello friends, all needle and thread lovers, I hope you have an excellent and blessed week. From my point of view, the holidays are definitely moving by very quickly. Today is the last Monday of August. As I mentioned before, I'm taking advantage of this time when my son is home and I don't have to get up so early to prepare food. I'm taking advantage of this time to finish several sewing projects. Today I'm sharing with you the creation of a practical and simple bag that can be used for small purchases, carrying makeup, toiletries, and personal hygiene items, as well as a wallet, among other items.
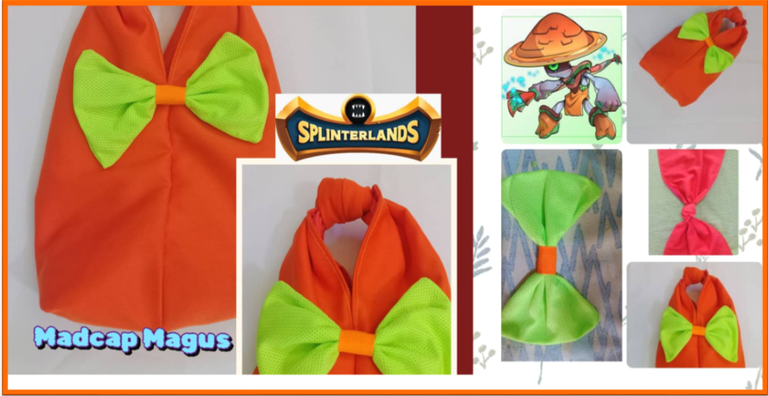
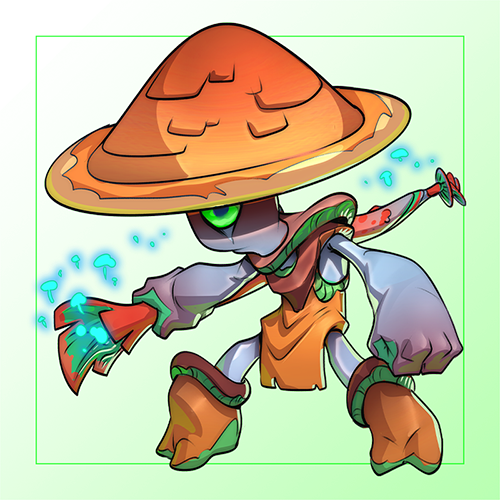
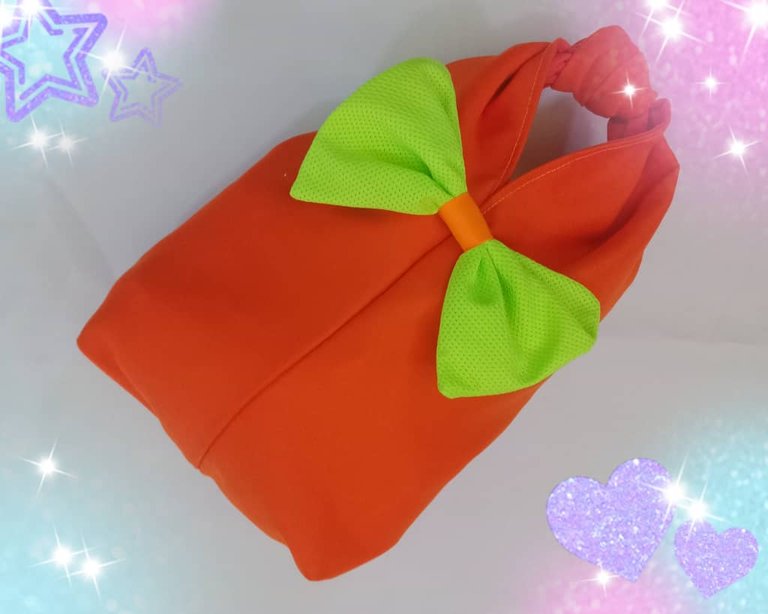
It doesn't have a closure, and the top is a knot that looks great and adds a different style. This knot also forms the handles. The multipurpose bag is inspired by the Splinterlands character Madcap Magus, who wears orange, green, red, blue and more colors in his clothing. I took as a reference a cloth or blanket that he wears around his waist and looks like the bag, also the green colors for the bow and orange for the bag.
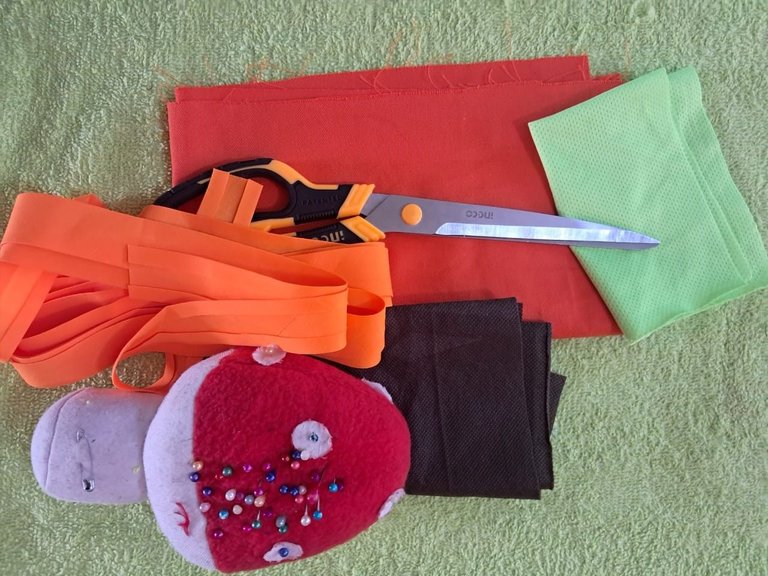
This project is easy to make and you can use any fabric of your choice, initially I wanted to use dacron fabric but it is too thin for my taste, then I replaced it with drill which is thicker and gives the bag more firmness, but it depends on the taste of each person which fabric they want to use, I like firm and rigid fabrics that allow you to appreciate the shape of the bag, when I started the project I forgot that I had to cut a lining, I had already made the knot in the center and I was ready to sew the sides, then I realized that there were going to be frays on the sides, I undid the knot, cut a dacron fabric to make the lining and started again from scratch, I invite you to join me in the elaboration process.

Hola amigos amantes de los hilos y las agujas deseo que tengan una excelente y bendecida semana, definitivamente las vacaciones desde mi punto de vista van avanzando muy rápido, ya hoy estamos en el último lunes del mes de agosto, como les comenté anteriormente estoy aprovechando este período que mi hijo está en casa y no me tengo que levantar tan temprano a preparar los alimentos, para terminar varios proyectos de costura, el día de hoy les comparto la elaboración de una bolsa práctica y sencilla, que se puede usar para realizar pequeñas compras, llevar productos como el maquillaje, aseo e higiene personal, el monedero entre otros.
No tiene cierre y la parte superior es un nudo que se ve muy bien y agrega un estilo diferente, este nudo también es el que forma las asas; la bolsa multiuso está inspirada en el personaje de Splinterlands Madcap Magus, quien lleva en su vestimenta los colores naranja, verde, rojo, azul y más, yo tomé como referencia un paño o manta que lleva en la cintura y se parece a la bolsa, también los colores verde para el lazo y naranja para la bolsa.
Este proyecto es sencillo de hacer y se puede usar la tela de nuestra preferencia, inicialmente quería utilizar una tela de dacrón pero es muy delgada para mi gusto, luego la sustituí por drill que es más gruesa y le da más firmeza a la bolsa, pero depende del gusto de cada persona cual tela quiera usar, a mí me gustan las telas firmes y rígidas que permiten apreciar la forma de la bolsa, cuando inicié el proyecto se me olvidó que debía cortar un forro, ya había hecho el nudo en el centro y me disponía a coser los laterales, luego me di cuenta que iban a quedar hilachas por los lados, desbarate el nudo corté una tela de dacron para hacer el forro y empecé nuevamente desde cero, les invito me acompañen en el proceso de elaboración.


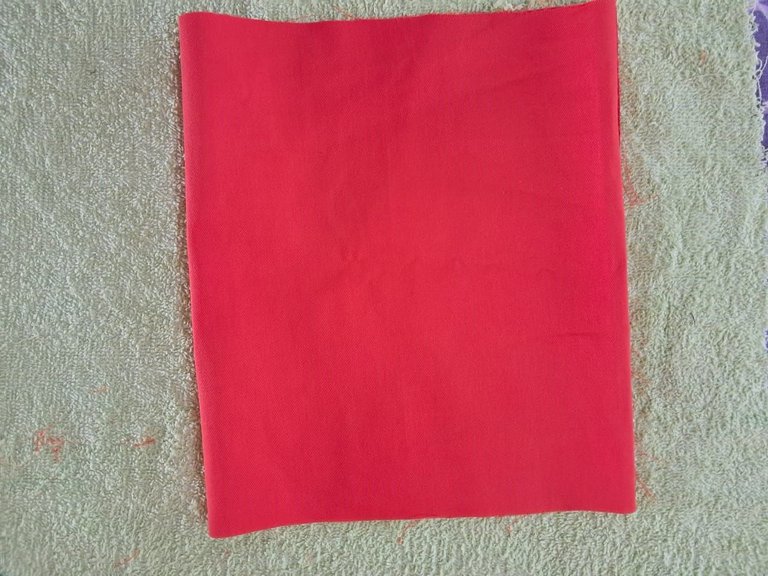
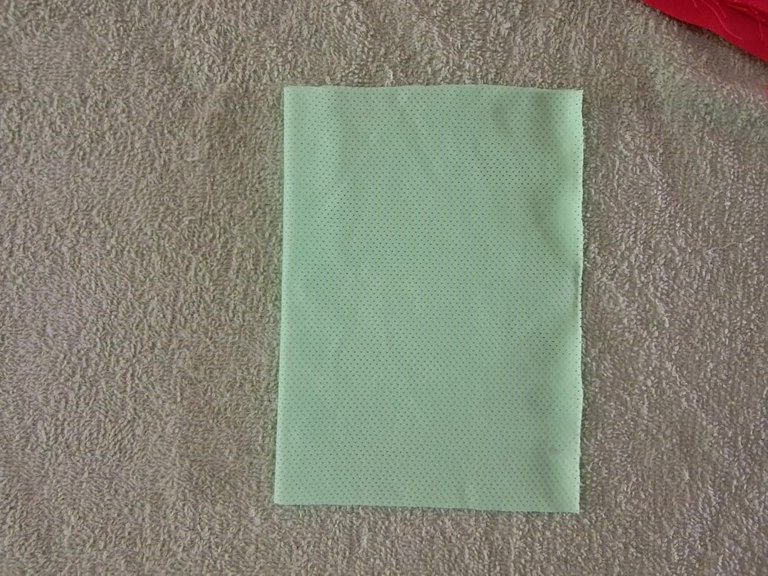
To make this simple bag, the first step is to cut the pieces: a rectangle measuring 90 x 30 cm wide, a rectangle measuring 20 x 13 cm to make the bow, and the lining, which I cut from Dacron slightly wider than the main fabric to make it easier to sew.

Para elaborar esta sencilla bolsa el primer paso es cortar las piezas; un rectángulo de 90 * 30 cm de ancho, un rectángulo de 20 * 13 para hacer el lazo y el forro que lo corté en dacron un poco más ancho que la tela principal para coser más cómoda.
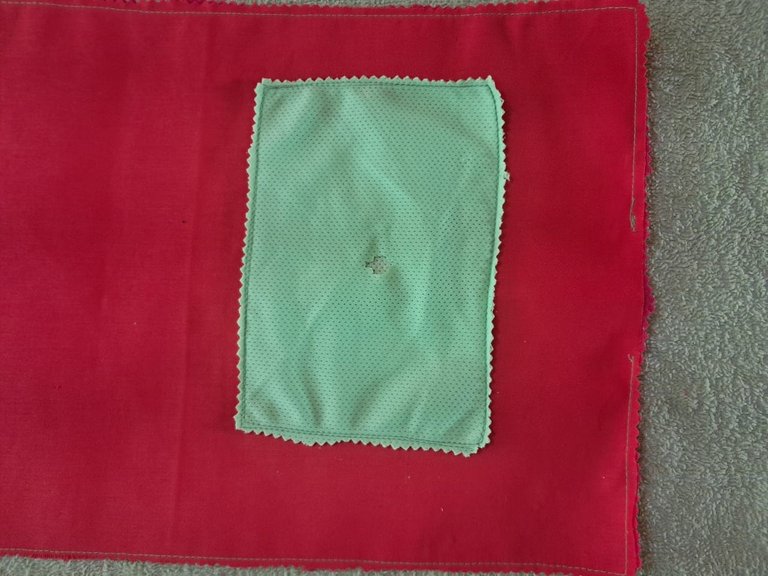
Once the pieces were cut, the next step was to place the bow rectangle right sides together, pin it in place, and sew. I did the same with the main fabric. I placed the lining with the right sides of the fabrics facing each other and sewed around the entire outline, leaving an opening of approximately 10 cm at one end.
Cortada las piezas, el siguiente paso fue enfrentar por el derecho el rectángulo del lazo sujete con alfileres y cosí, de igual forma hice con la tela principal, coloqué el forro enfrentando los derechos de las telas y cosí por todo el contorno dejando una abertura de aproximadamente 10 cm en uno de los extremos.
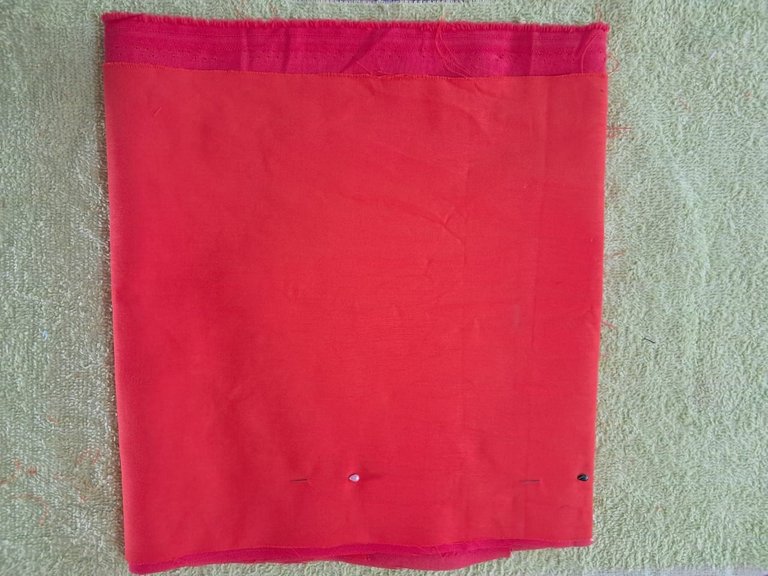
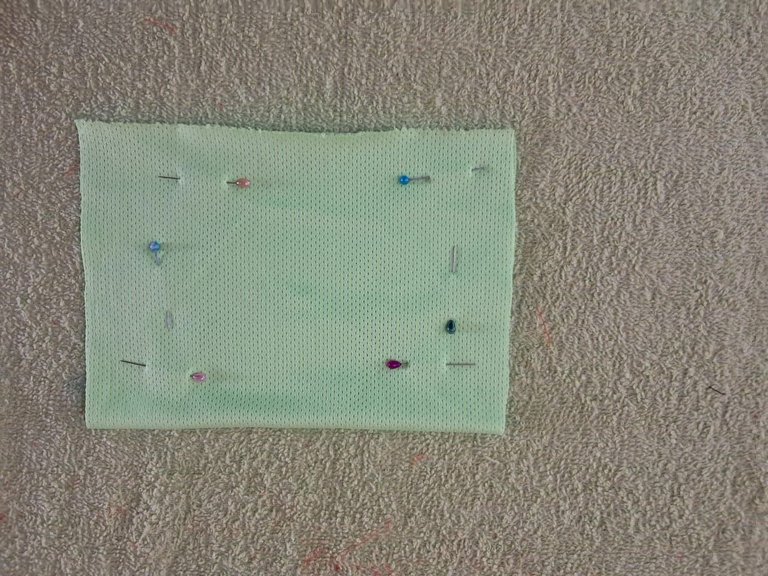
Once both pieces were sewn, I removed the excess fabric and made triangular cuts in the corners. This allows for a better finish. I made a small hole in the bow rectangle, which will remain on the back and be covered with the ribbon. Then I turned both pieces inside out.
Cosidas ambas piezas retiré el exceso de tela e hice cortes triangulares en las esquinas, esto permite un mejor acabado, al rectángulo del lazo le hice un pequeño orificio, que quedará en la parte de atrás y se cubrirá con la cinta del lazo, luego volteé ambas piezas.
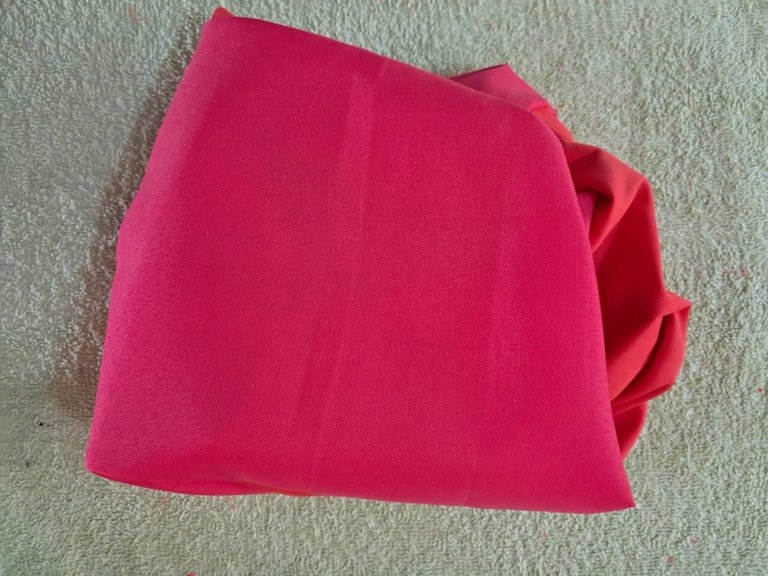
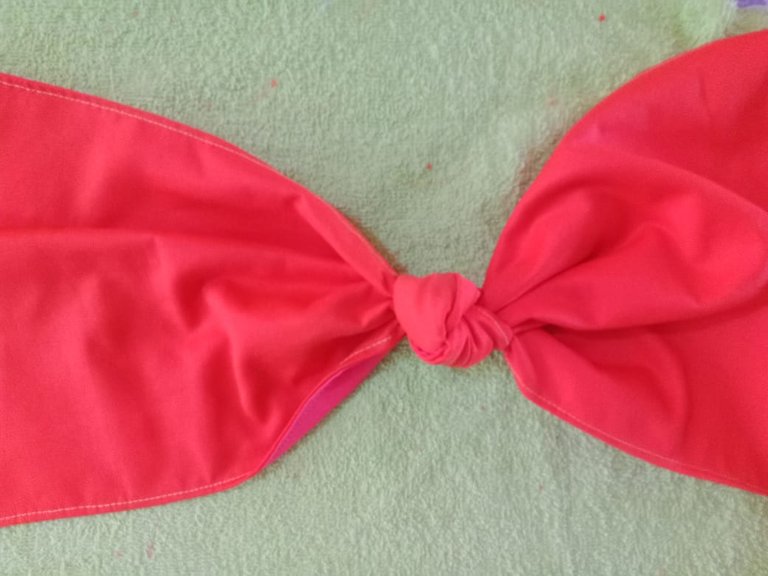
With the main fabric and its lining ready, I divided it in half and tied a knot. This is tied so that when measuring both sides, they match at the ends.
Ya con la tela principal y su respectivo forro listo, dividí por la mitad e hice un nudo, este se amarra de tal forma que al medir ambos lados coincidan en los extremos.
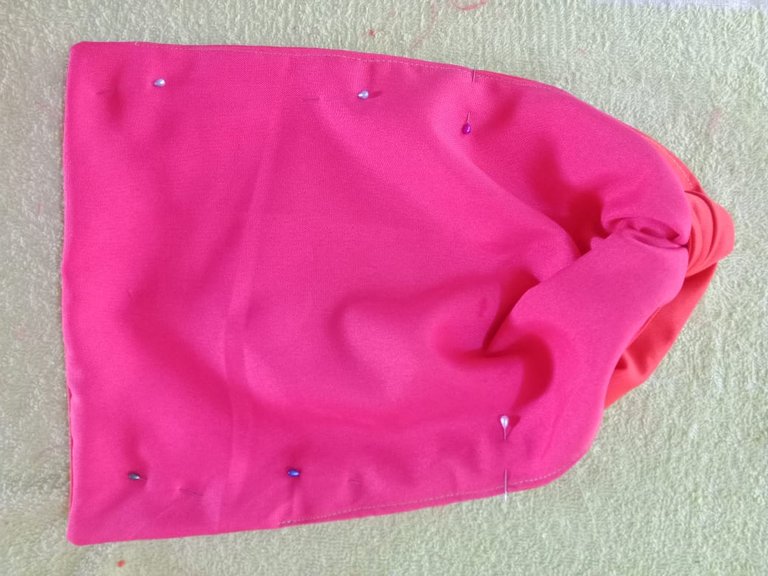
Then I faced it right side out and sewed the sides, leaving a 15-centimeter gap unstitched at the top.
Luego enfrenté por el derecho y cosí los laterales dejando en la parte superior un espacio de 15 centímetros sin coser.
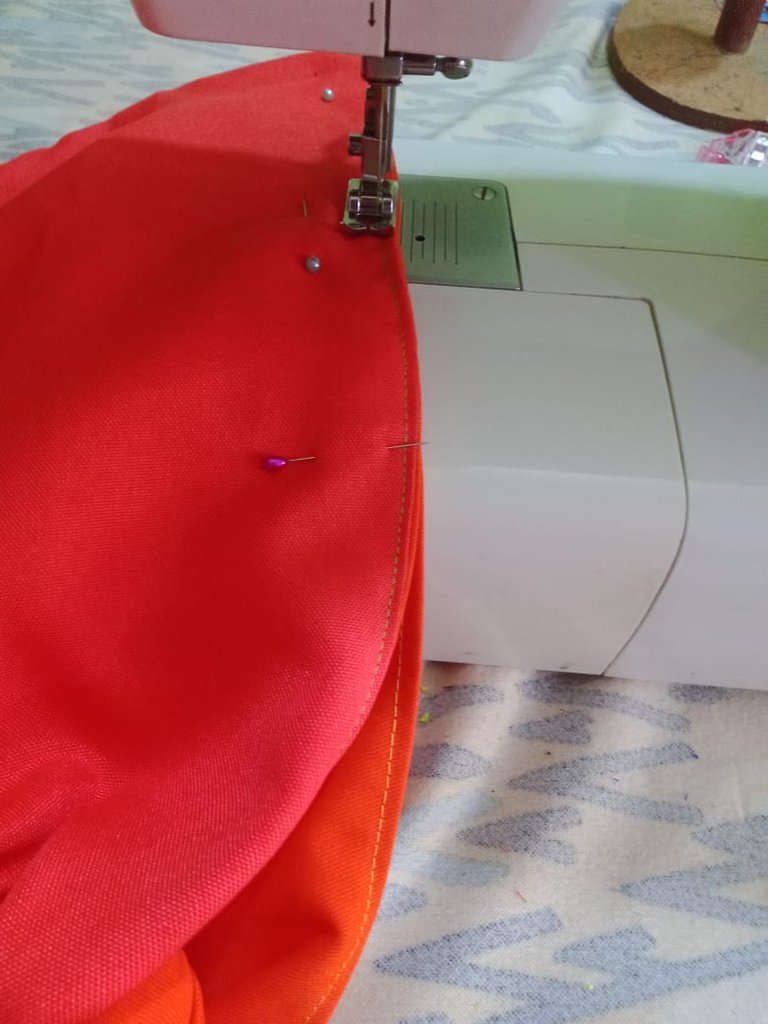
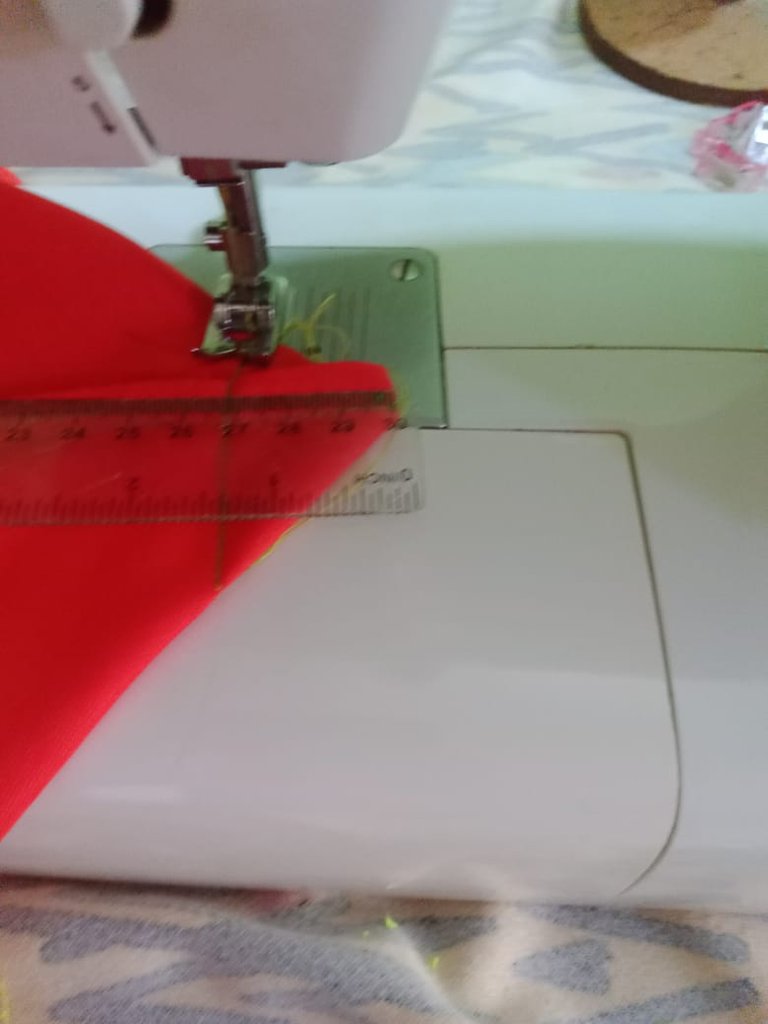
Once the sides were closed, I placed the bag so the seams met on the front and back. I pinned them and sewed them with a straight stitch. Then, I measured 3 cm at the corners, formed a triangle, and sewed them. This seam will form the base of the bag and create more width.
Cerrados los laterales coloqué la bolsa de tal forma que las costuras coincidieran en la parte delantera y trasera, fijé con alfileres cosí con puntada recta y luego en las esquinas medí 3 cm formé un triángulo y cosí, esta costura será para hacerle la base a la bolsa y crear más amplitud.

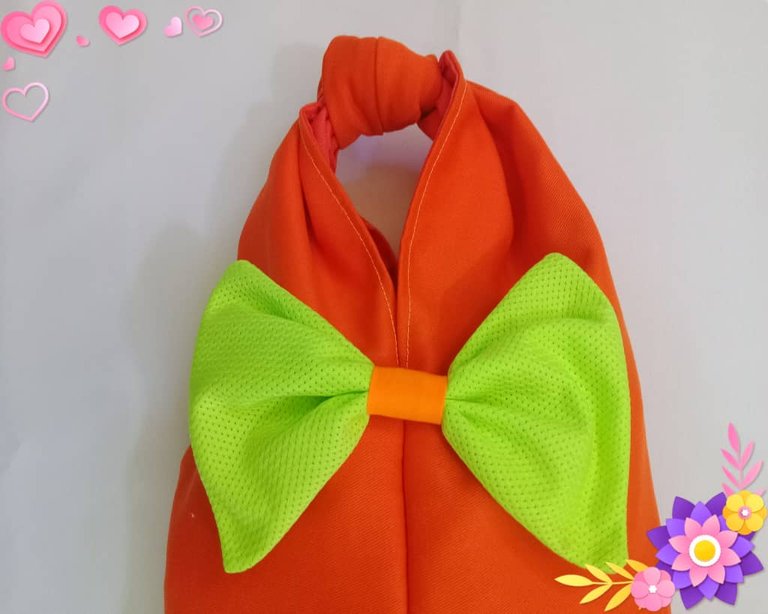
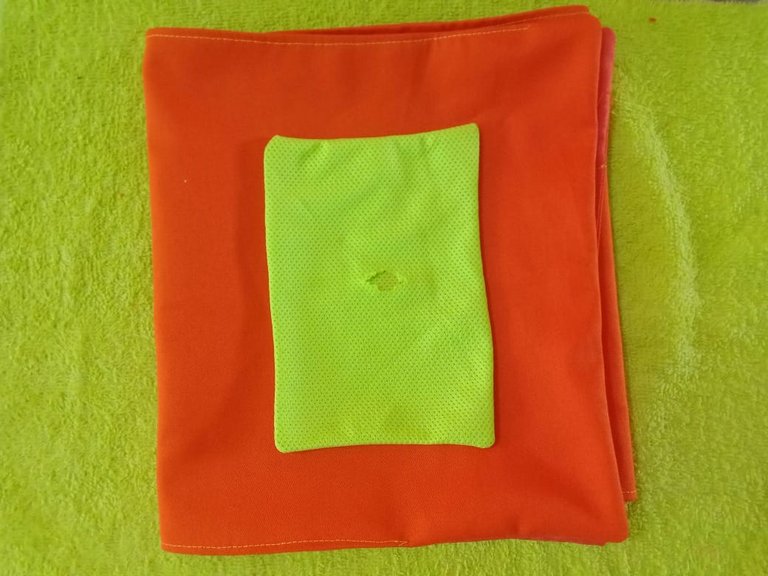
Finally, I placed an orange ribbon in the middle of the bow and glued it to the front of the bag. With these simple steps, a simple multipurpose bag inspired by the Spinnerlands characters is complete.
Finalmente coloqué una cinta naranja en el medio del lazo y lo pegué en la parte delantera de la bolsa, con estos sencillos pasos está terminada una sencilla bolsa multiuso inspirada en los personajes de Spinterlands.


Hasta luego!
Translated with https://www.deepl.com/translator
              All images are my own.


   Todas las imágenes son de mi autoría.
Thank you so much
Te quedó hermosa amiga ❤️🌷😍
Hola amiga, me encantó el color, se ve espectacular 🌸❤️🌼
!discovery 30
Saludos, muchas gracias 🤗
This post was shared and voted inside the discord by the curators team of discovery-it
Join our Community and follow our Curation Trail
Discovery-it is also a Witness, vote for us here
Delegate to us for passive income. Check our 80% fee-back Program
Thankful for the support @discovery-it
This is absolutely gorgeous and is perfect for ladies. Very colourful and neat, you killed it friend, well done.
selected by @ibbtammy
Greetings @diyhub and @ibbtammy, the orange color is beautiful and looks elegant with the green bow. ❤️
Have a great week!
Delegate your Hive Power to Ecency and earn
100% daily curation rewards in $Hive!
Hi @seckorama, thank you so much for the support.
Your multipurpose bag comes with multiple colours and it is unique
Hi @praiselove, thank you for your visit. The bag is beautiful and easy to make.
Best regards!
Excelente trabajo ☺️ quedó muy lindo
Hola @irenenavarroart, me alegra que te haya gustado, los colores se ven muy bien ❤️🌸
Thanks for sharing! - @cieliss

Thank you very much.
Best regards!