Hello, dear people of Hive, my warmest greetings to everyone. I hope you're all doing well. I thank in advance those who take a few minutes to read my posts, which are all made with love. This time, I'm sharing a very useful and cute craft for those small objects that are always missing from nightstands, or for cosmetics and the like. You'll be the ones who'll find a good use for them, and it's also very decorative. And so, without further ado, I'll share the list of materials for this wonderful idea.
Hola, querida gente de hive, mis más cordiales saludos para todos, espero que se encuentren muy bien, agradezco de antemano a esas personas que dedican unos minutos a leer mis post que están hechos con cariño. En esta ocasión traigo una manualidad muy útil y muy linda para aquellos pequeños objetos que siempre están de más en las mesas de noche o también para los cosméticos y demás, Ustedes son los que encontraran un buen uso, además que también queda muy decorativo. Y bueno, sin más preámbulos daré la lista de materiales para realizar esta maravillosa idea.
- Popsicle sticks or tongue depressors, or whatever you call them.
- Glue sticks and a hot glue gun.
- Cardboard.
- Cold-applied paint in the color of your choice. In my case, I used yellow for the theme I chose, and white paint.
- Markers, paint, or whatever material you prefer to make a cute drawing.
- White school glue.
- Paletas de helados o baja lengua o como las conozcan ustedes.
- Silicon en barra y una pistola de silicon.
- Cartón.
- Pintura al frío del color de tu preferencia, en mi caso usé amarillo por la temática que escogí, y pintura blanca.
- Marcadores, pintura o el material de tu preferencia para hacer un lindo dibujo.
- Pega blanca escolar.

Step 1: Assemble the bases.
Paso 1: Armar las bases.
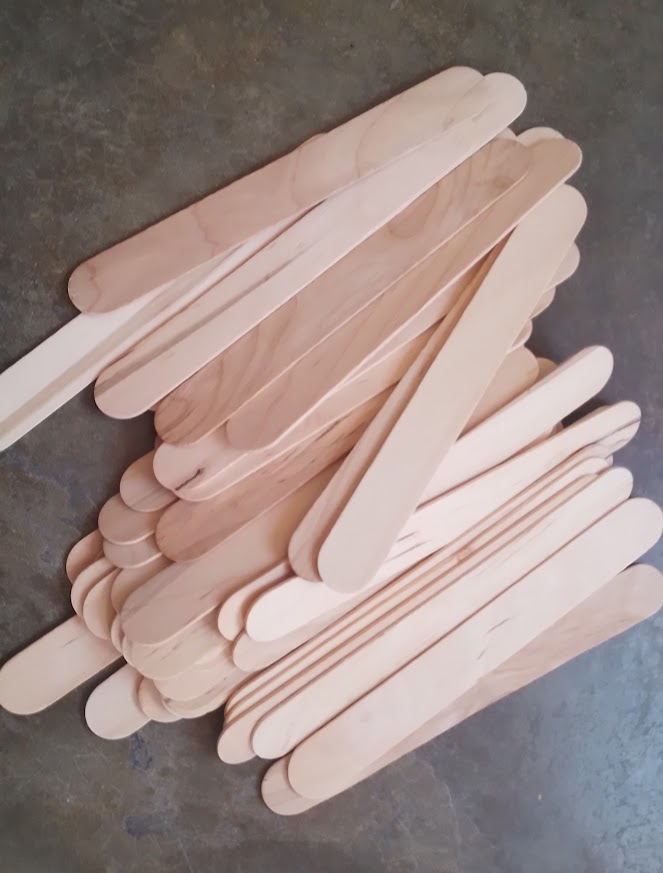
First I calculated how many pallets I had and how many shelves I would get with the amount I had on hand. In this case, to make each shelf enough, I needed 17 pallets, which multiplied by three gives 51 pallets for three shelves.
Primero calculé cuantas paletas tenía y cuantas repisas me iban a salir con la cantidad que tenía a mano, en este caso para que me alcanzara cada repisa necesitaba 17 paletas, que multiplicado por tres dan como resultado 51 paletas para tres repisas.
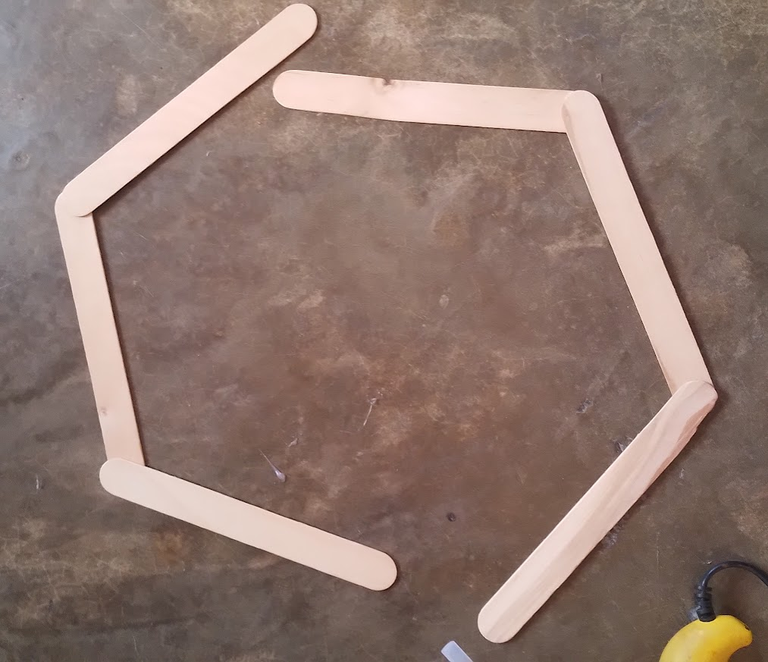
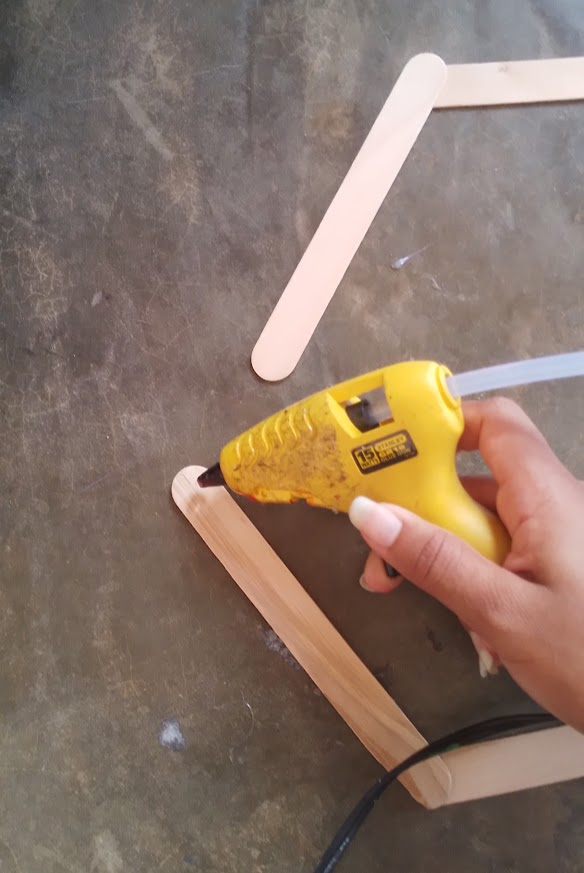
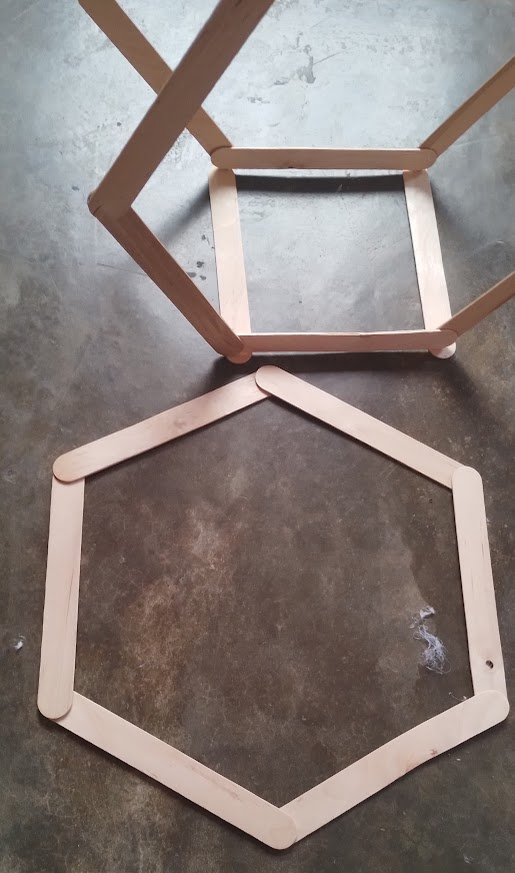
After removing the bead, I hot glued the popsicles on top of each other in sequence to form a hexagon.
Después de sacar la cuenta, pegué con silicon caliente las paletas una encima de la otra en secuencia para formar un hexágono.
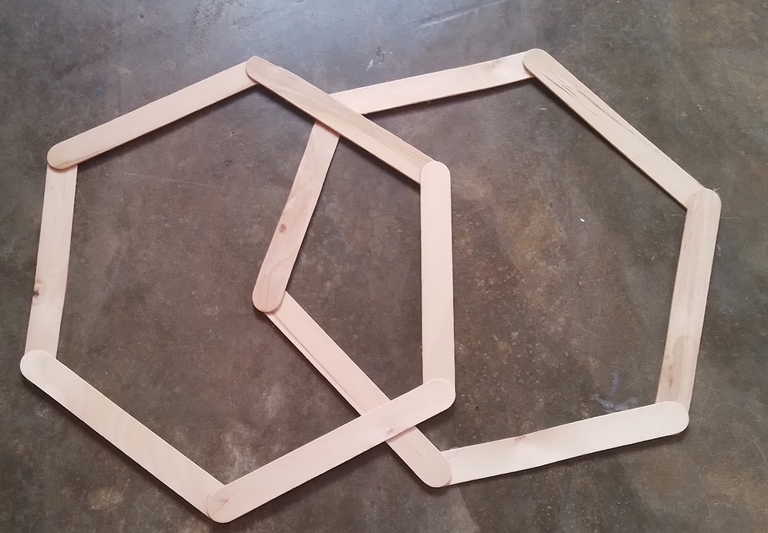
I glued palette after palette until I had a total of three pairs of hexagons, that is; six hexagons.
Fui pegando paleta tras paleta hasta tener el total tres pares de hexágonos, es decir; seis hexágonos.
 |  |
|---|
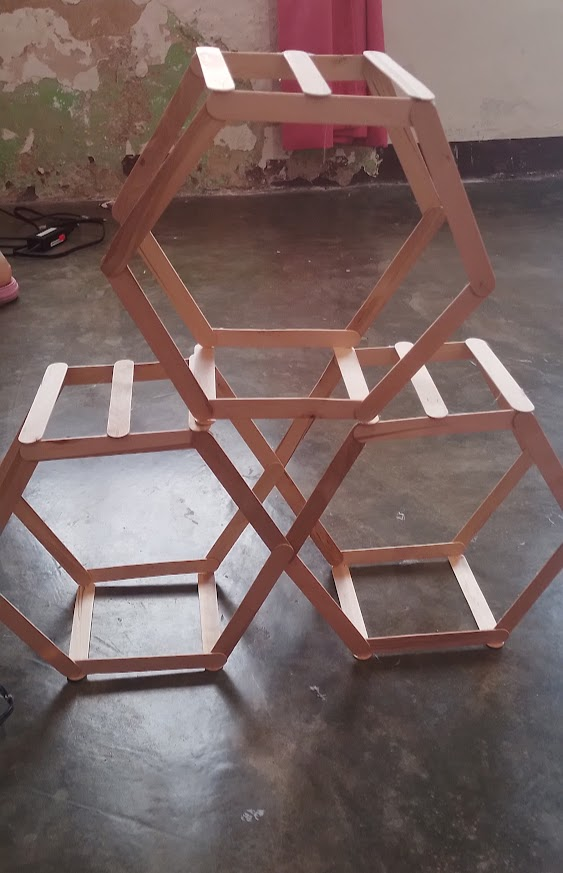
Step 2: Assemble the stand.
Paso 2: Armar el soporte.
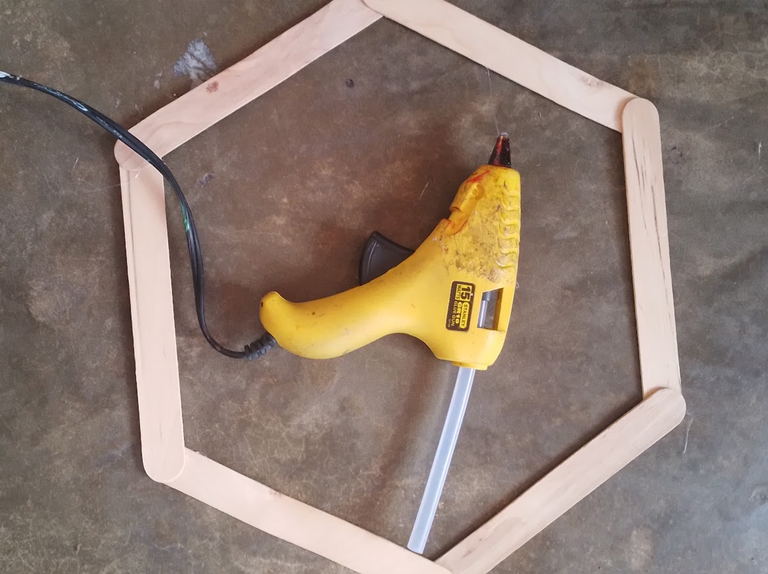
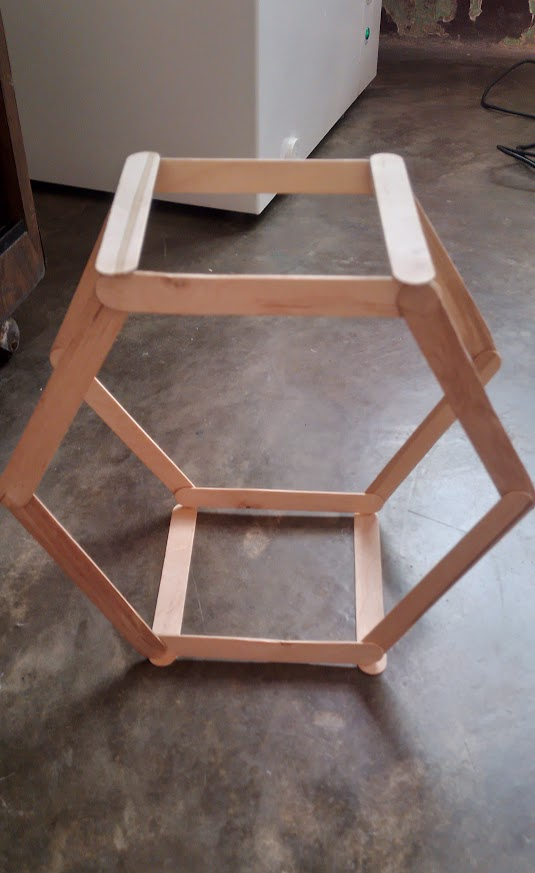
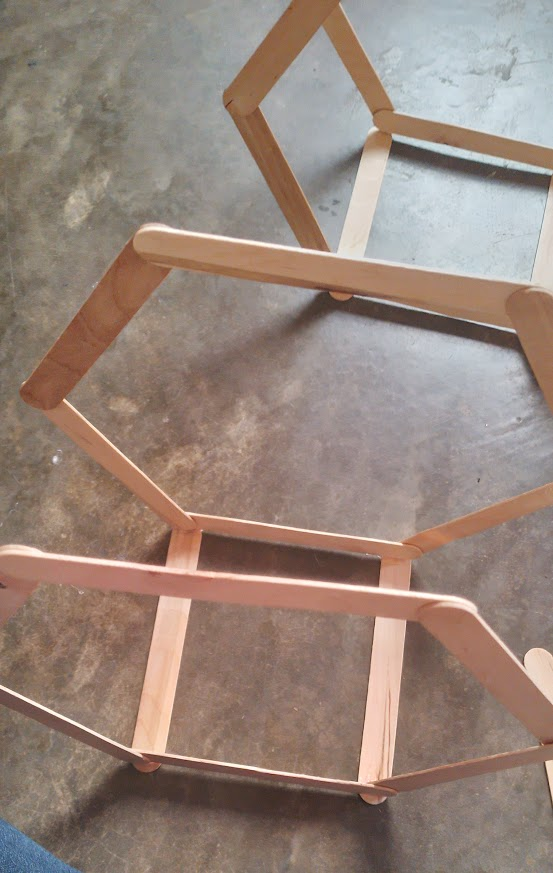
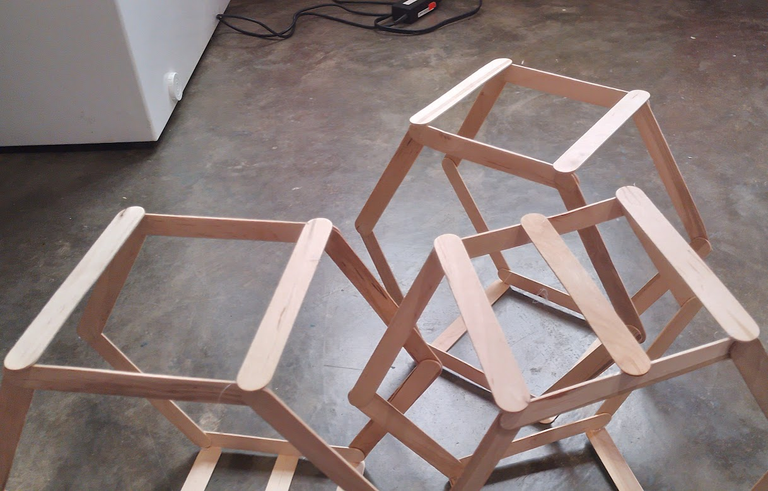
After having all the hexagonal pieces, we proceed to assemble what would be the structure of the shelf. We grab a hexagon and glue it with hot silicone in the corner, then in the other corner until the structure is stable, and continue like this with all of them.
Luego de tener todas las piezas hexagonales procedemos a armar lo que sería la estructura de la repisa, agarramos un hexágono y en la esquina pegamos con silicon caliente, luego en la otra esquina hasta que la estructura este estable, y proseguí así con todos.
 |  |  |
|---|
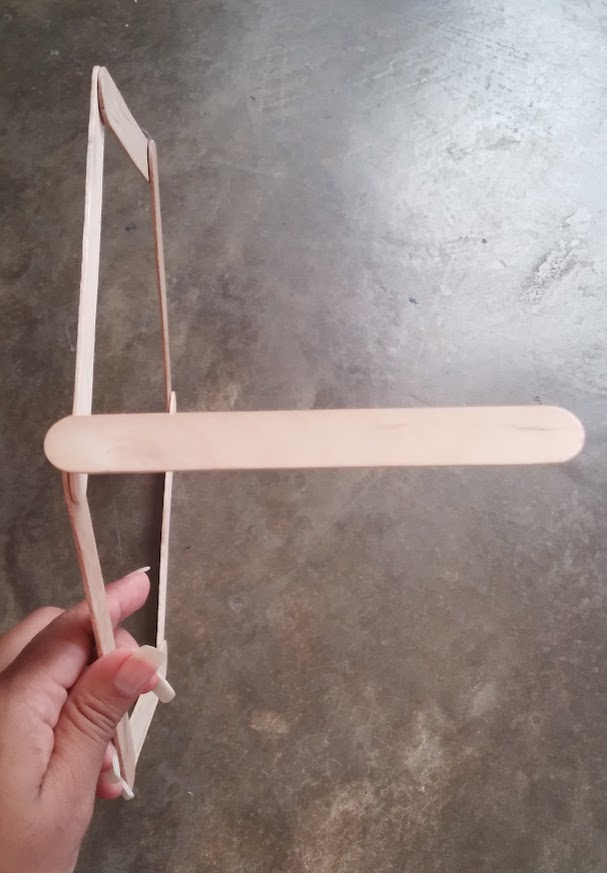
Luego para dar más soporte a la estructura agregue una tercera paleta a una de las partes, hubiera añadido otra a los otros lados, pero no me dio la cantidad, pero si en sus casos pudieran añadir otras más fuera excelente.
 |  |  |
|---|
Step 3: Decoration.
Paso 3: decoración.
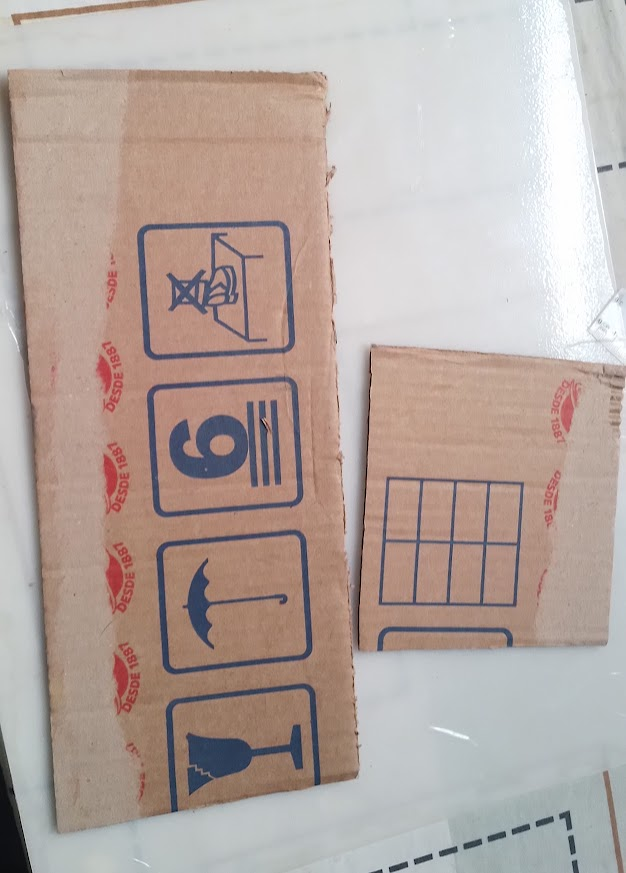
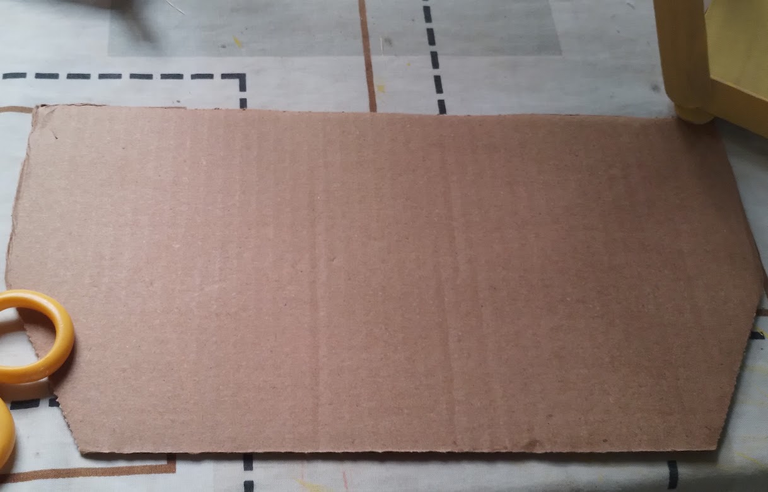
We choose a piece of cardboard and measure the width of the inside of the shelves to cut it into a long strip and then cut it to the length, which in this case was 14.7x13.5cm. Or you can simply count about six squares with those measurements because we'll use them to make the base where the things will go.
Escogemos un cartón y medimos el ancho de dentro de las repisas para cortarlo en una tira larga para luego cortar el largo, que en este caso la medida me dio 14.7X13.5cm. O pueden simplemente contar unos seis cuadros con esas medidas porque los utilizaremos para hacer la base donde irán las cosas.
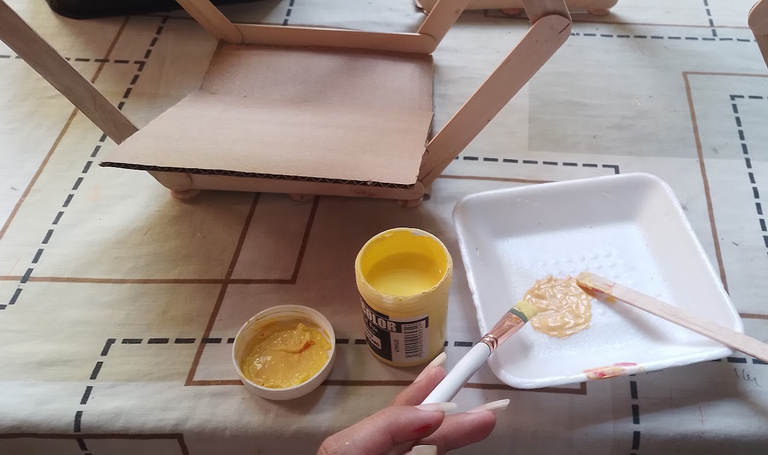
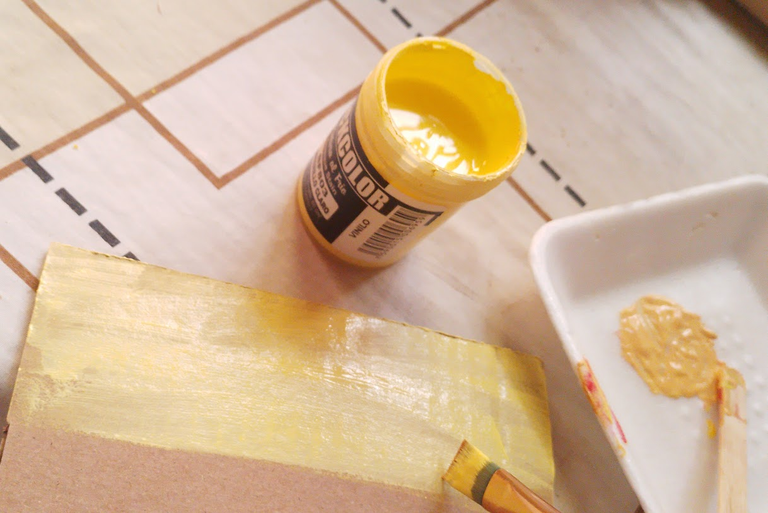
After cutting the squares, we begin to paint both sides with cold-pressed paint in the color of your choice. In this case, I used yellow because the theme I chose was flowers and gardens, and it's also a color that, to a small extent, gives off very good energy vibes.
Luego de cortar los cuadros empezamos a pintar por los dos lados con pintura al frío del color de tu preferencia, yo en este caso use amarillo porque la temática que escogí fueron flores y jardín, y además es un color que en pequeña medida da muy buenas vibras de energía.

After painting the popsicle bases with white school glue, we glued the cardboard squares. If you want to do it with silicone, that's fine. I did it because I didn't have any more silicone. Hahaha, the bar started sticking to the popsicle sticks, and the cardboard squares don't need to be so fixed.
Luego de pintar las bases de paletas con pega blanca escolar pegamos los cuadros de cartón, si deseas hacerlo con silicon está bien, yo lo hice porque no tenía más silicon, jajajaja la barra se me fue pegando las paletas y además no es necesario que quede tan fijo los cuadros de cartón.
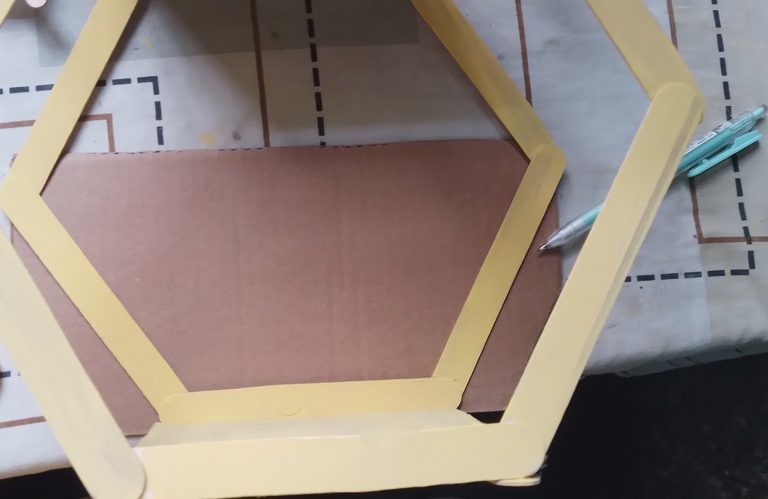
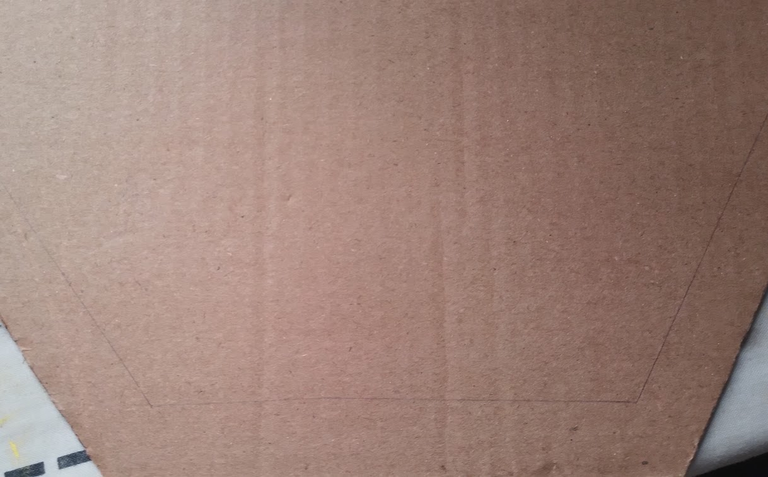
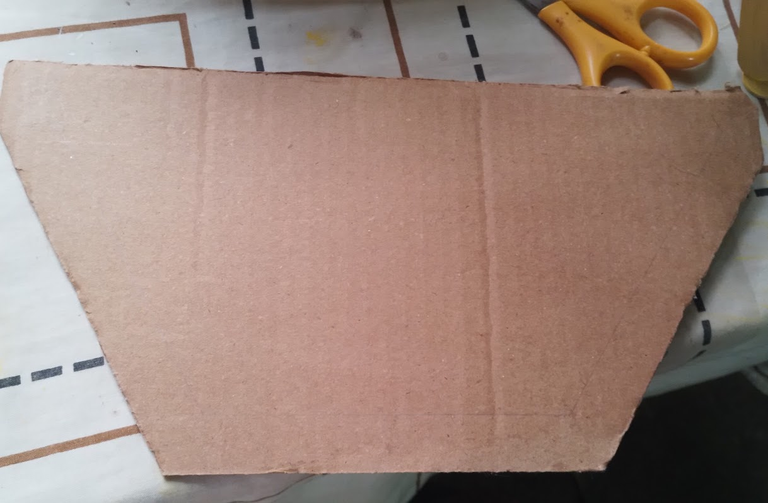
We look for another piece of cardboard and place it behind the hexagon and mark the silhouette inside and outside of the hexagon, after marking this we cut it out.
Buscamos otro pedazo de cartón y lo colocamos detrás del hexágono y marcamos la silueta por dentro y por fuera del hexágono, después de que marcamos esto lo recortamos.
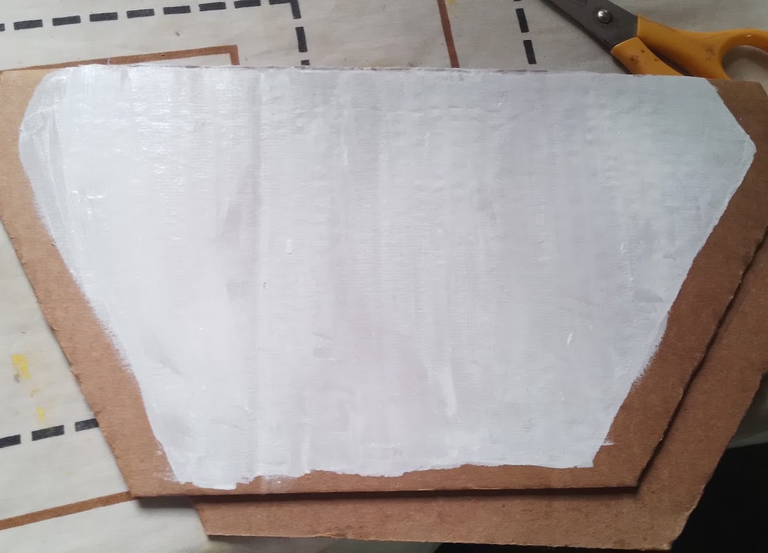
After cutting out the silhouette with white cold paint, we paint the inside.
Luego de recortar la silueta con pintura al frío blanca pintamos la parte de adentro.
 |  |
|---|---|
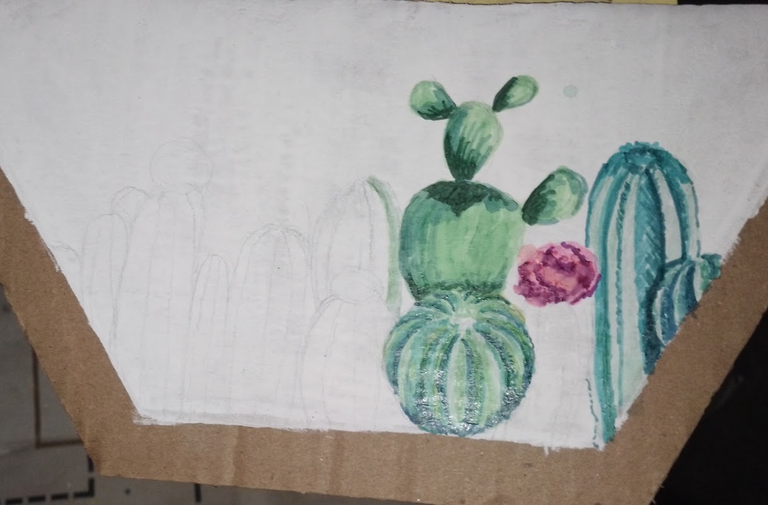 | 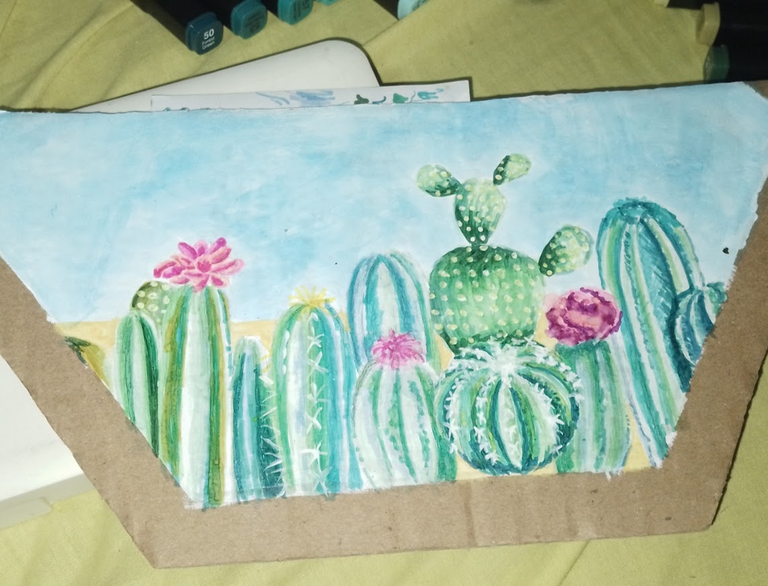 |
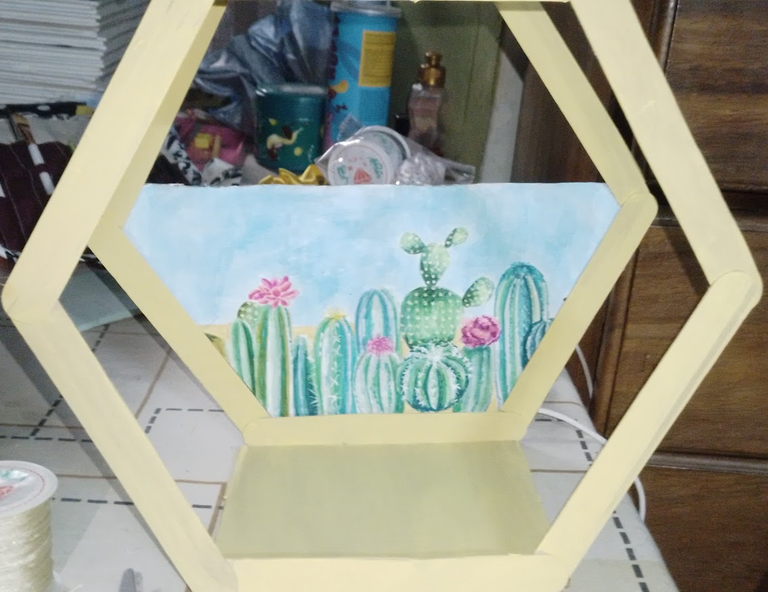
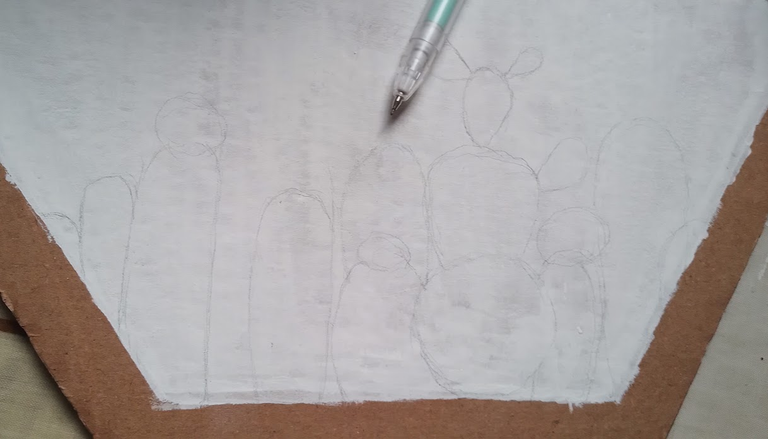
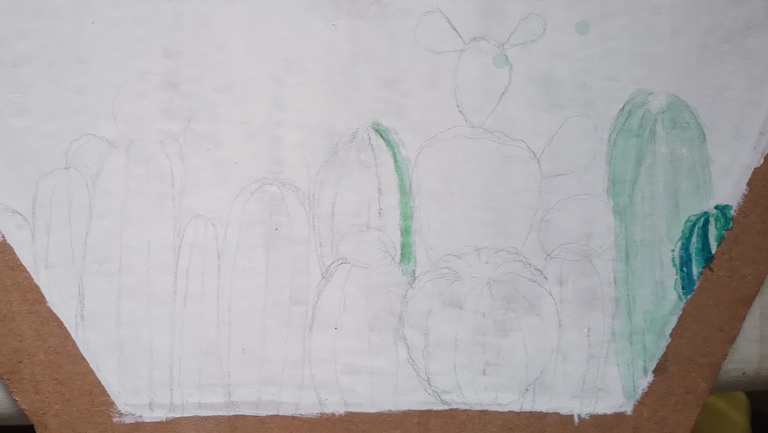
When the paint dried I made a drawing with a very soft pencil, this part can be done as you like, if you don't know how to draw it can be with spots, geometric figures, everything is up to your creativity, after I made the sketch with markers I started to add color, I decided to make cactus because it is my favorite plant, I went one by one starting with a base of shadows and nuances, the cactus flowers were the most difficult to represent, I applied the background, and then glued the cardboard to the shelf and I must admit that I loved the result.
Cuando se secó la pintura hice un dibujo con lápiz muy suave, esta parte se puede hacer como más gusten, si no saben dibujar puede ser con manchas, figuras geométricas todo queda a su creatividad, luego de que hice el boceto con marcadores empecé a dar color, decidí hacer cactus porque es mi planta favorita, fui uno por uno empezando con base sombras y matices, las flores de los cactus fue lo más difícil de representar, aplique el fondo, y luego pegue el cartón a la repisa y debo admitir que el resultado me encanto.
 |  |
|---|---|
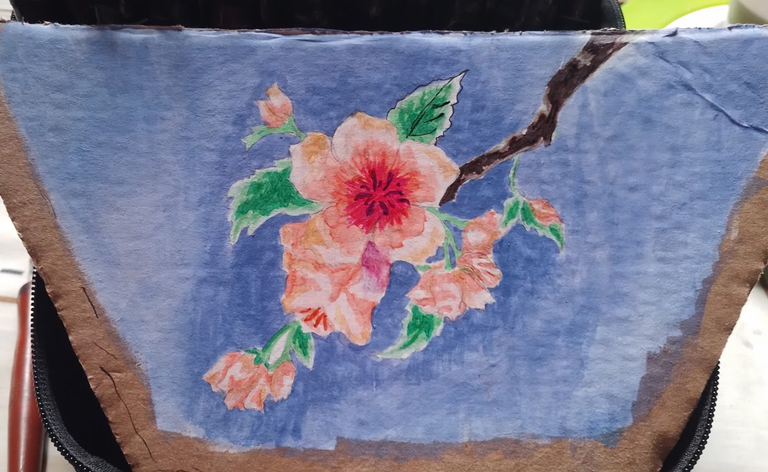 | 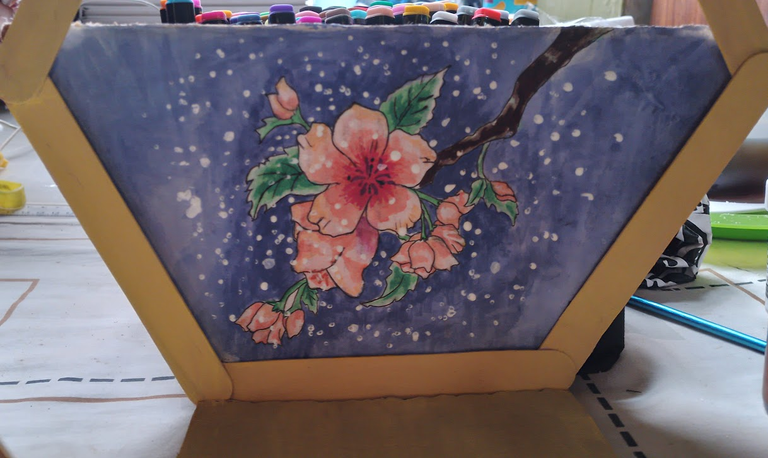 |
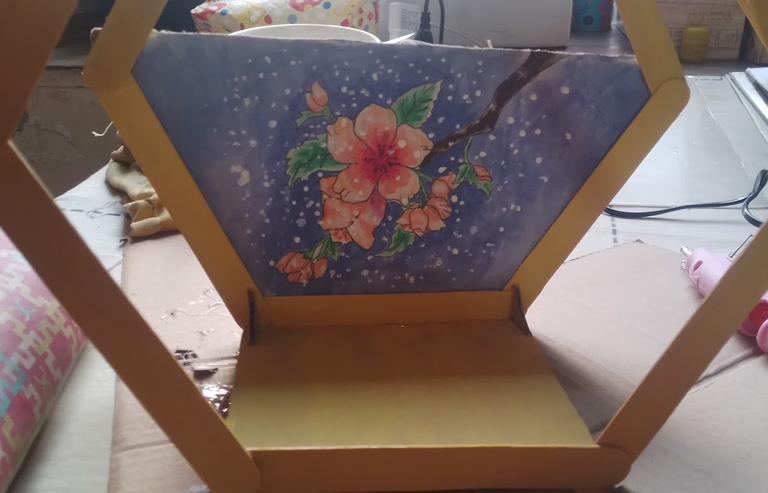
Then I made the sketch of some cherry blossoms, then with watercolors I first made the background, then I applied light pink and salmon tones, up to more intense pink tones, making the flowers was my favorite part, then I went with the leaves applying the lighter greens and then a darker green, and for the branch I applied the same logic, and to give it the final touch with a fine brush I applied dots with white cold paint, to then stick it to its respective hexagon
Después hice el boceto de unas flores de cerezo, luego con acuarelas hice primero el fondo, luego fui aplicando tonos roas y salmones claros, hasta tonos rosas más intensos, hacer las flores fue mi parte favorita, luego fui con las hojas aplicando los verdes más claros y luego un verde más oscuro, y para la rama aplique la misma lógica, y para darle el último toque con un pincel fino aplique puntitos con pintura al frío blanca, para luego pegarlo a su respectivo hexágono.
 |  |
|---|---|
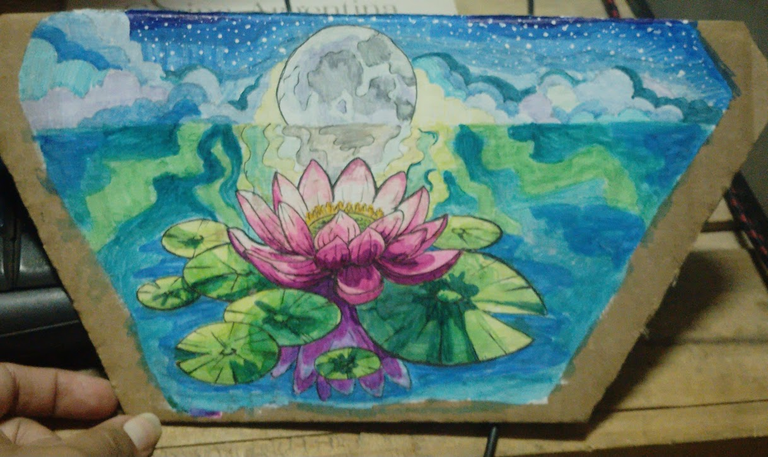 | 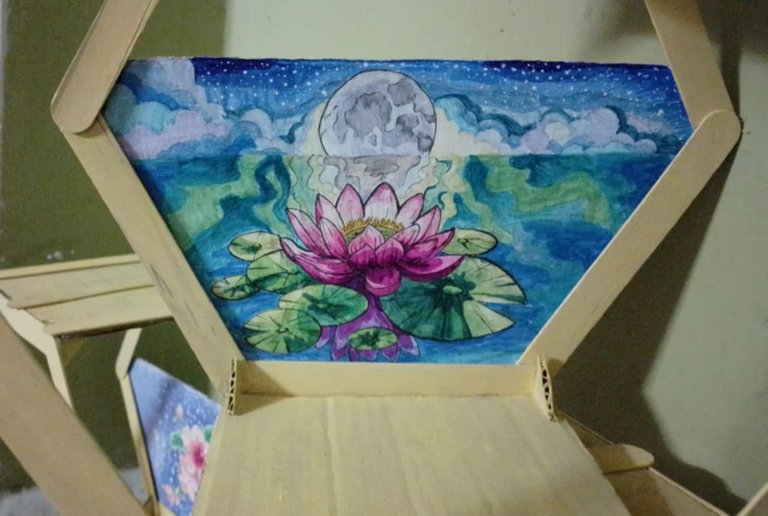 |
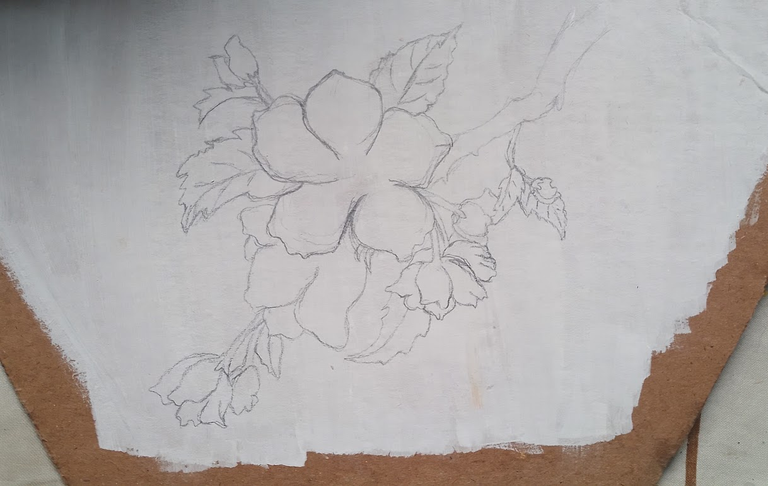
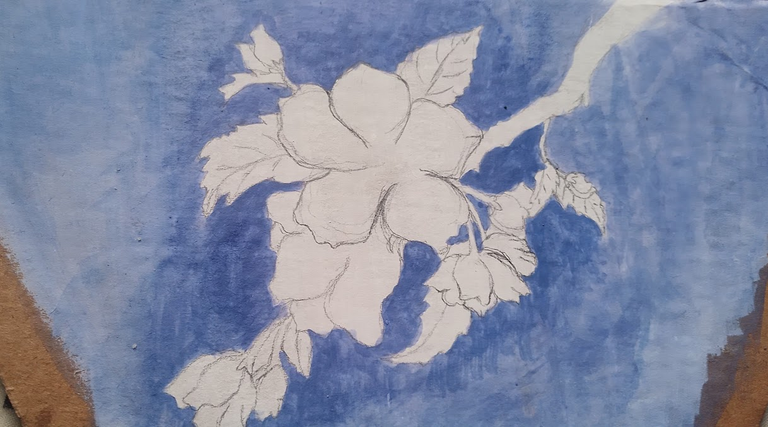
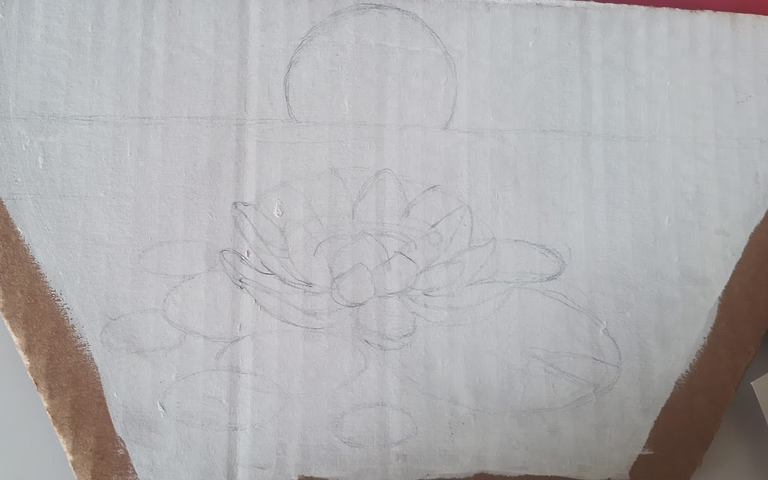
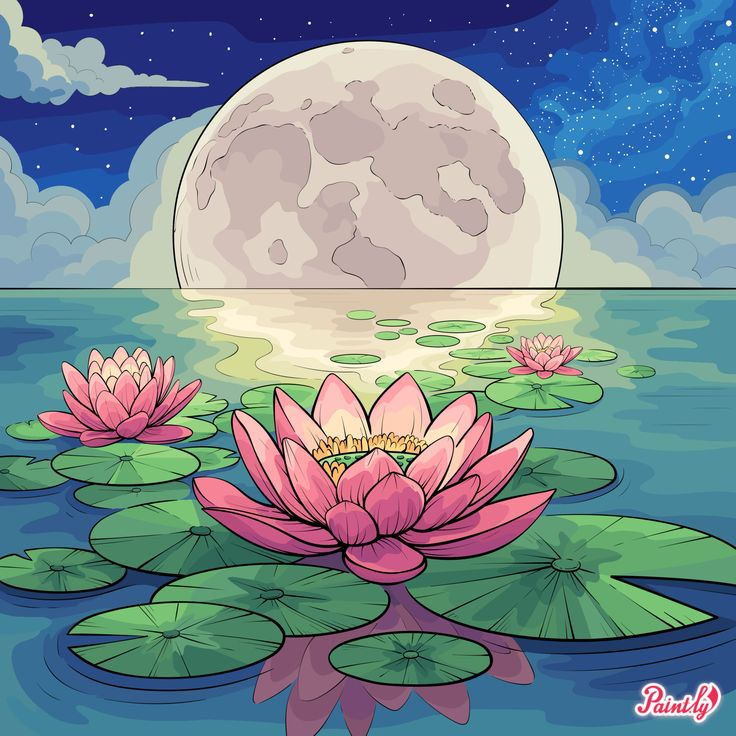
Next, I moved on to the third and final panel for the last shelf, and the flower I chose for it was a lotus. I love lotus flowers. I wanted to create a nighttime setting, inspired by this image from Pinterest.
A continuación seguí con el tercer y último panel para la última repisa y la flor que escogí para ella fue un loto, me encantan las flores de loto. Quise hacerla en un ambiente nocturno de la cual me inspire en esta imagen de Pinterest.
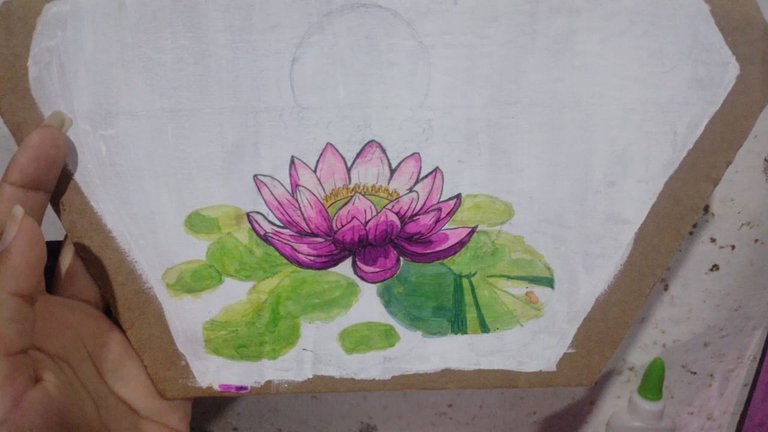
And well, I must say that I loved the result, although it wasn't exactly the same. I gave it my personal touch and it ended up looking like a comic panel. Of all the drawings, this was the one I put the most effort into and enjoyed doing the most.
Y bueno debo decir que el resultado me encanto aunque no quedo exactamente igual, le di mi toque personal y termino pareciendo un panel de comic, de todos los dibujos este fue el que más me esmere y disfrute mucho hacerlo.
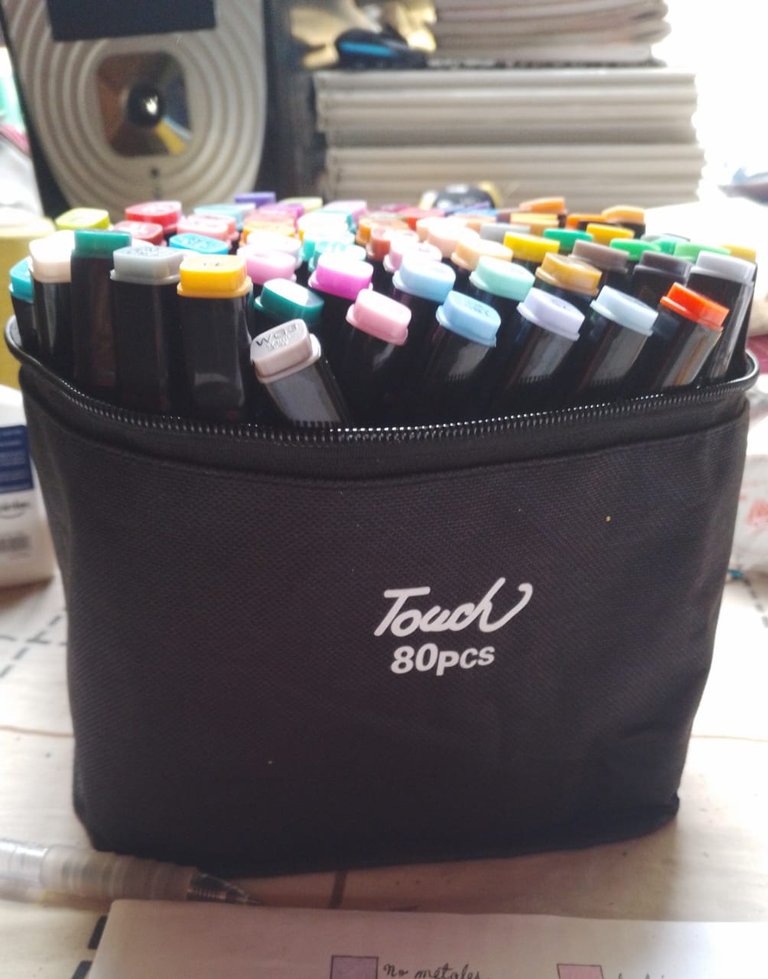
They were all made with markers, watercolors, and a Chinese ink pad. I specifically used 80-piece Touch markers, which helped me a lot to make them very colorful and quick to work with. They are excellent for beginners like me.
Todos fueron hechos con marcadores, acuarelas y tina china, uso específicamente marcadores touch de 80 piezas que me ayudaron mucho a que quedaran muy coloridos y un trabajo rápido, son excelentes para principiantes como yo.
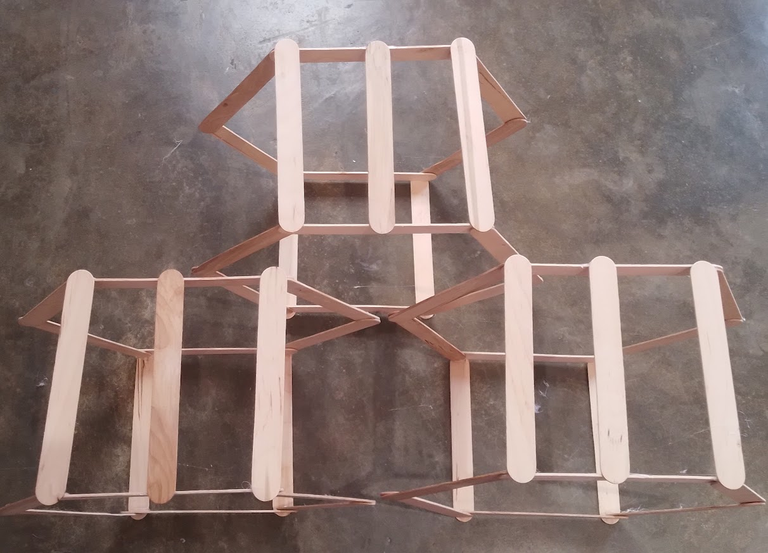
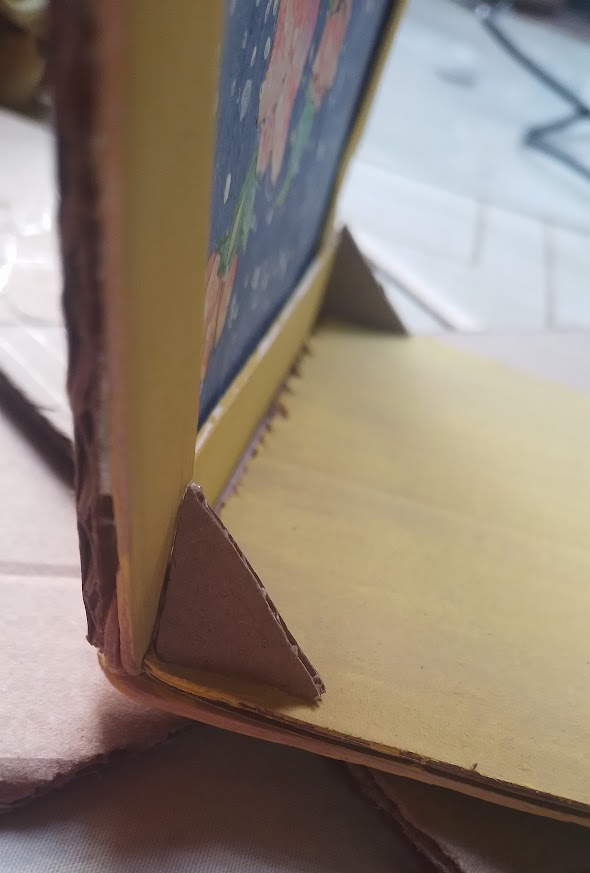
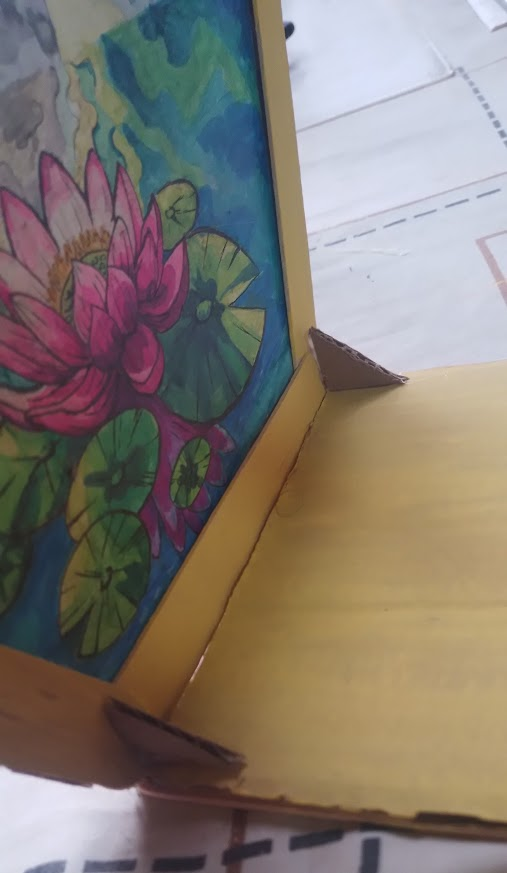
After assembling the shelves, the structures are very unstable, so to compensate for this, I added some triangles that will act as supports to keep the structure rigid. I made these with the same cardboard, and since I already had silicone, I glued them again with hot silicone and painted them. Each of these should go in the upper and lower corners.
Después de armar las repisas las estructuras quedan muy inestables así que para compensar esto agregue unos triángulos que harán de soporte para que la estructura quede rígida, estos se las hice con el mismo cartón, y como ya tenía silicon de nuevo las pegue con silicon caliente y las pinte, cada una de estas deben ir en las esquinas superiores e inferiores.
 |  |
|---|
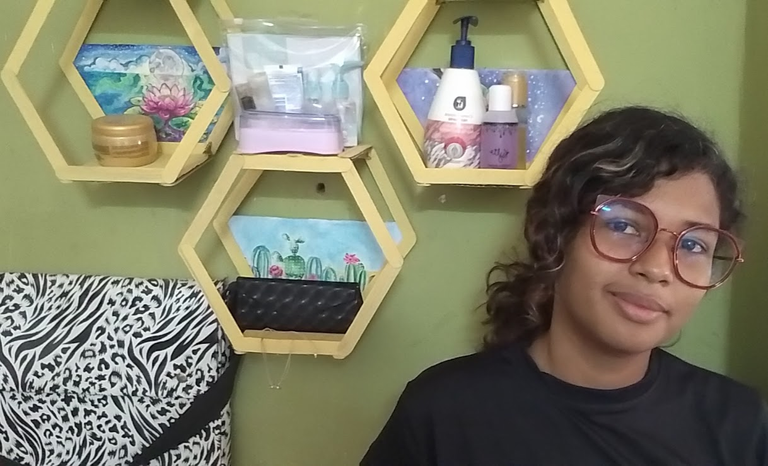
After all that, this is how the three of them looked finished. I liked them so much that I was very excited to finally install them and put my things on them.
Luego de todo eso así se veían las tres ya terminadas, me gustó demasiado estaba muy emocionada para por fin instalarlas y colocarle mis cosas.
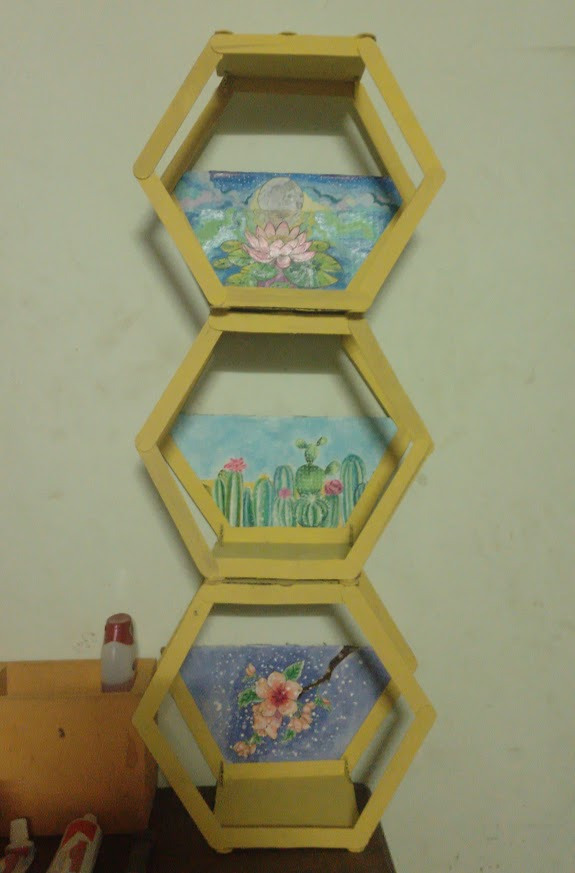
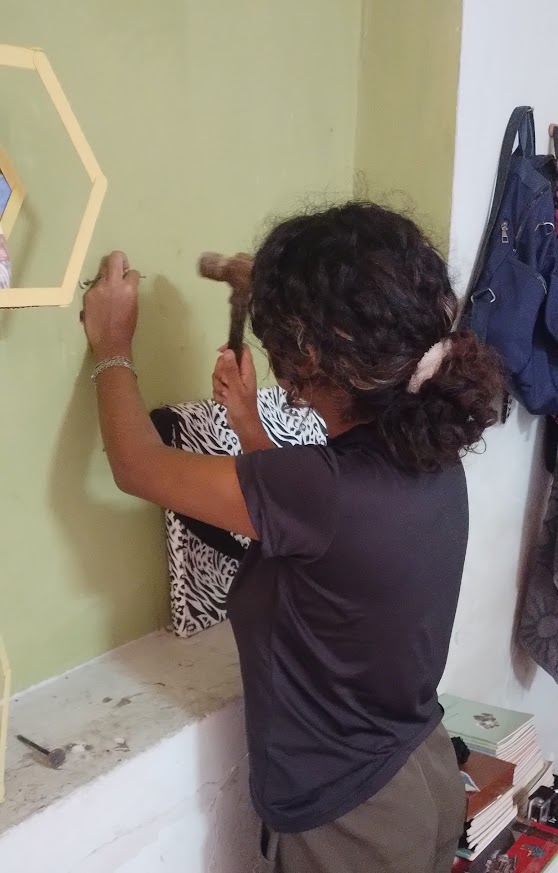
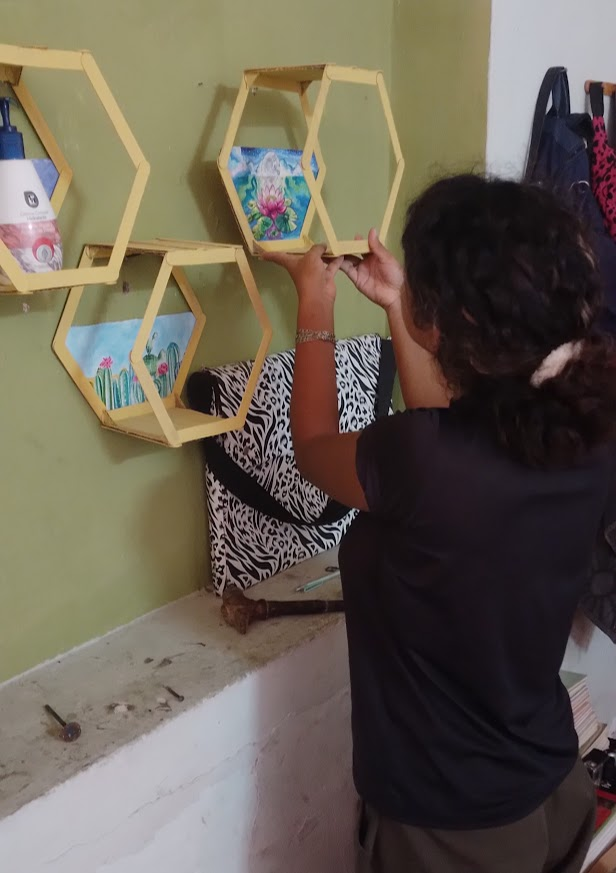
Now all that was left was to install them, so I found a hammer and small nails and took the measurements and heights where each shelf would go. Well, I must admit that it was difficult to find an order because, as you know, geometric figures have an endless number of ways to arrange them, and finding an order that I liked was complicated. And since there are only three, it got complicated. As I make more shelves, they will take better shape. So the order and quantity are up to your creativity.
Ya lo que quedaba era instalarlas, así que busque un martillo y clavos pequeños tome las medidas y alturas en la cual donde iría cada repisa, y bueno debo admitir que fue difícil buscar un orden porque como ya saben las figuras geométricas tienen un sinfín de maneras como ordenarla y buscar un orden que me gustara fue complicado, y como son solo tres se complicó, ya a medida que haga más repisas ira tomando mejor forma. Así que el orden y cantidad quedan a su creatividad.
 |  |
|---|
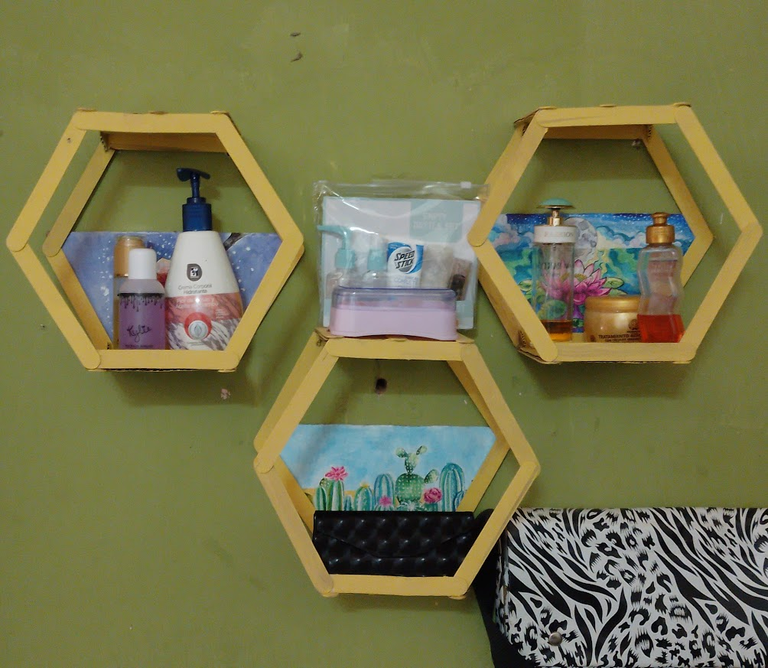
This is the end of my post. I hope you enjoyed it. Needless to say, it was a long process, hahaha. I waited a few days for my partner to help me nail it down. But since it was taking a long time and I was really anxious to finally use the shelves, I ended up installing them myself. I was amazed because I had been wanting to do this job for a long time, so even though the process was long, everything was done with a lot of love and care. Tell me what you thought? What color would you have used? Or what design or theme would you have chosen for this project? I hope you learned something new and enjoyed this post.
Hasta aquí llega mi publicación, espero que les haya gustado este post, no esta de más decir que fue un proceso largo jajajaja dure unos días en la espera de que mi pareja me ayudara a clavetear, pero como estaba tardando mucho y yo estaba muy ansiosa de al fin usar las repisas termine yo instalándolas, quede anonadada porque tenía mucho tiempo queriendo hacer este trabajo así que aunque el proceso fue largo todo fue hecho con mucho amor y cariño. ¿Y cuéntenme qué tal les pareció? ¿Qué color hubieran utilizado? ¿O qué diseño o tema hubieran elegido para este proyecto? Espero que hayan aprendido algo nuevo y disfrutado esta publicación.

SOCIAL MEDIA
Facebook Angel Dayana
Discord User: angi.arts
Discord Server Bokura no Digital World
Instagram: angeldayana26
UNTIL NEXT TIME!! <3
!PAKX
View or trade
PAKXtokens.Use !PAKX command if you hold enough balance to call for a @pakx vote on worthy posts! More details available on PAKX Blog.
Amé este post, quiero unas repisas así y me has dado una gran idea, te quedaron preciosas, felicidades.
Te han quedado demasiado bellas estas repisas de paleta, es una hermosa decoración y aparte tiene una utilidad excelente, te felicito excelente manualidad 😊, saludos 🥰
Congratulations @angi.arts! You have completed the following achievement on the Hive blockchain And have been rewarded with New badge(s)
Your next target is to reach 7000 upvotes.
You can view your badges on your board and compare yourself to others in the Ranking
If you no longer want to receive notifications, reply to this comment with the word
STOPCheck out our last posts:
From the creation process this was not easy to pull off but you did it and it turned out to be so beautiful. Well done lady and keep up the good work.
selected by @ibbtammy
Quedan super lindas!!