
Welcome back to another entry in the process of this Ukulele. Last time, we finished work on the bars of the sound board and heel. That took some effort to complete, but we are onto the next stage. Today, we will finish the details of the head stock and glue the neck and sound board together to start the assembly process.
Let's get to it!
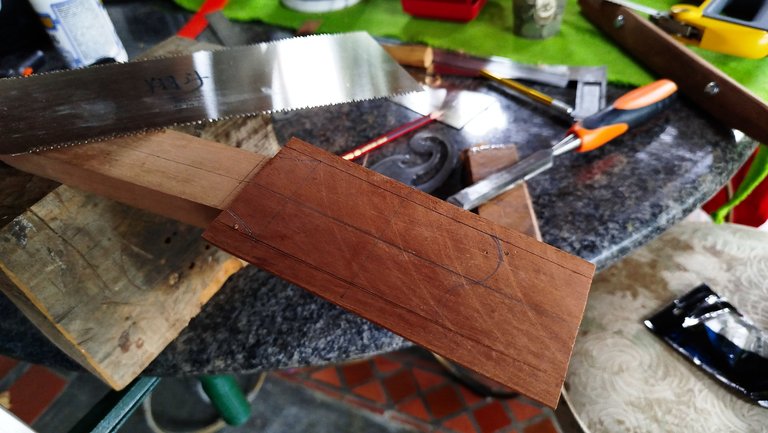
Veneer


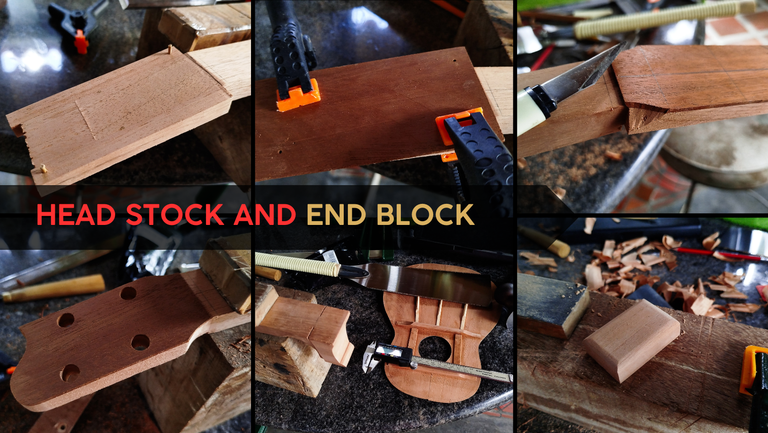
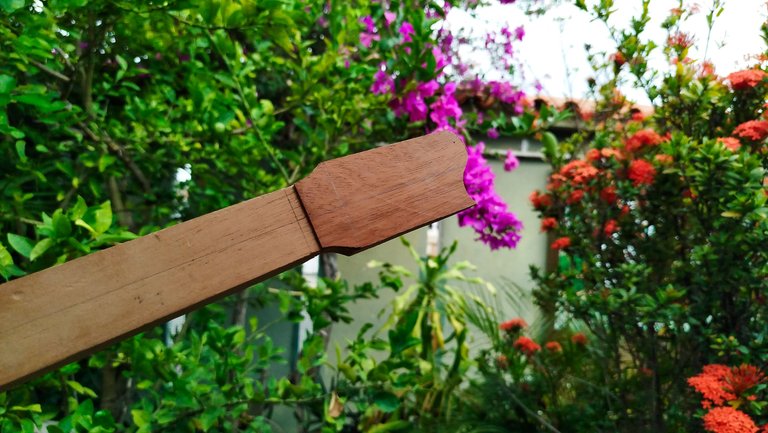
The head stock is not complete without the added veneer as ornament. We have a piece of mahogany to make this one look as elegant as possible. Before adding this, we need to get some work done on both faces of the head stock. We have to make both sides even. Also, we have to take into consideration how much space the tuners will need to fit flush and give us enough room for the strings.
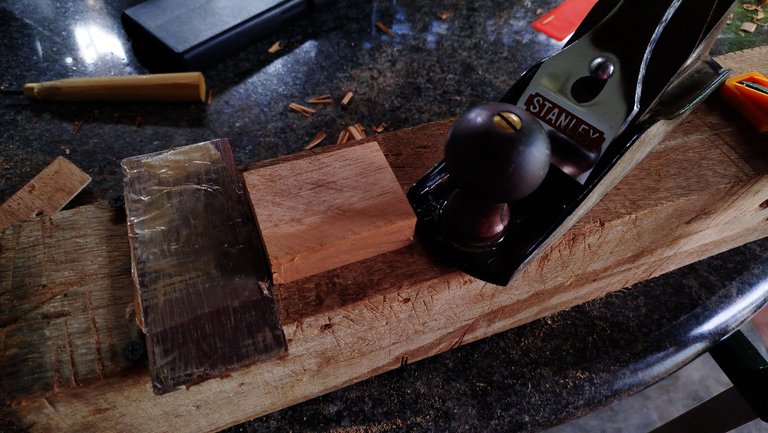
We take our measurements using a tuner as a give for depth. Once we have decided how to move, we start by removing the material from the side that looks rougher. In this case it is the back of the head stock. We make a cut to match the depth we need and we start carving the excess material. When we are close to the marks, we start using the card scraper and end with sand paper. On the front side, we use the hand plane to get the surface flush.
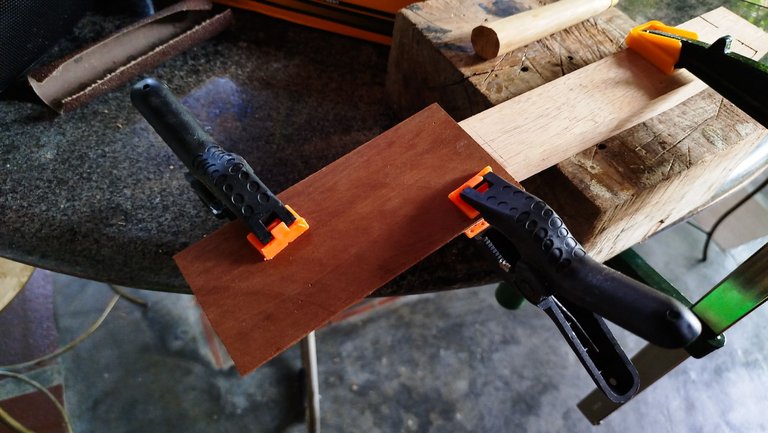
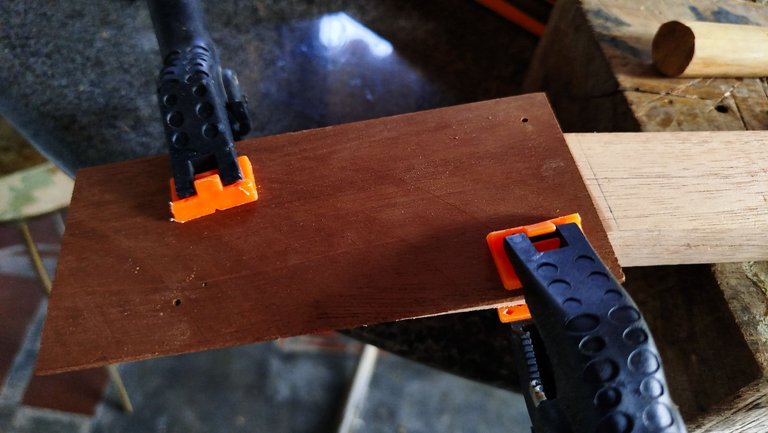
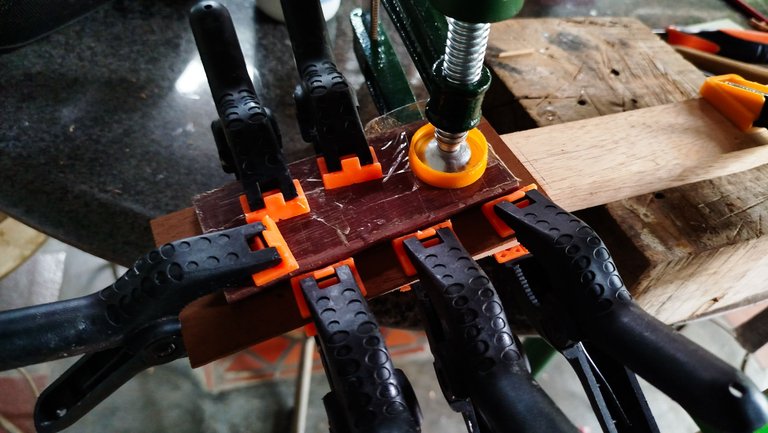
The next step is to clamp the veneer to the front side and make some holes for the anchors. This way, the ornament will not move when we start applying pressure. Before applying the glue, we check if the dry fit looks good. Then proceed to applying the glue and use the clamps to hold everything in place until it sets.
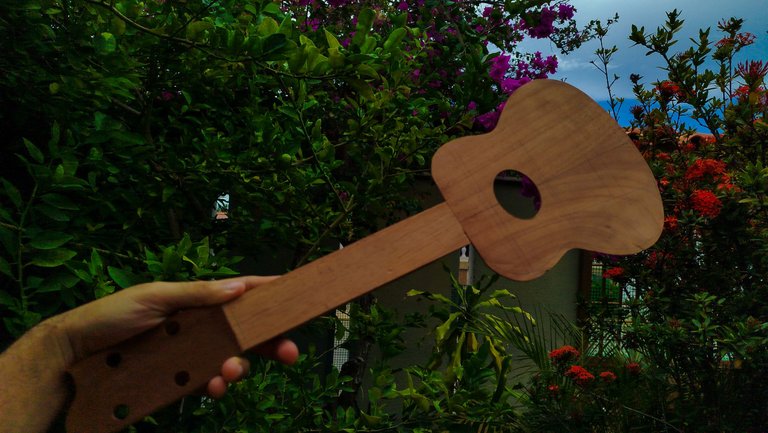
Shape and holes
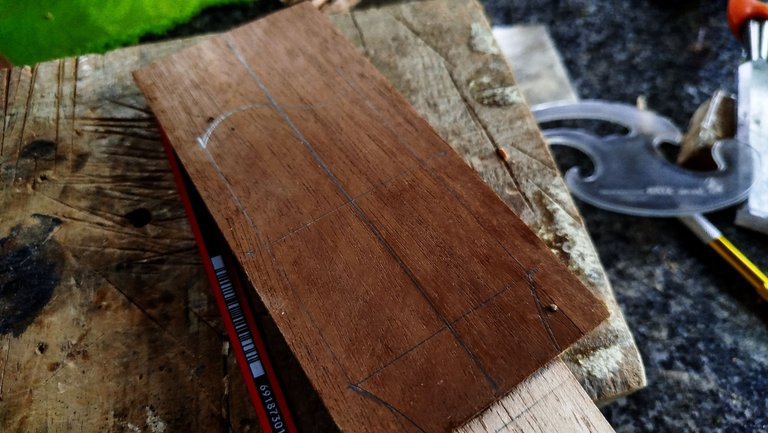
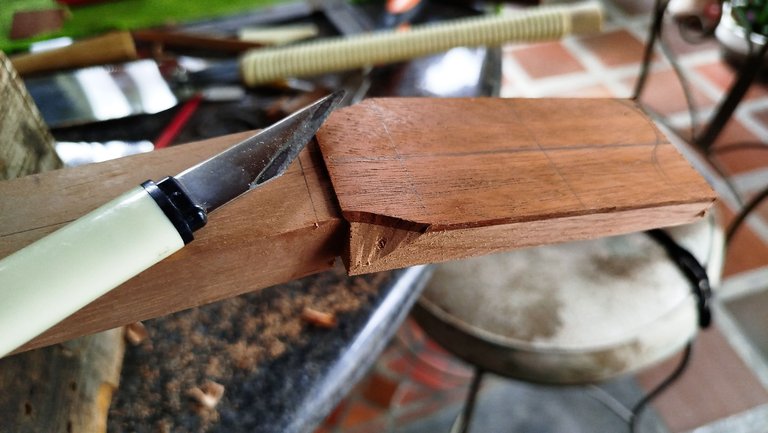

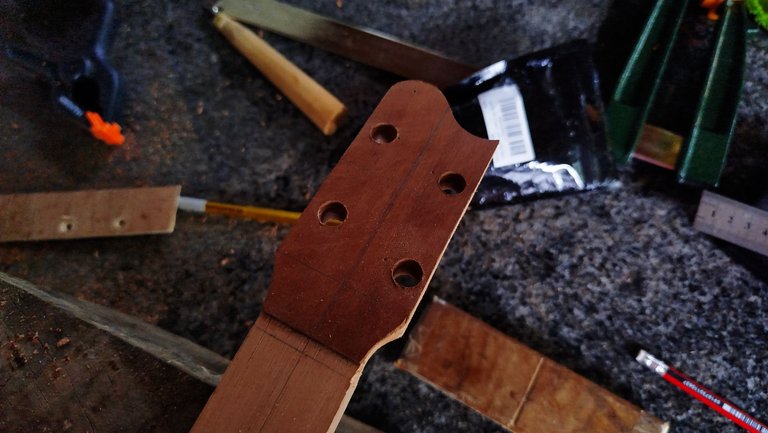

The fun starts once the veneer is in place. Now it's time to get the design on this head stock. We start by making a drawing of the shape we use on other instrument by following the center line. We will make the shape first and then move to the holes.
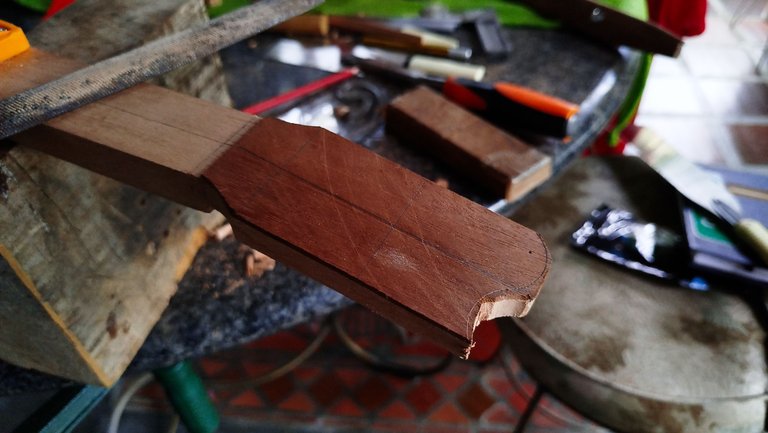
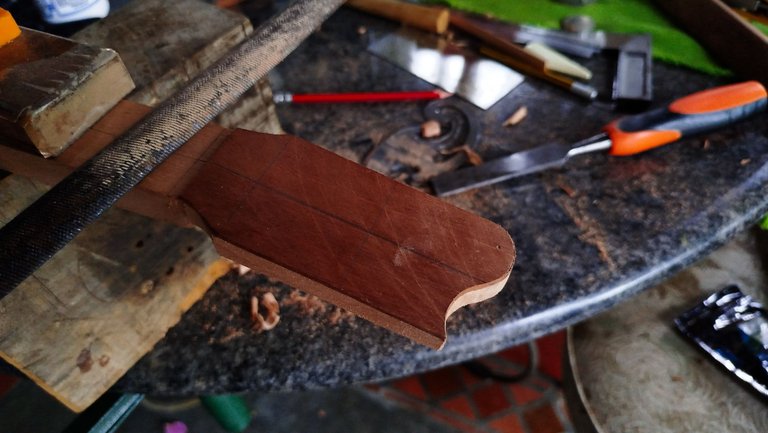
Once we are done drawing, we'll use a saw to make most of these cuts. The other parts will be either carved or filed. The most difficult part are the curves at the top and bottom of the head stock. On the top portion, the saw gets as close as possible to the curves and the rest of the work is carved out and then smoothed with a file. On the bottom part, we use a knife to get to the outline of the base and then use a file and sandpaper to finish the curves. Any other detail that is necessary on the sides is solved with a and plane.
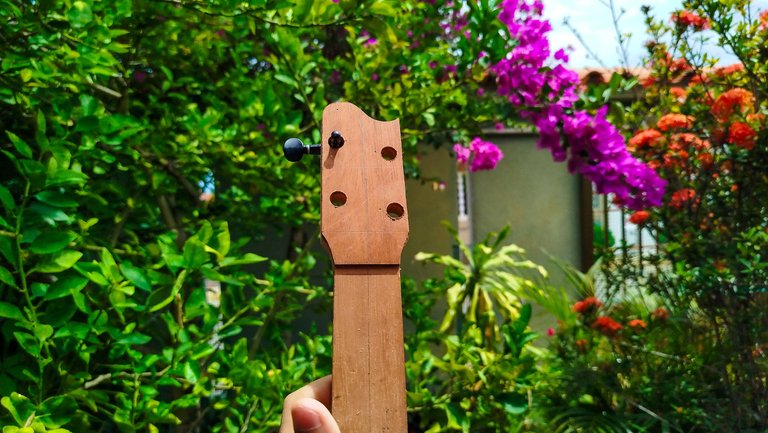
We check the results for a moment and then move on to the holes. We use clamps to hold the neck in place and then use the drill to make four holes on the head stock. This is where the tuners will be placed afterwards. Once we make all of them, we make sure to check how the tuners fit.
Assembling begins!
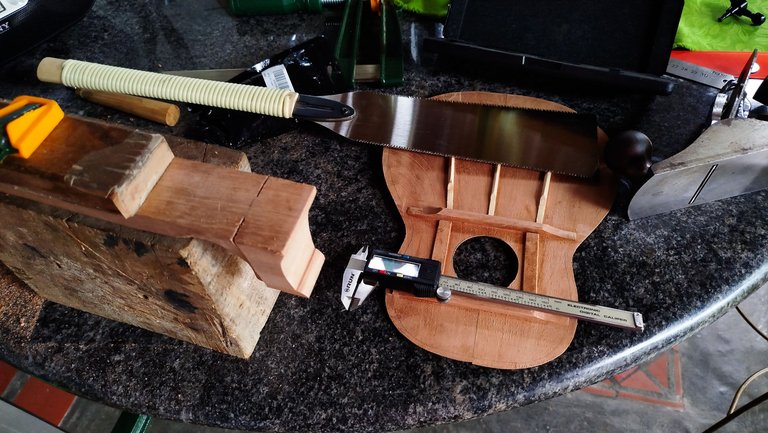
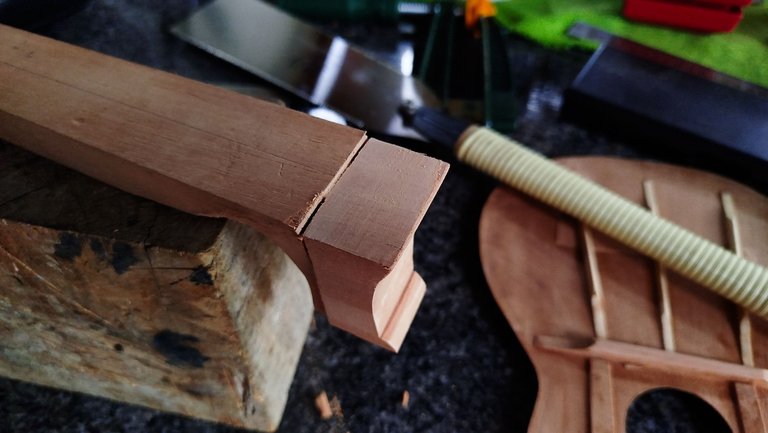
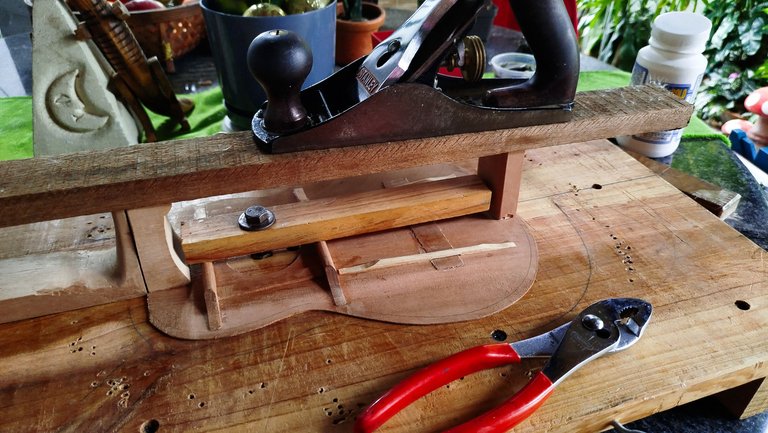
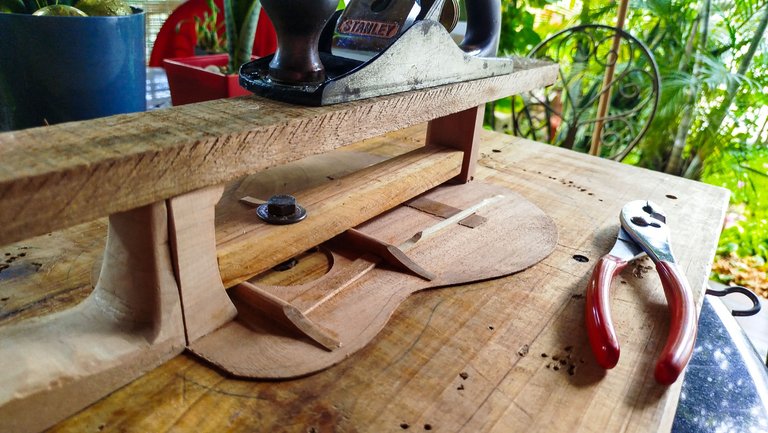
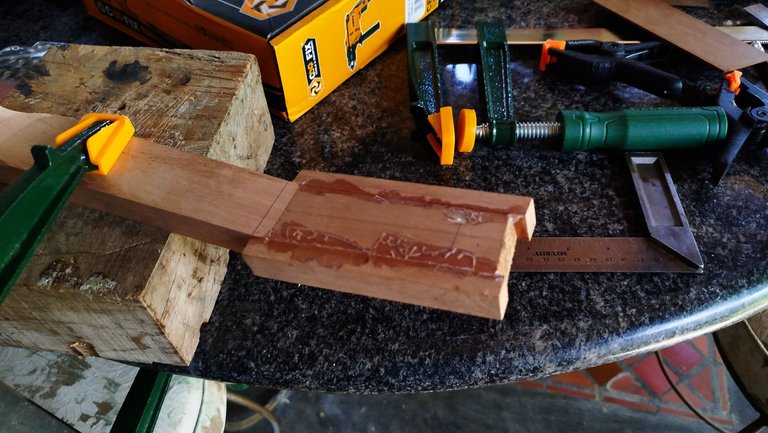
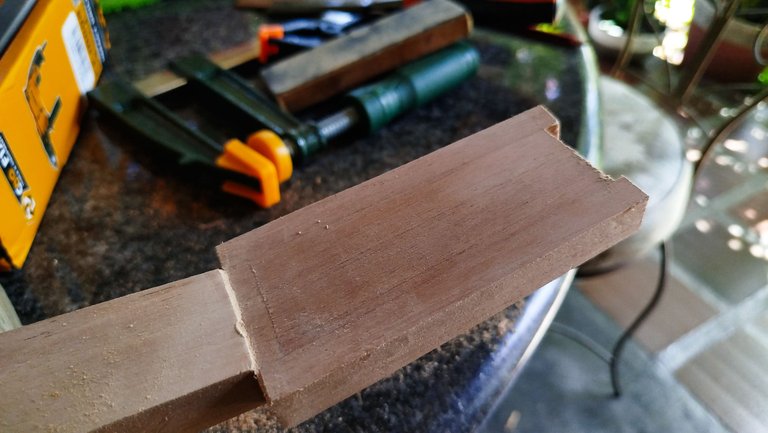
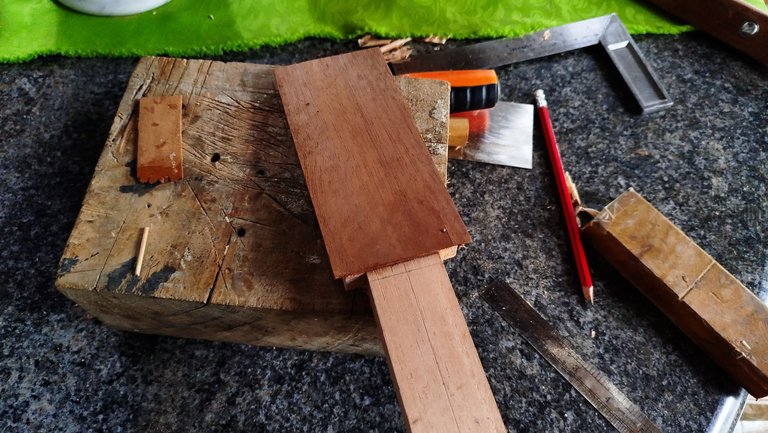
Now that the neck is ready and the sound board has its reinforcements, we can glue them together to mount the result on the mold. This process is different from the one used in Venezuelan Cuatros. For starters, we need to take off a piece of the neck to accommodate the sound board on it. This way there's space for the fretboard to go along the neck and onto the sound board. This is the regular look on instruments like the guitar where there is no strumming guard at the end of the fretboard.
Making this cut requires the exact measures of the sound board's width. Once we transfer this onto the neck, we can cut, carve and smooth the result. The preparation is not over until we make sure the sound board fits in place and the joint is flush. We need to remove some material from the sound board so it will look flat at the top portion for a moment.
After all these steps are worked, we can finally glue the pieces together. When the glue is set, we can mount the assembled pieces on the mold and we can also throw some work on the end block to mark that task off the to-do list.
Now we can start working of the rest of the pieces to assemble this instrument. That will start on the next entry. Thanks a lot for reading! See you next time!
| Entry | Title |
|---|---|
| 1 | The Fist Ukuele |
| 2 | Structure |
| 3 | Heel and Bars |
Photos 📷: Redmi Note 13
Thumbnail 🖼️: Canva.
Editing 🎬:Adobe Photoshop Lightroom.

Follow me on Instagram for enquires and commission.
If you'd like to help the workshop grow, you can make a donation here. You can find me at discord as bertrayo#1763
Congratulations @bertrayo! You have completed the following achievement on the Hive blockchain And have been rewarded with New badge(s)
Your next target is to reach 250000 upvotes.
You can view your badges on your board and compare yourself to others in the Ranking
If you no longer want to receive notifications, reply to this comment with the word
STOP