Saludos queridos amigos de hive el día de hoy me siento muy feliz de estar de nuevo compartiendo con ustedes sobre el arte que realizo, particularmente desde que incursione en el mundo de la costura he aprendido muchas cosas, entre ella a coser mis sueños y a dejar volar mi imaginación ya que este arte permite que podamos expresarnos libremente.
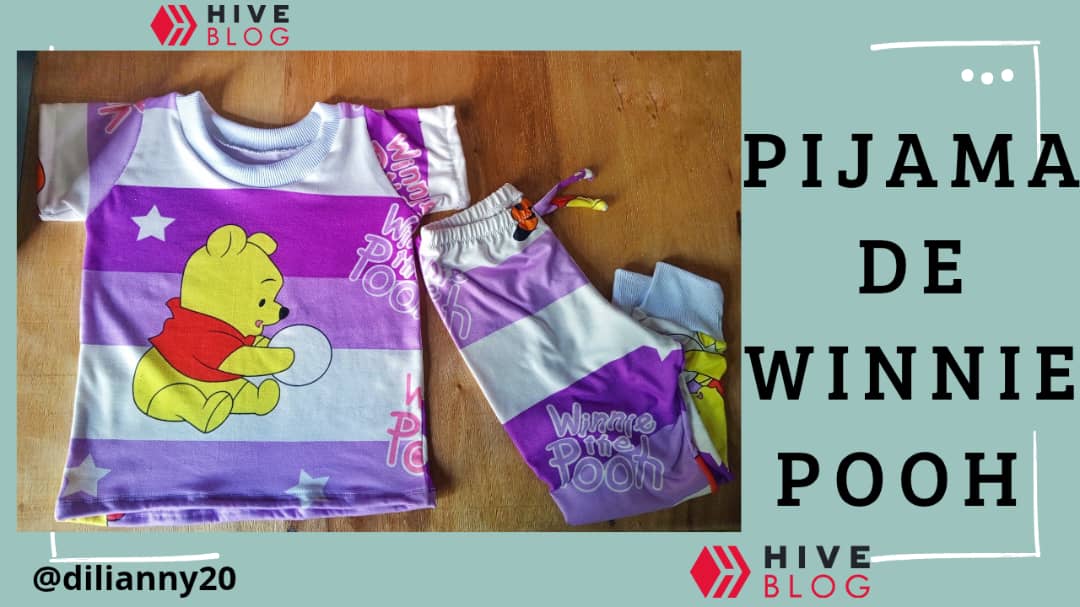
En esta oportunidad quiero enseñarles Cómo realicé una pijama para obsequiar a una prima de mi hija, encontré este estampado de Winnie Pooh que es muy hermoso junto con los tonos en morado.
Los materiales que utilice fueron los siguientes:
- Tela Micro durazno estampado.
- Alfileres.
- Tijera.
- Máquina de coser.
- Tela RIB blanca.
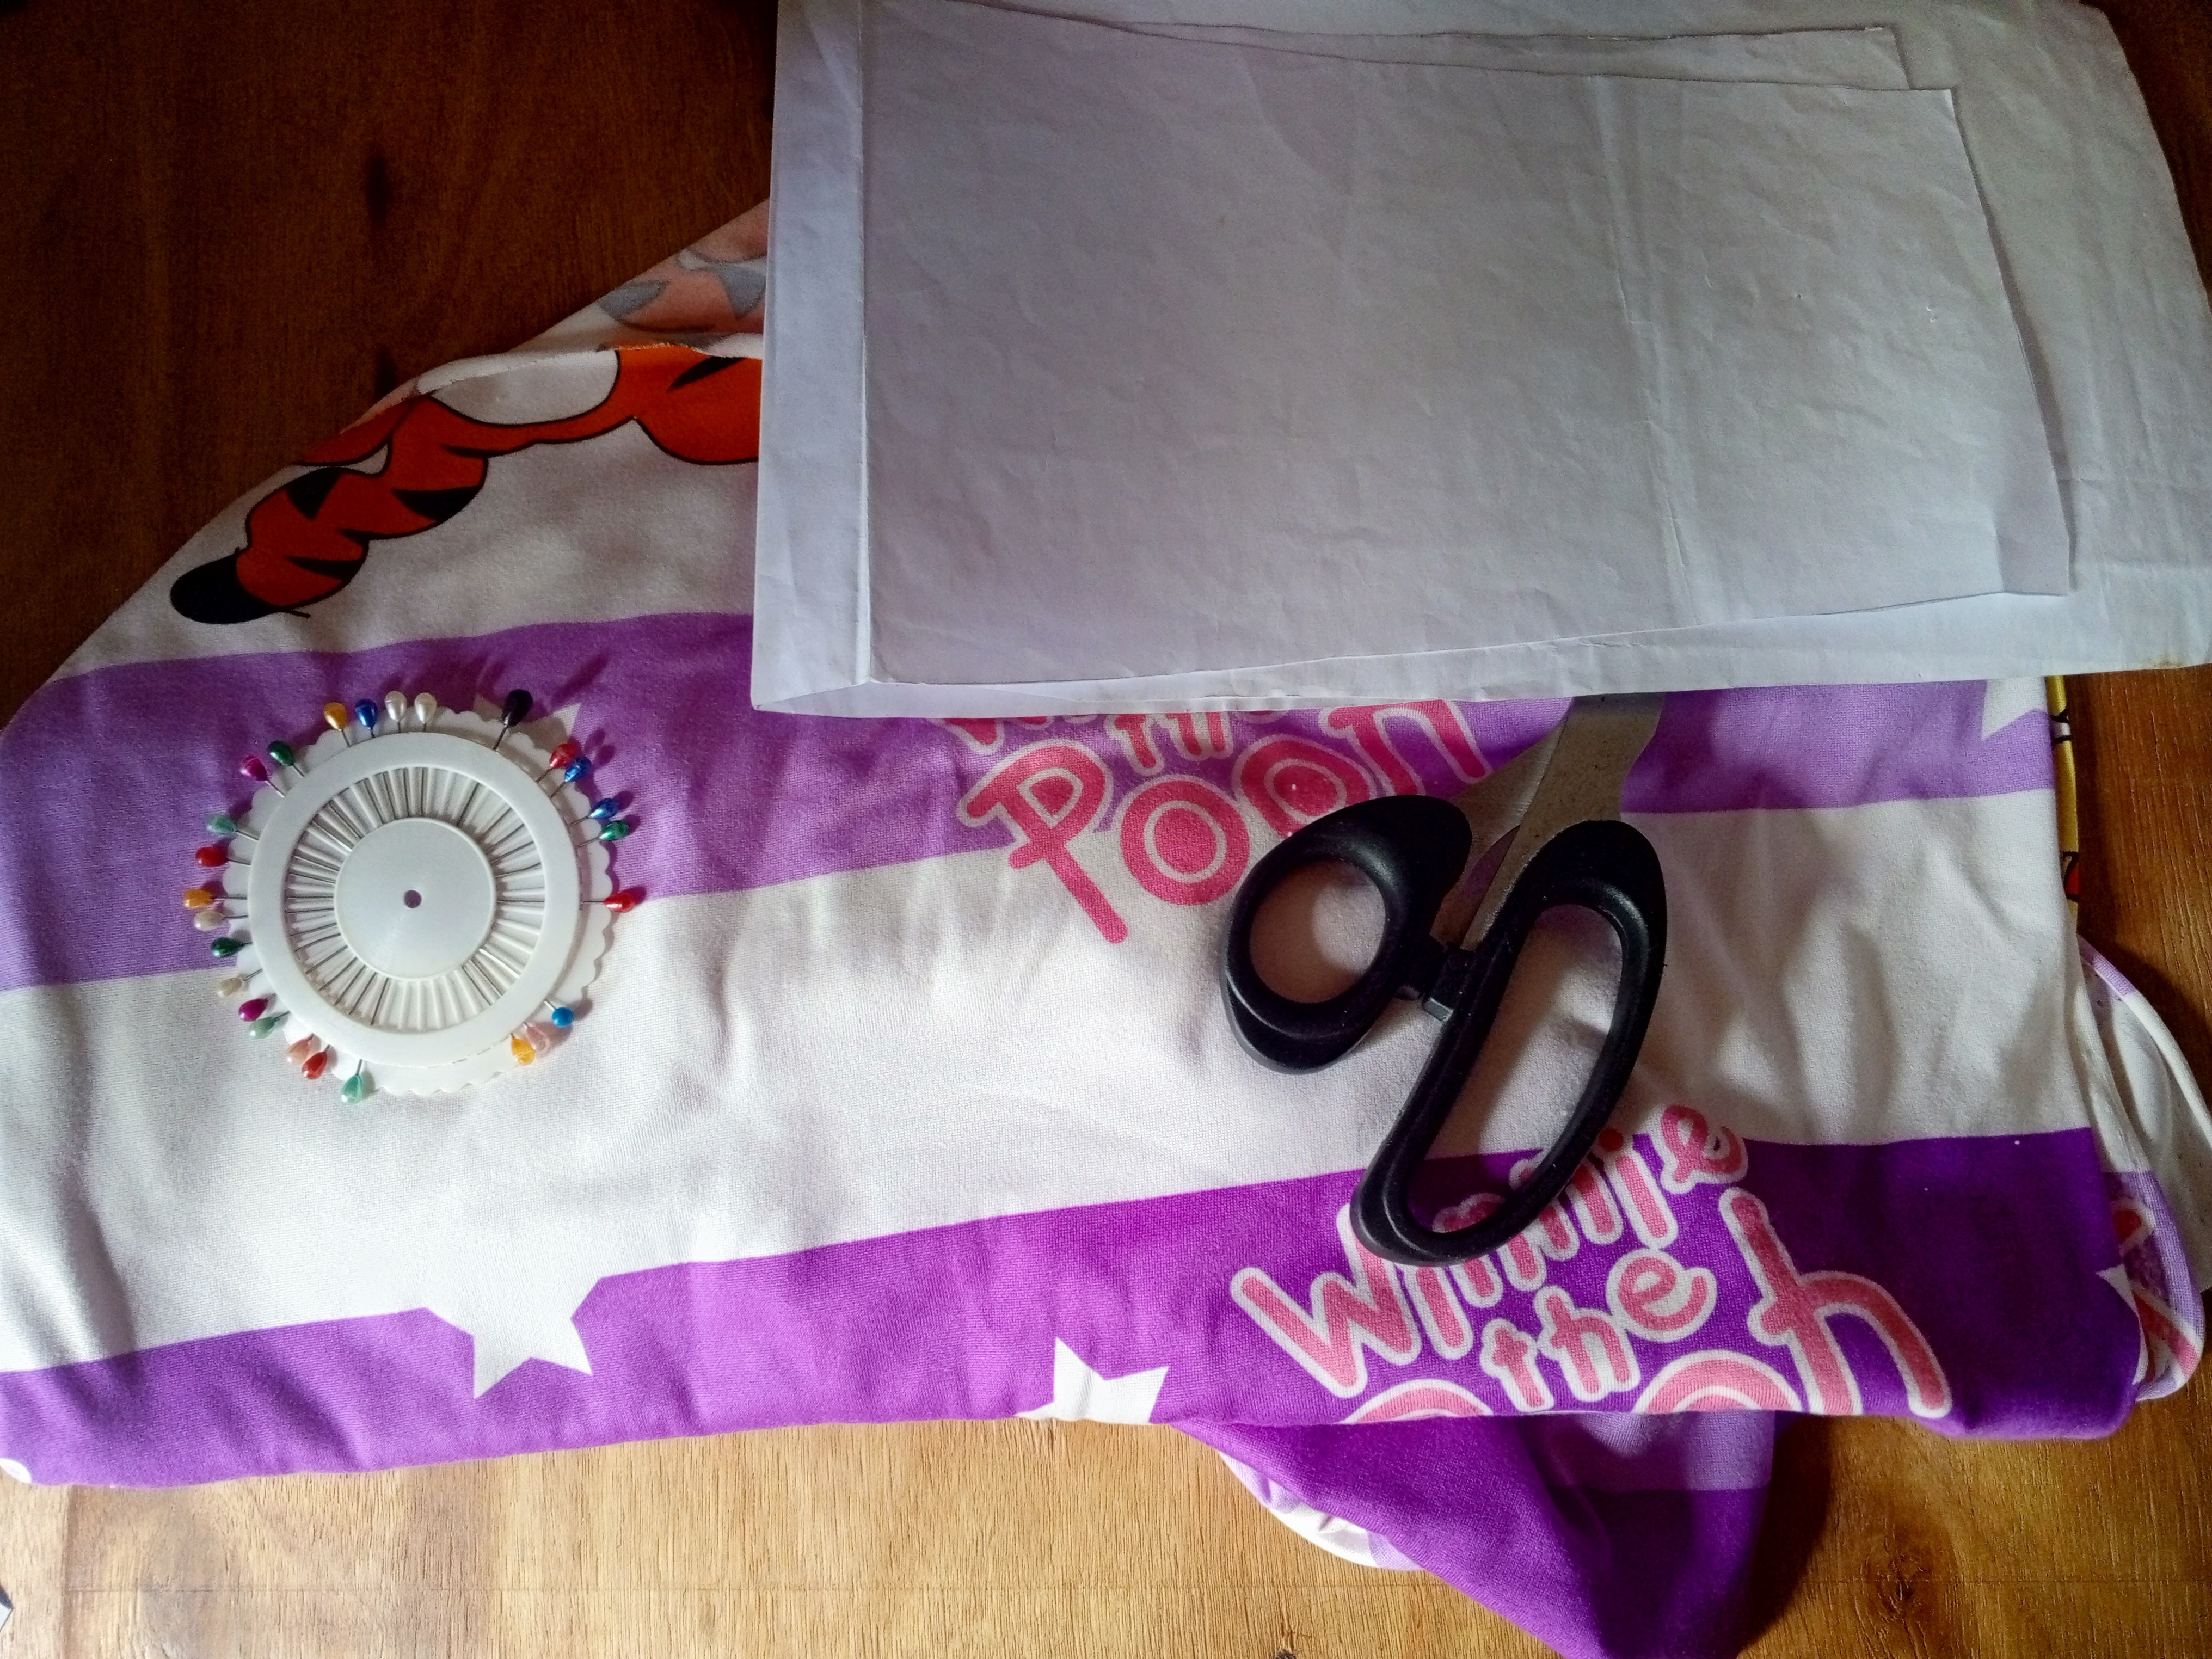
Lo primero que hice fue tomar los patrones y cortar cada pieza, empecé cortando los patrones del pantalón y luego corté la camisa las mangas la parte del cuello de la camisa y la parte de el ruedo del pantalón ya que le colocaré el cuello y el ruedo de color blanco con la tela RIB, ya que esto es una tela especial mente que se utiliza para esto, ya que tiene una elasticidad espectacular y deja un hermoso acabado en las prendas, se las recomiendo totalmente.
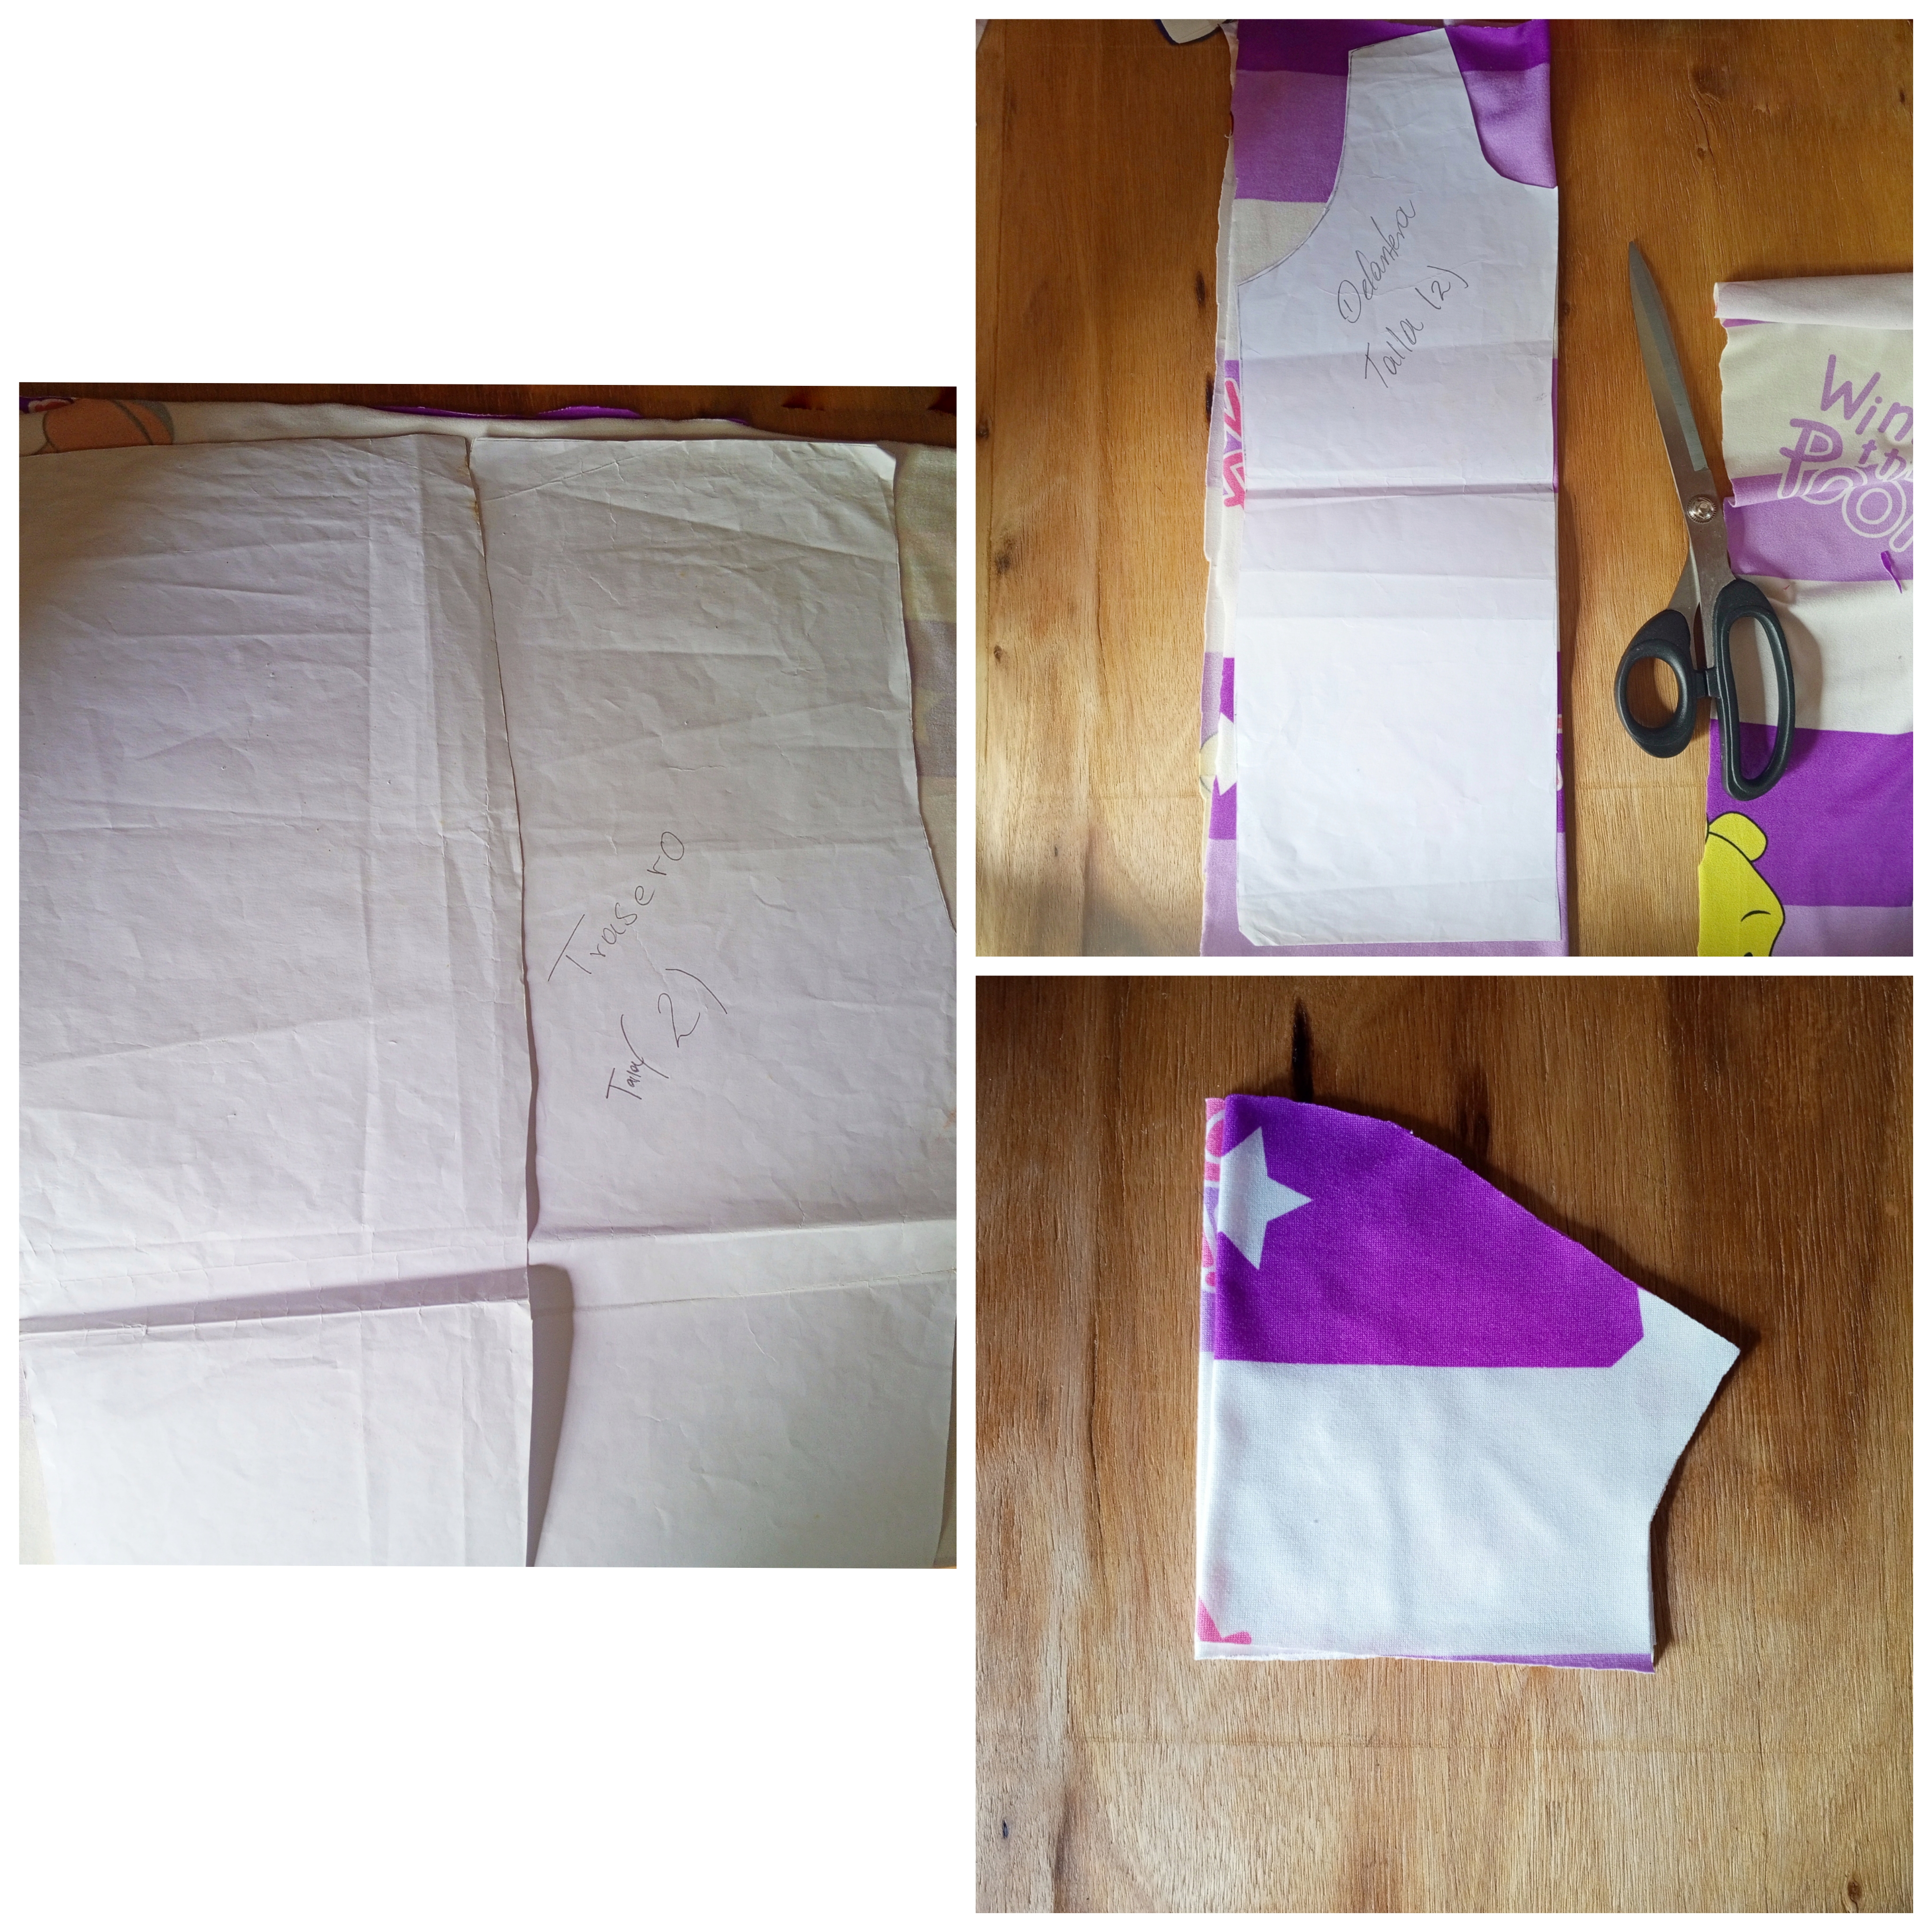
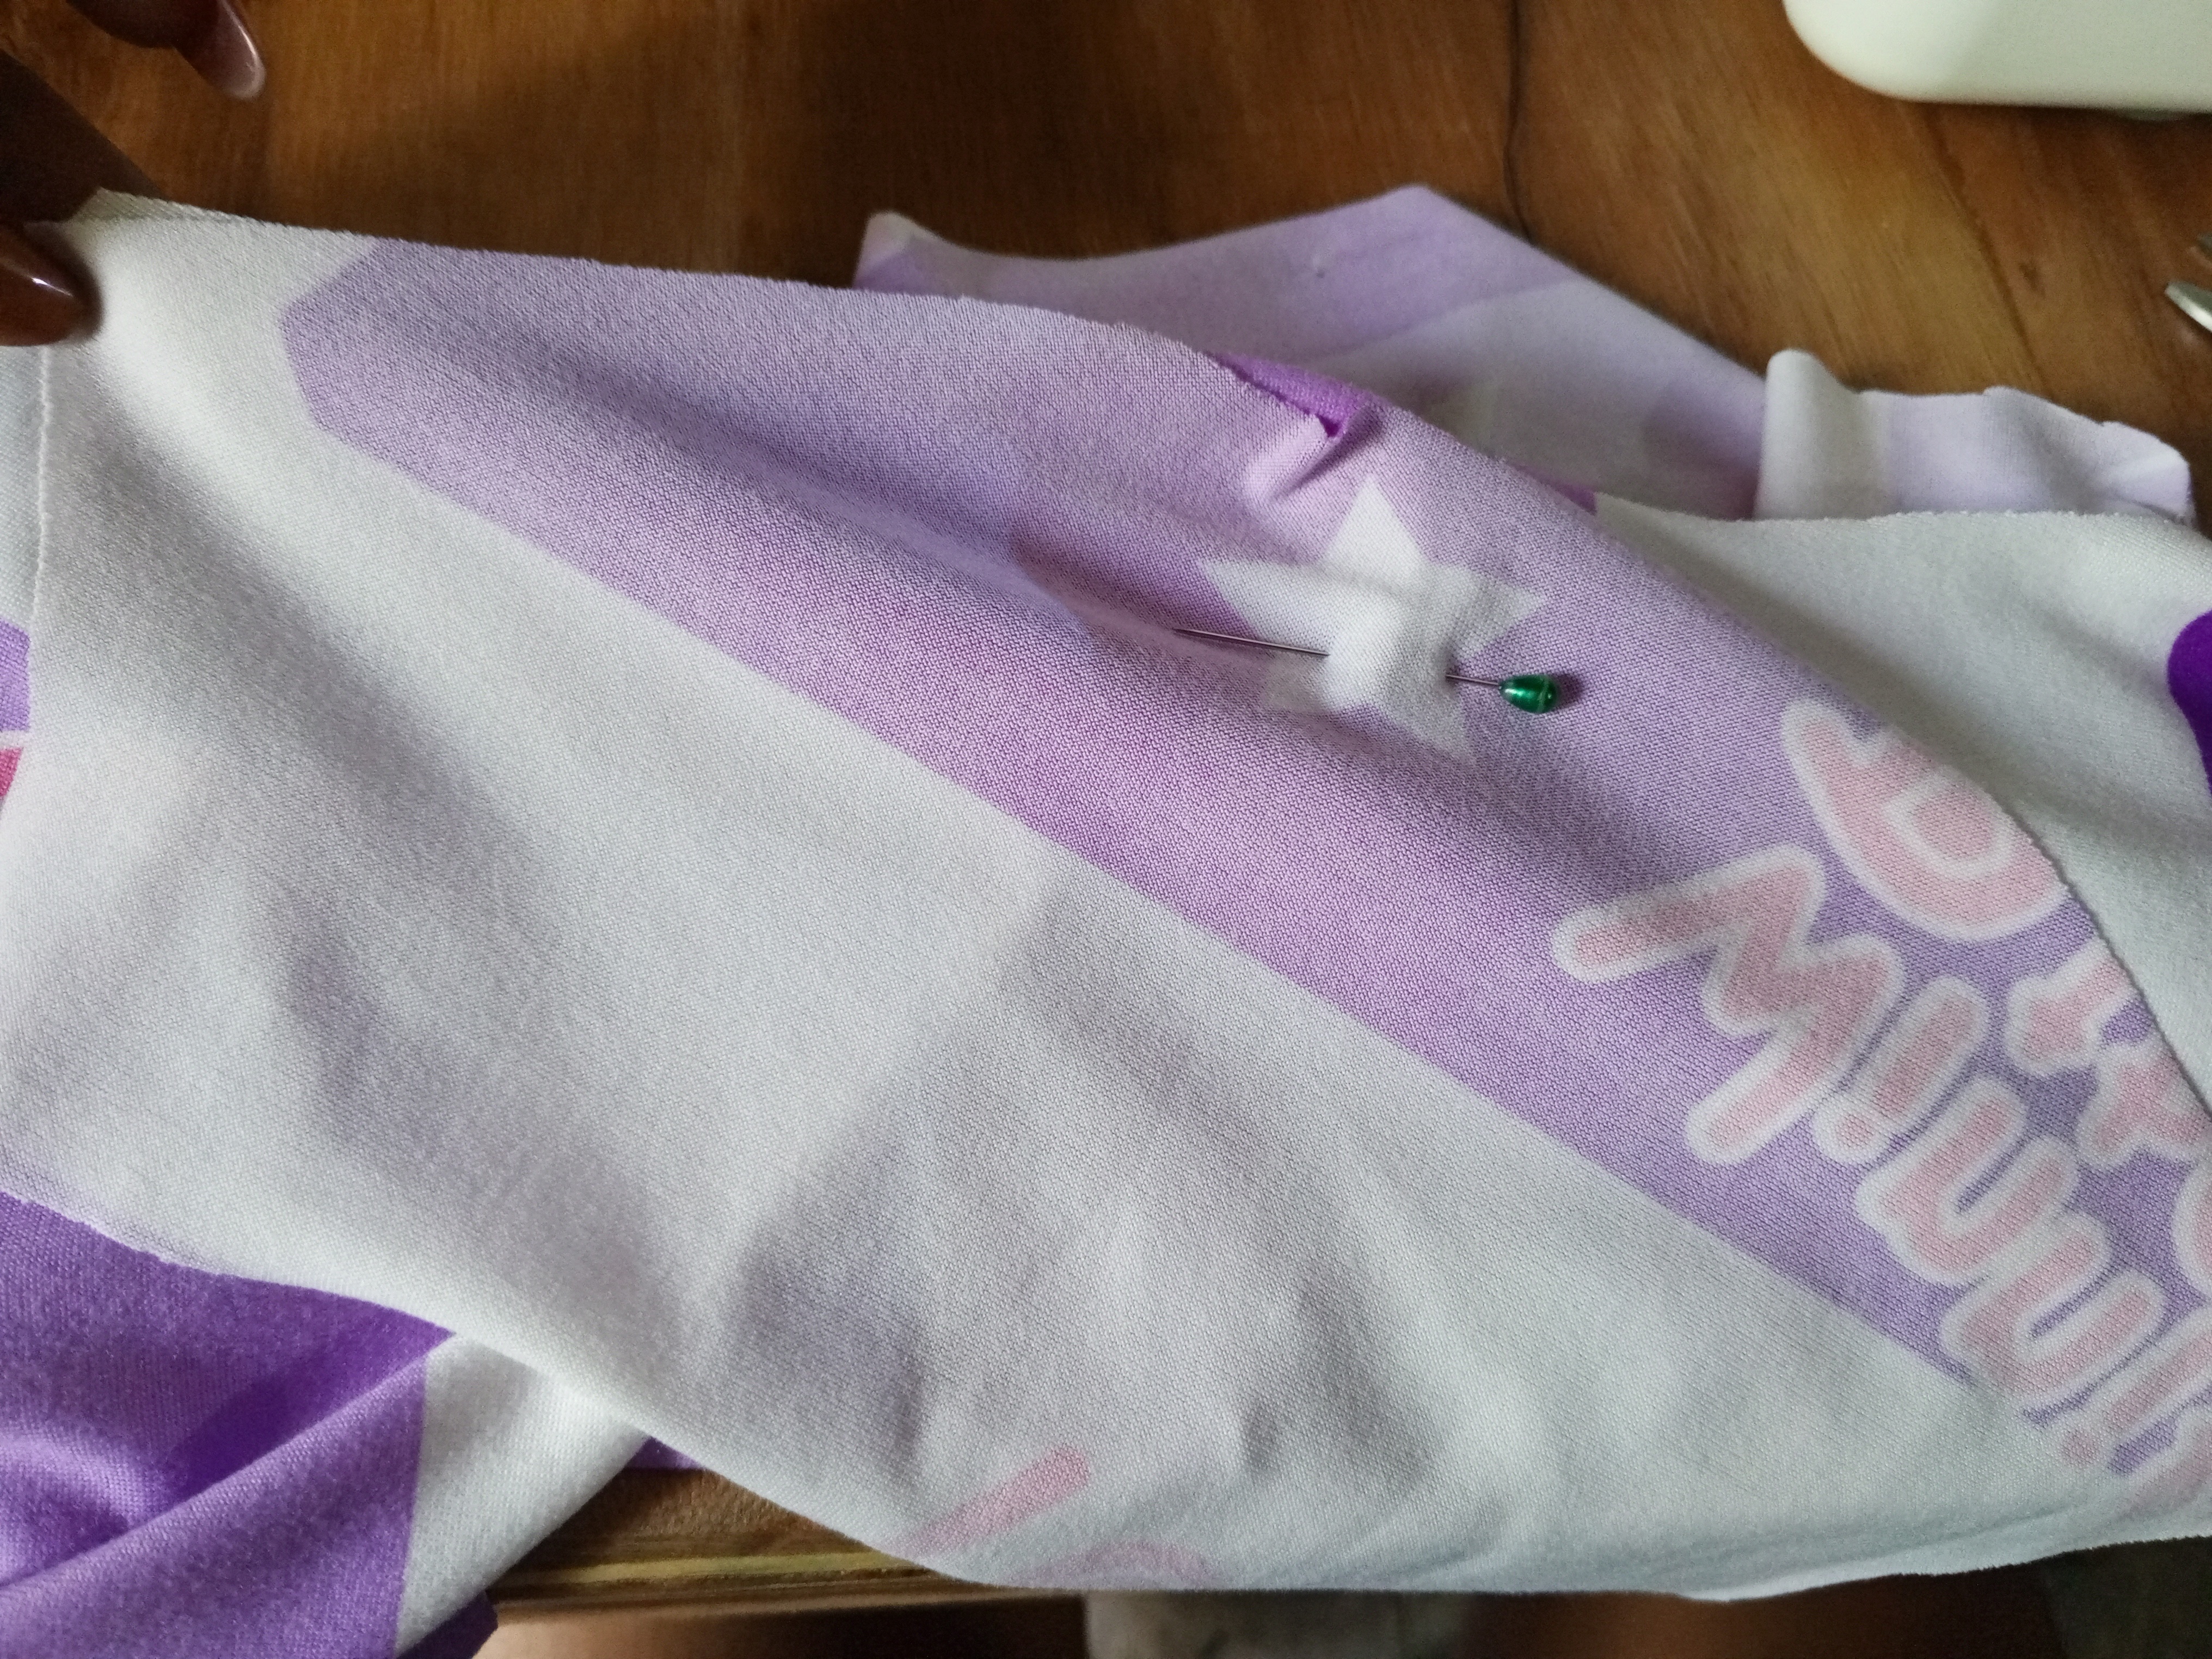
Después de picar las piezas tome las piezas del mono, le coloque alfileres y luego las cosi en la máquina overlok, por el talle delantero y trasero.
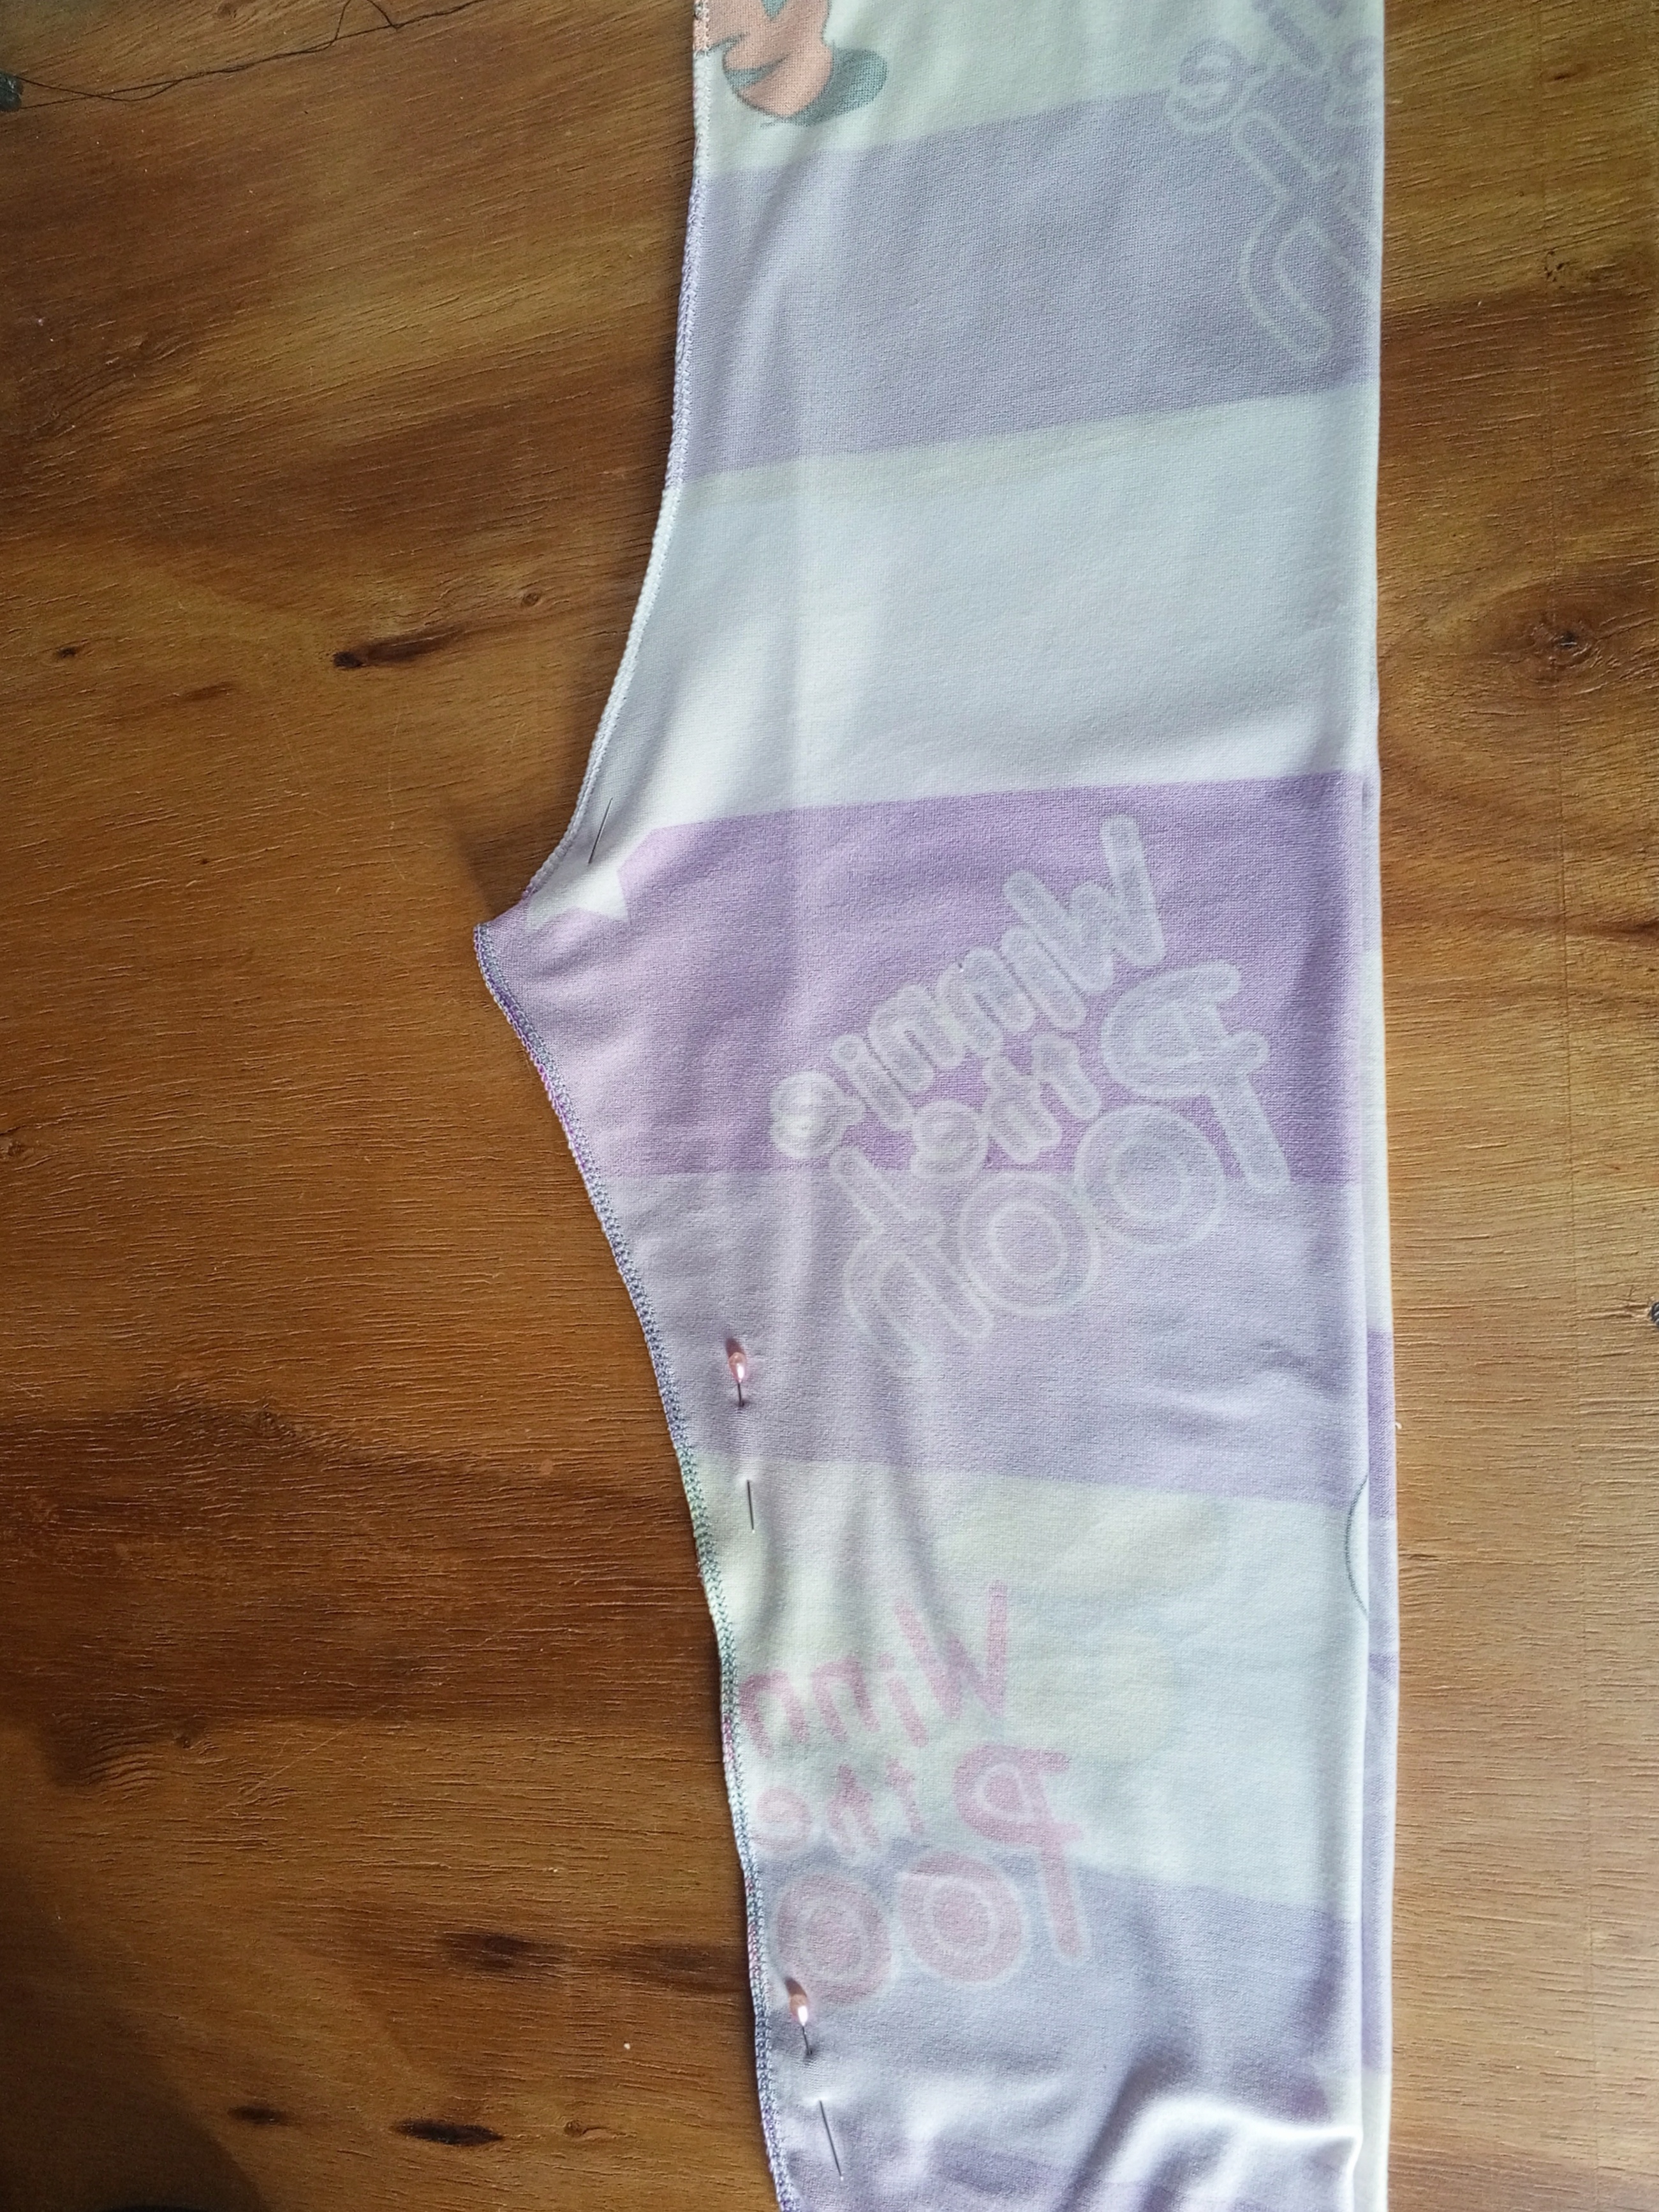
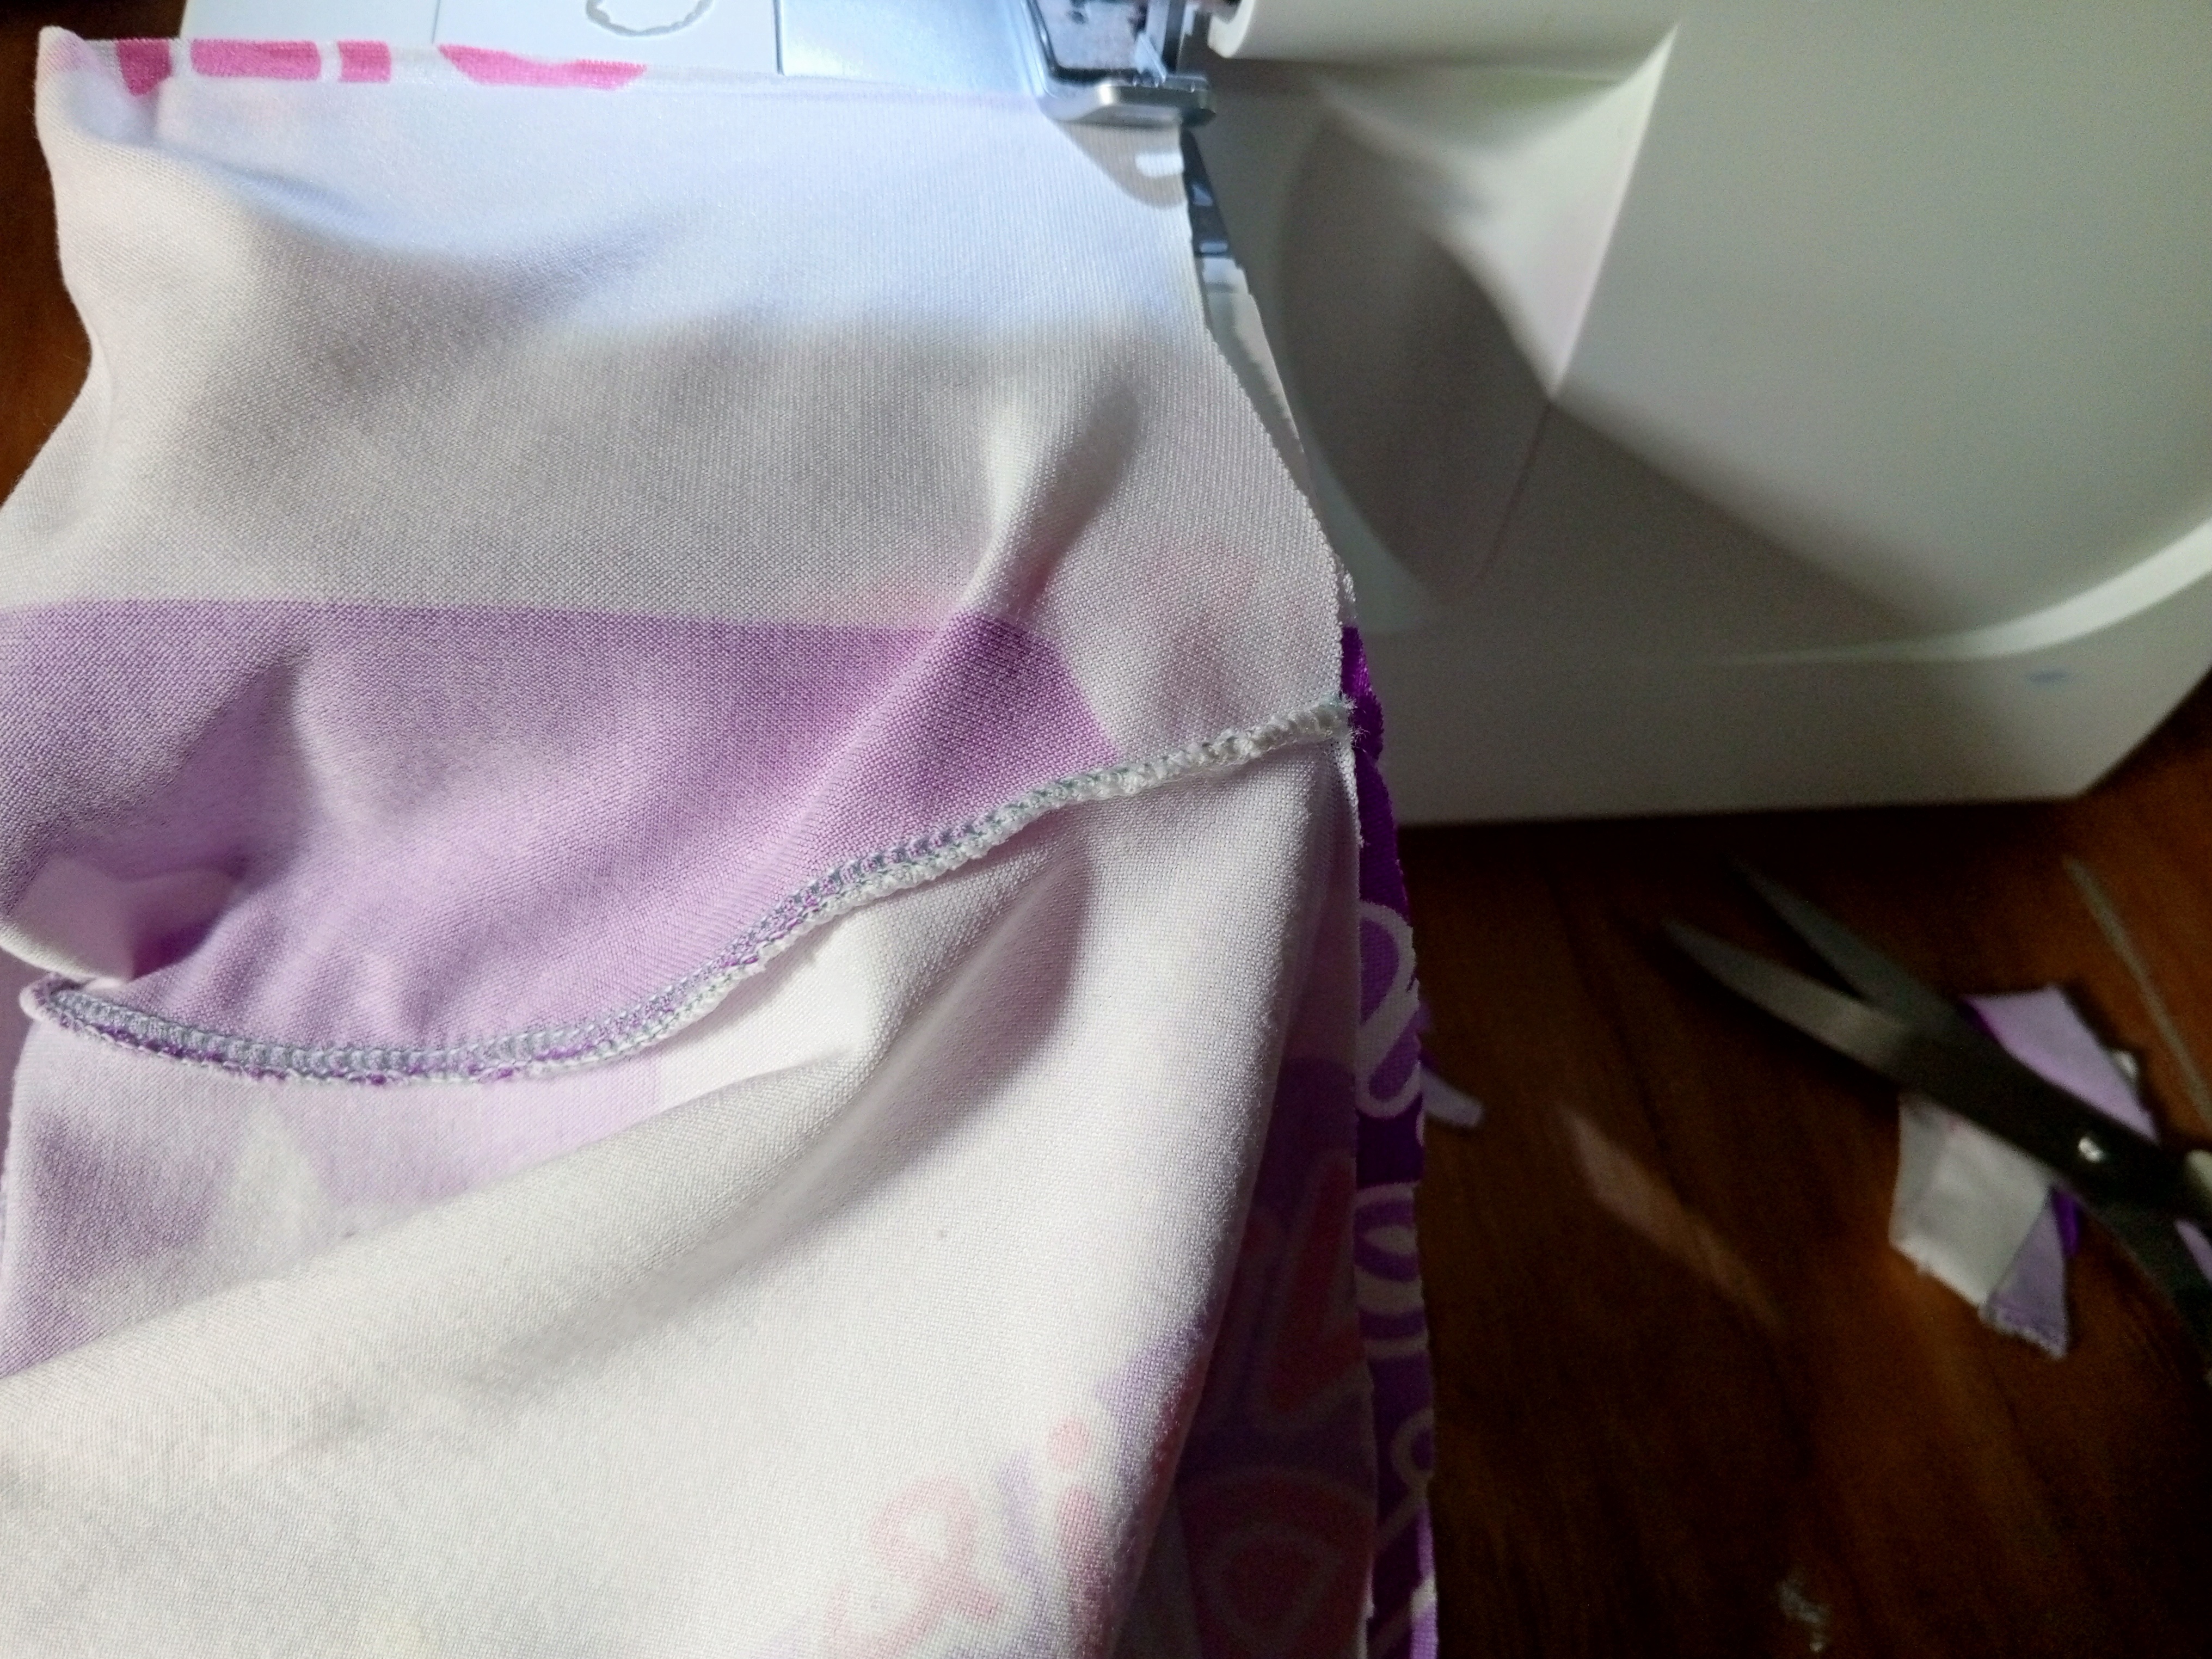
Luego acomodé la pieza del mono y pase costura por la parte de la entrepierna del mono, también coloque alfileres para que no me mueva la pieza.
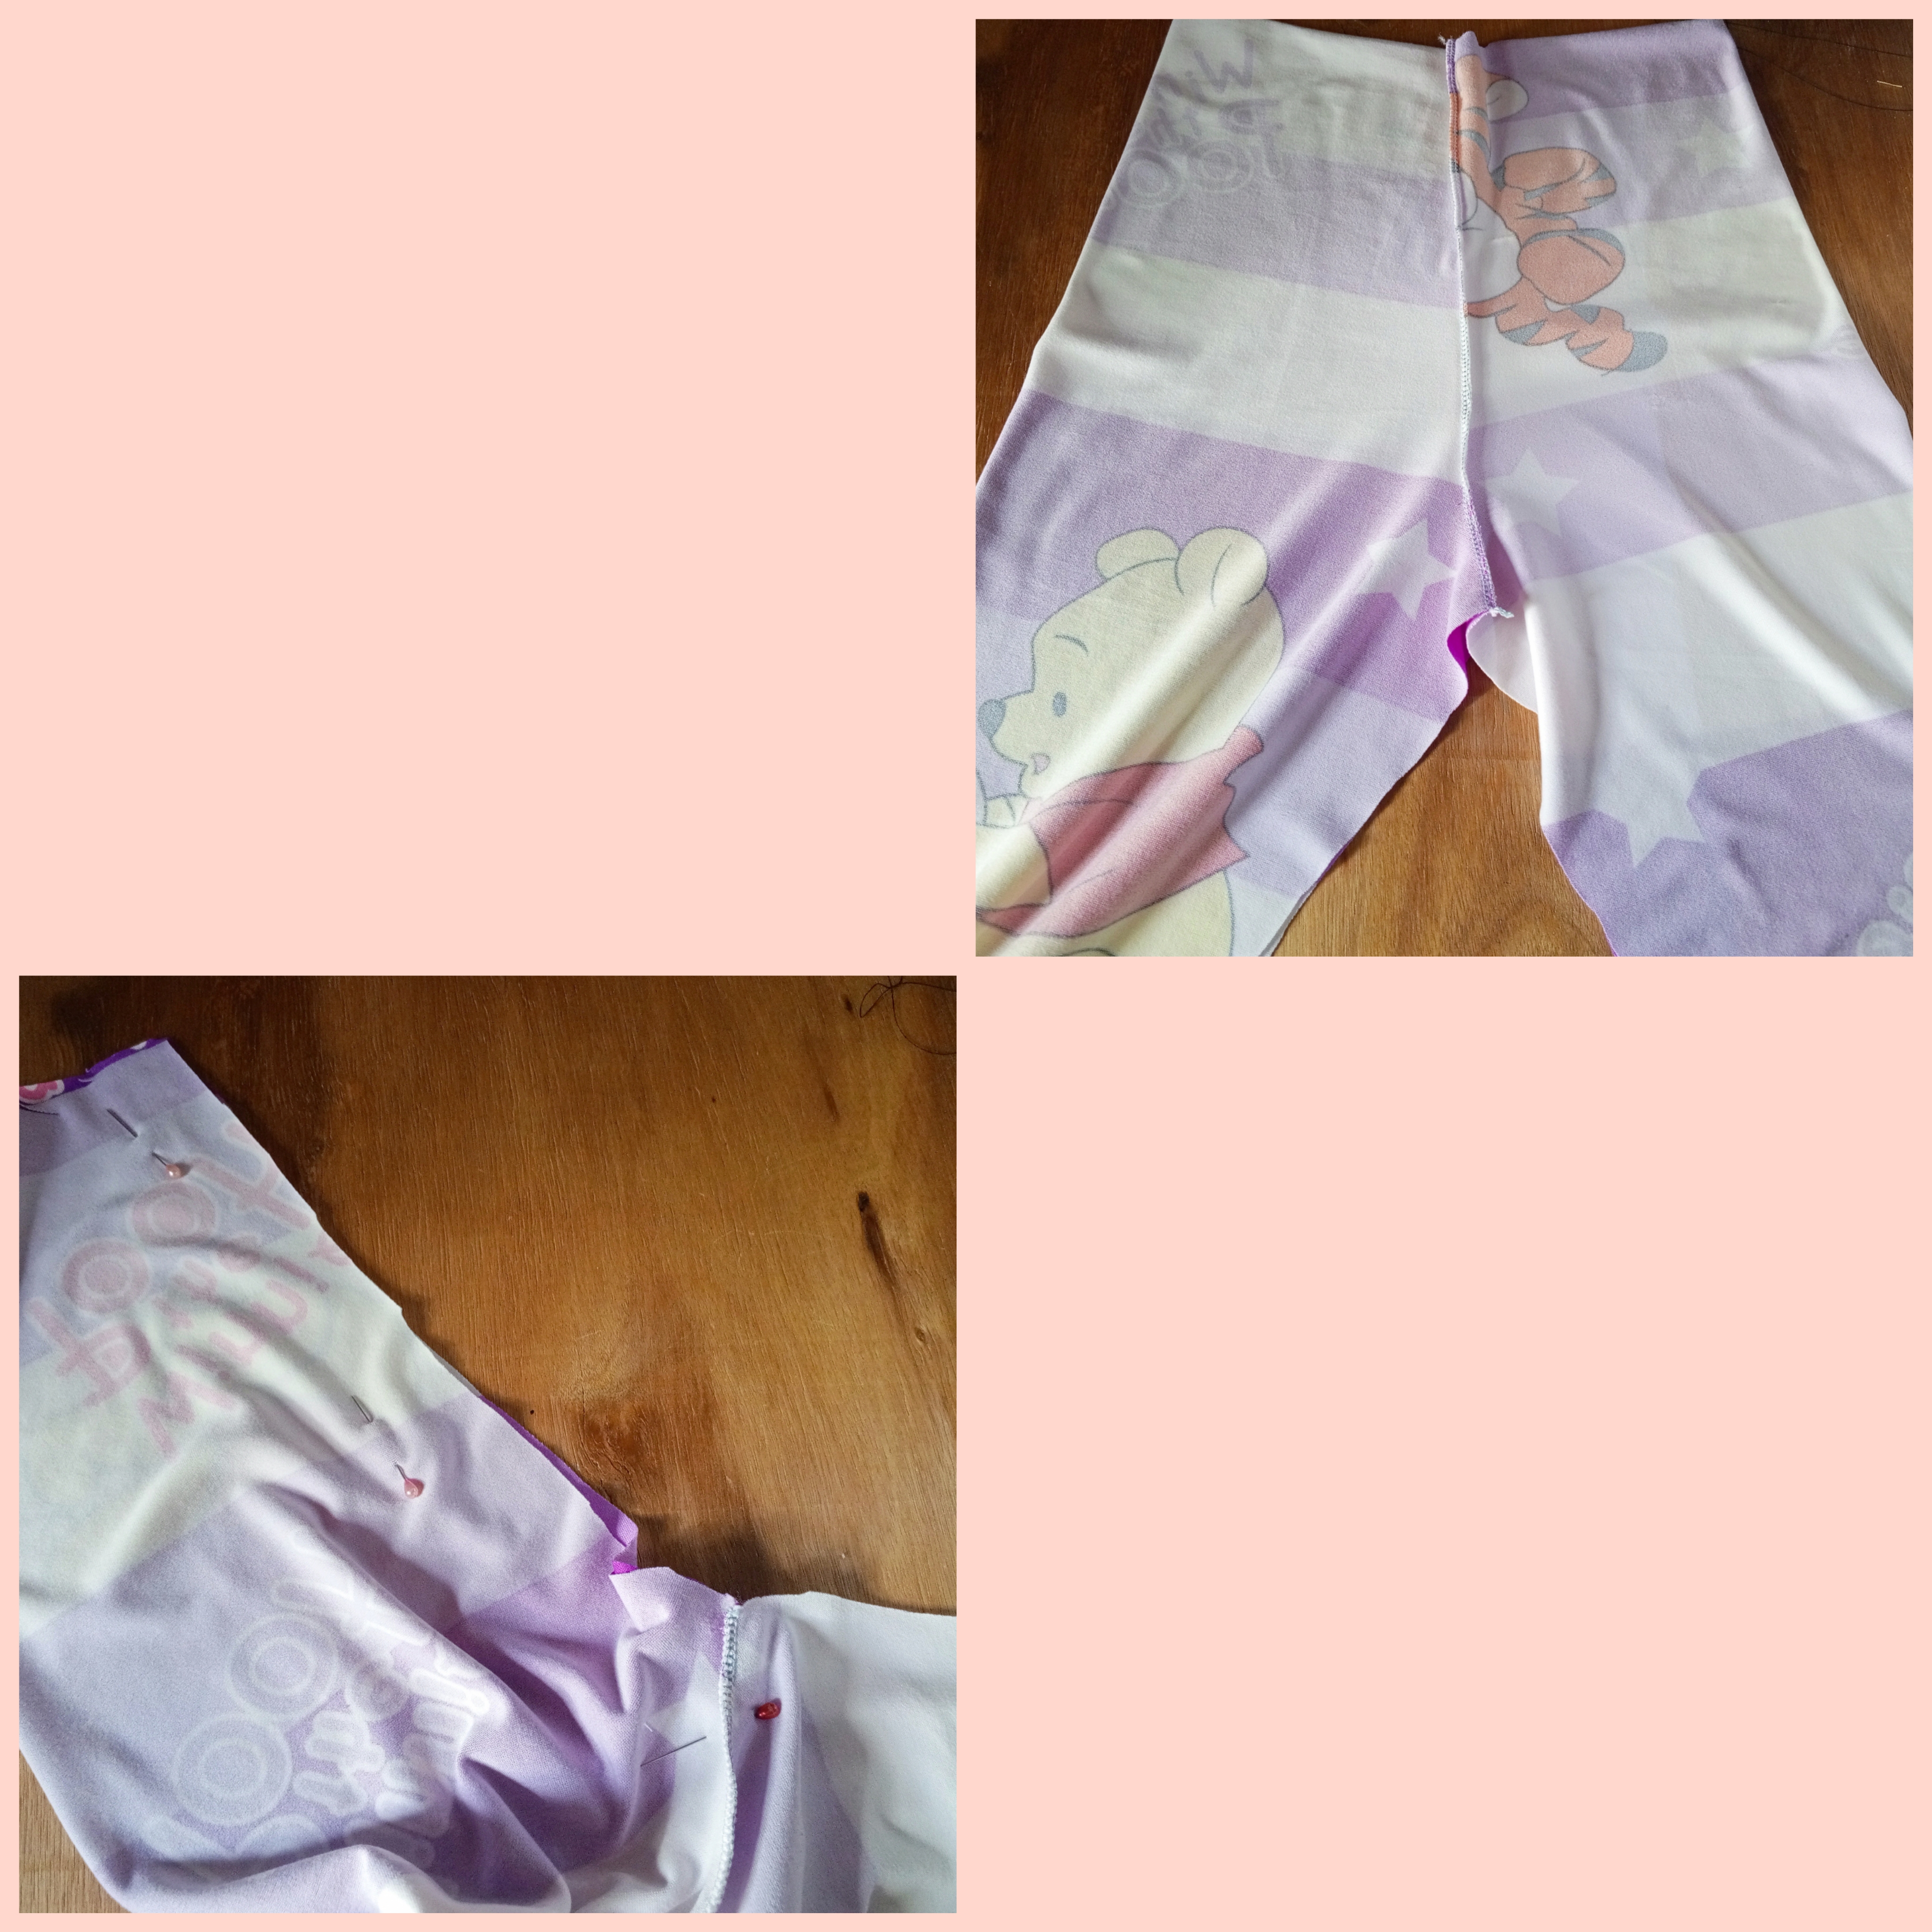
Así queda la pieza del mono.
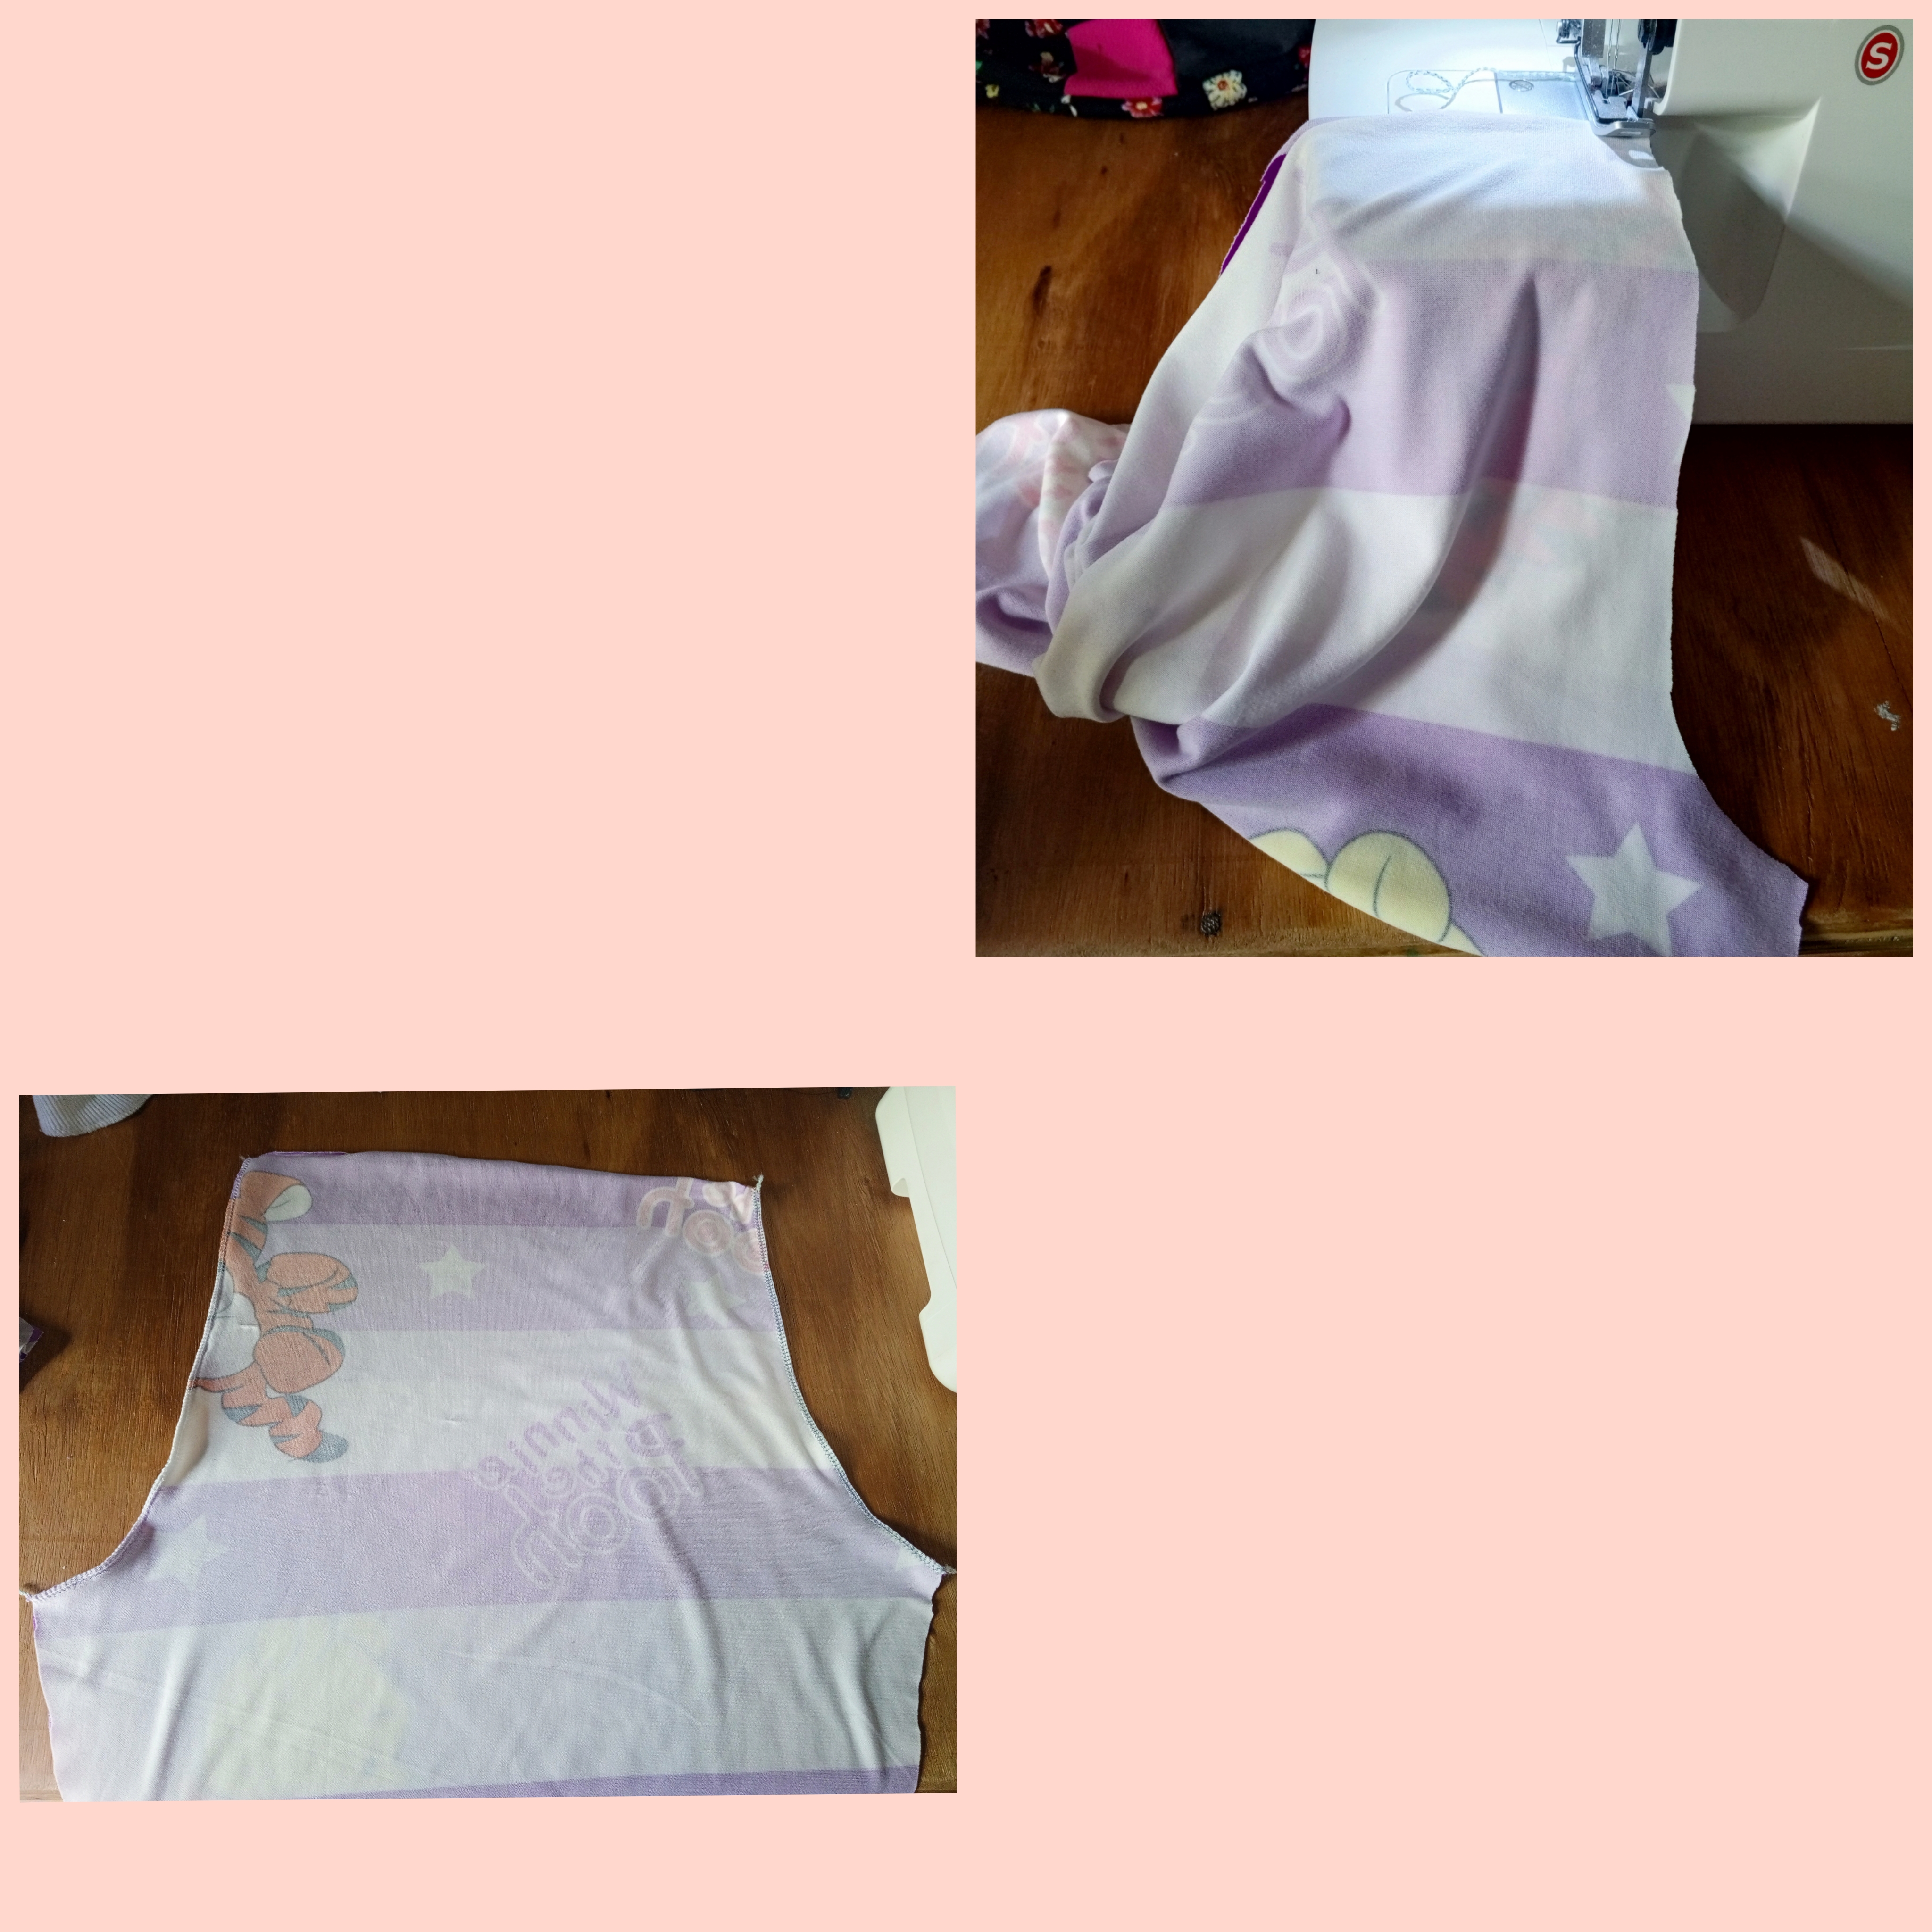
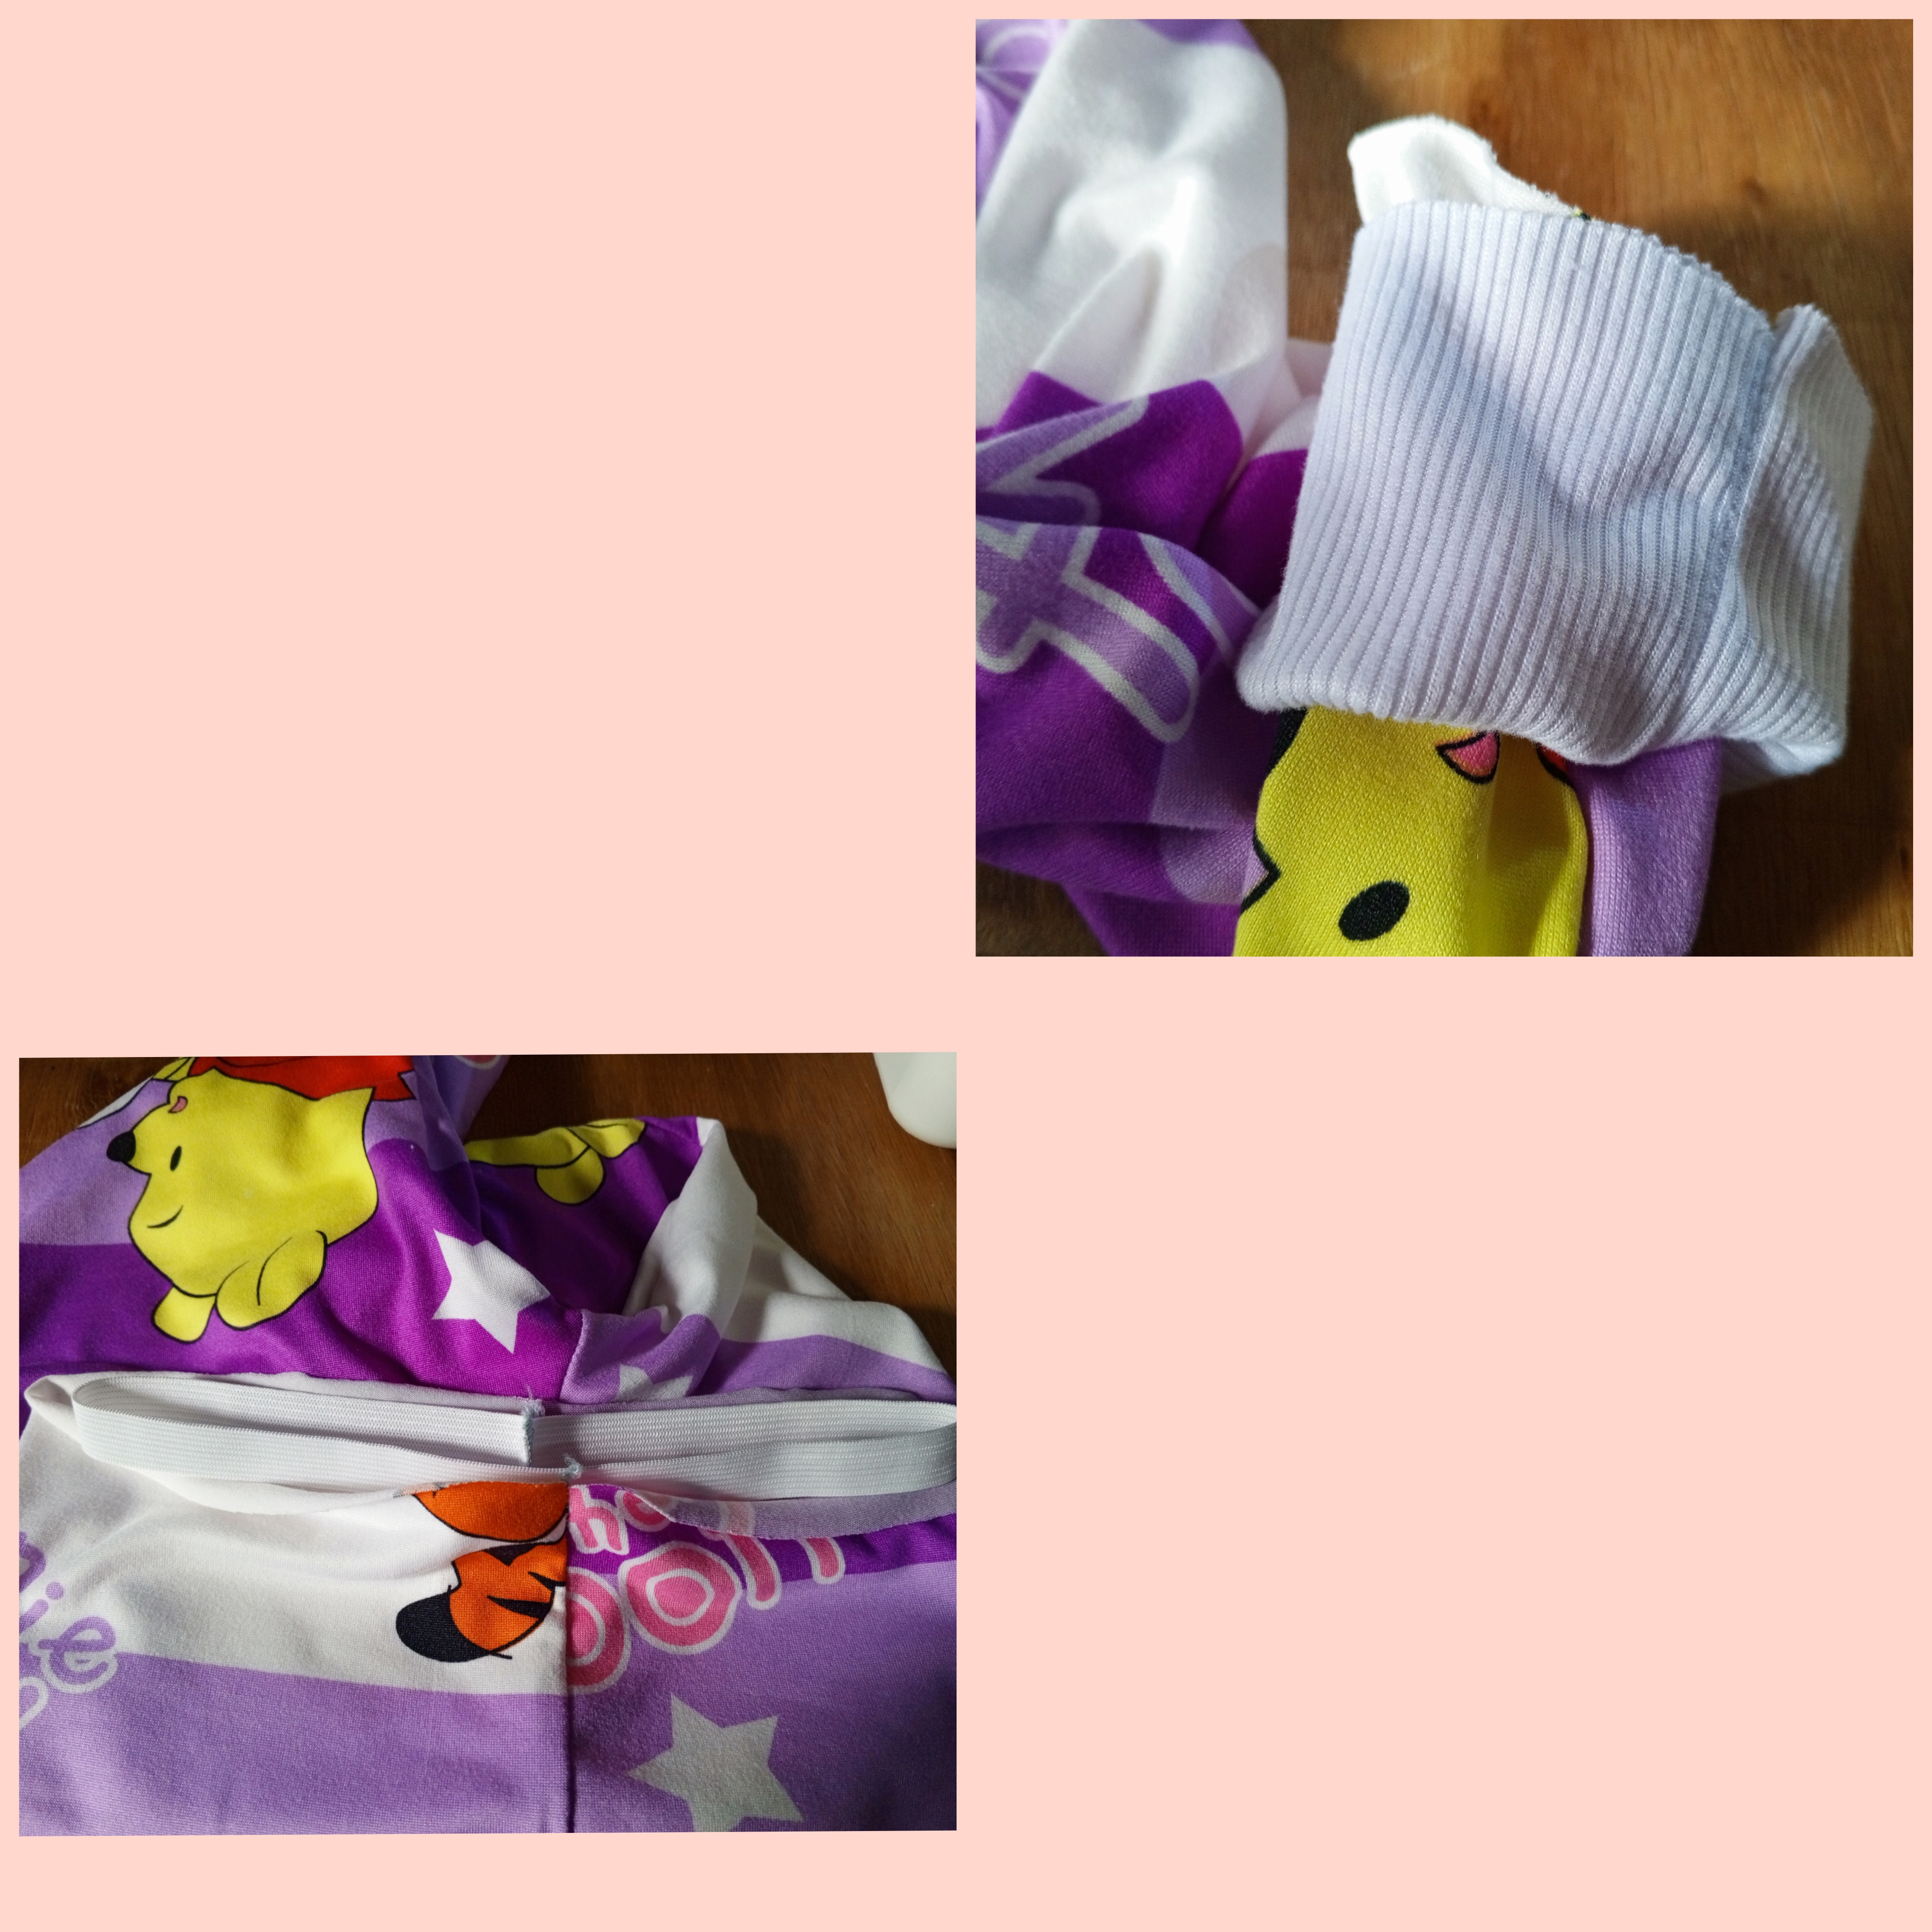
Luego pique de la tela RIB 7 centímetros de ancho y el largo del mono le reste 2,5 centímetros , luego corté una tira elástica de 1,5 centímetros de ancho y medi el contorno de la cintura del mono para así calcular cuánto elástica iba a necesitar, a la medida inicial le reste la cuarta parte.
Proceso pasa coser la camisa.
Lo primero que hice fue colocar la parte delantera y la parte trasera de la camisa derecho con derecho, luego ajuste con alfileres la parte de los hombros y fui cosiendo con la máquina overlock.
Luego volteé las piezas y tomé la parte de los hombros y fui colocándola y sujetando con alfileres para evitar que se moviera la pieza.
Luego pasé de costura por la overlock.
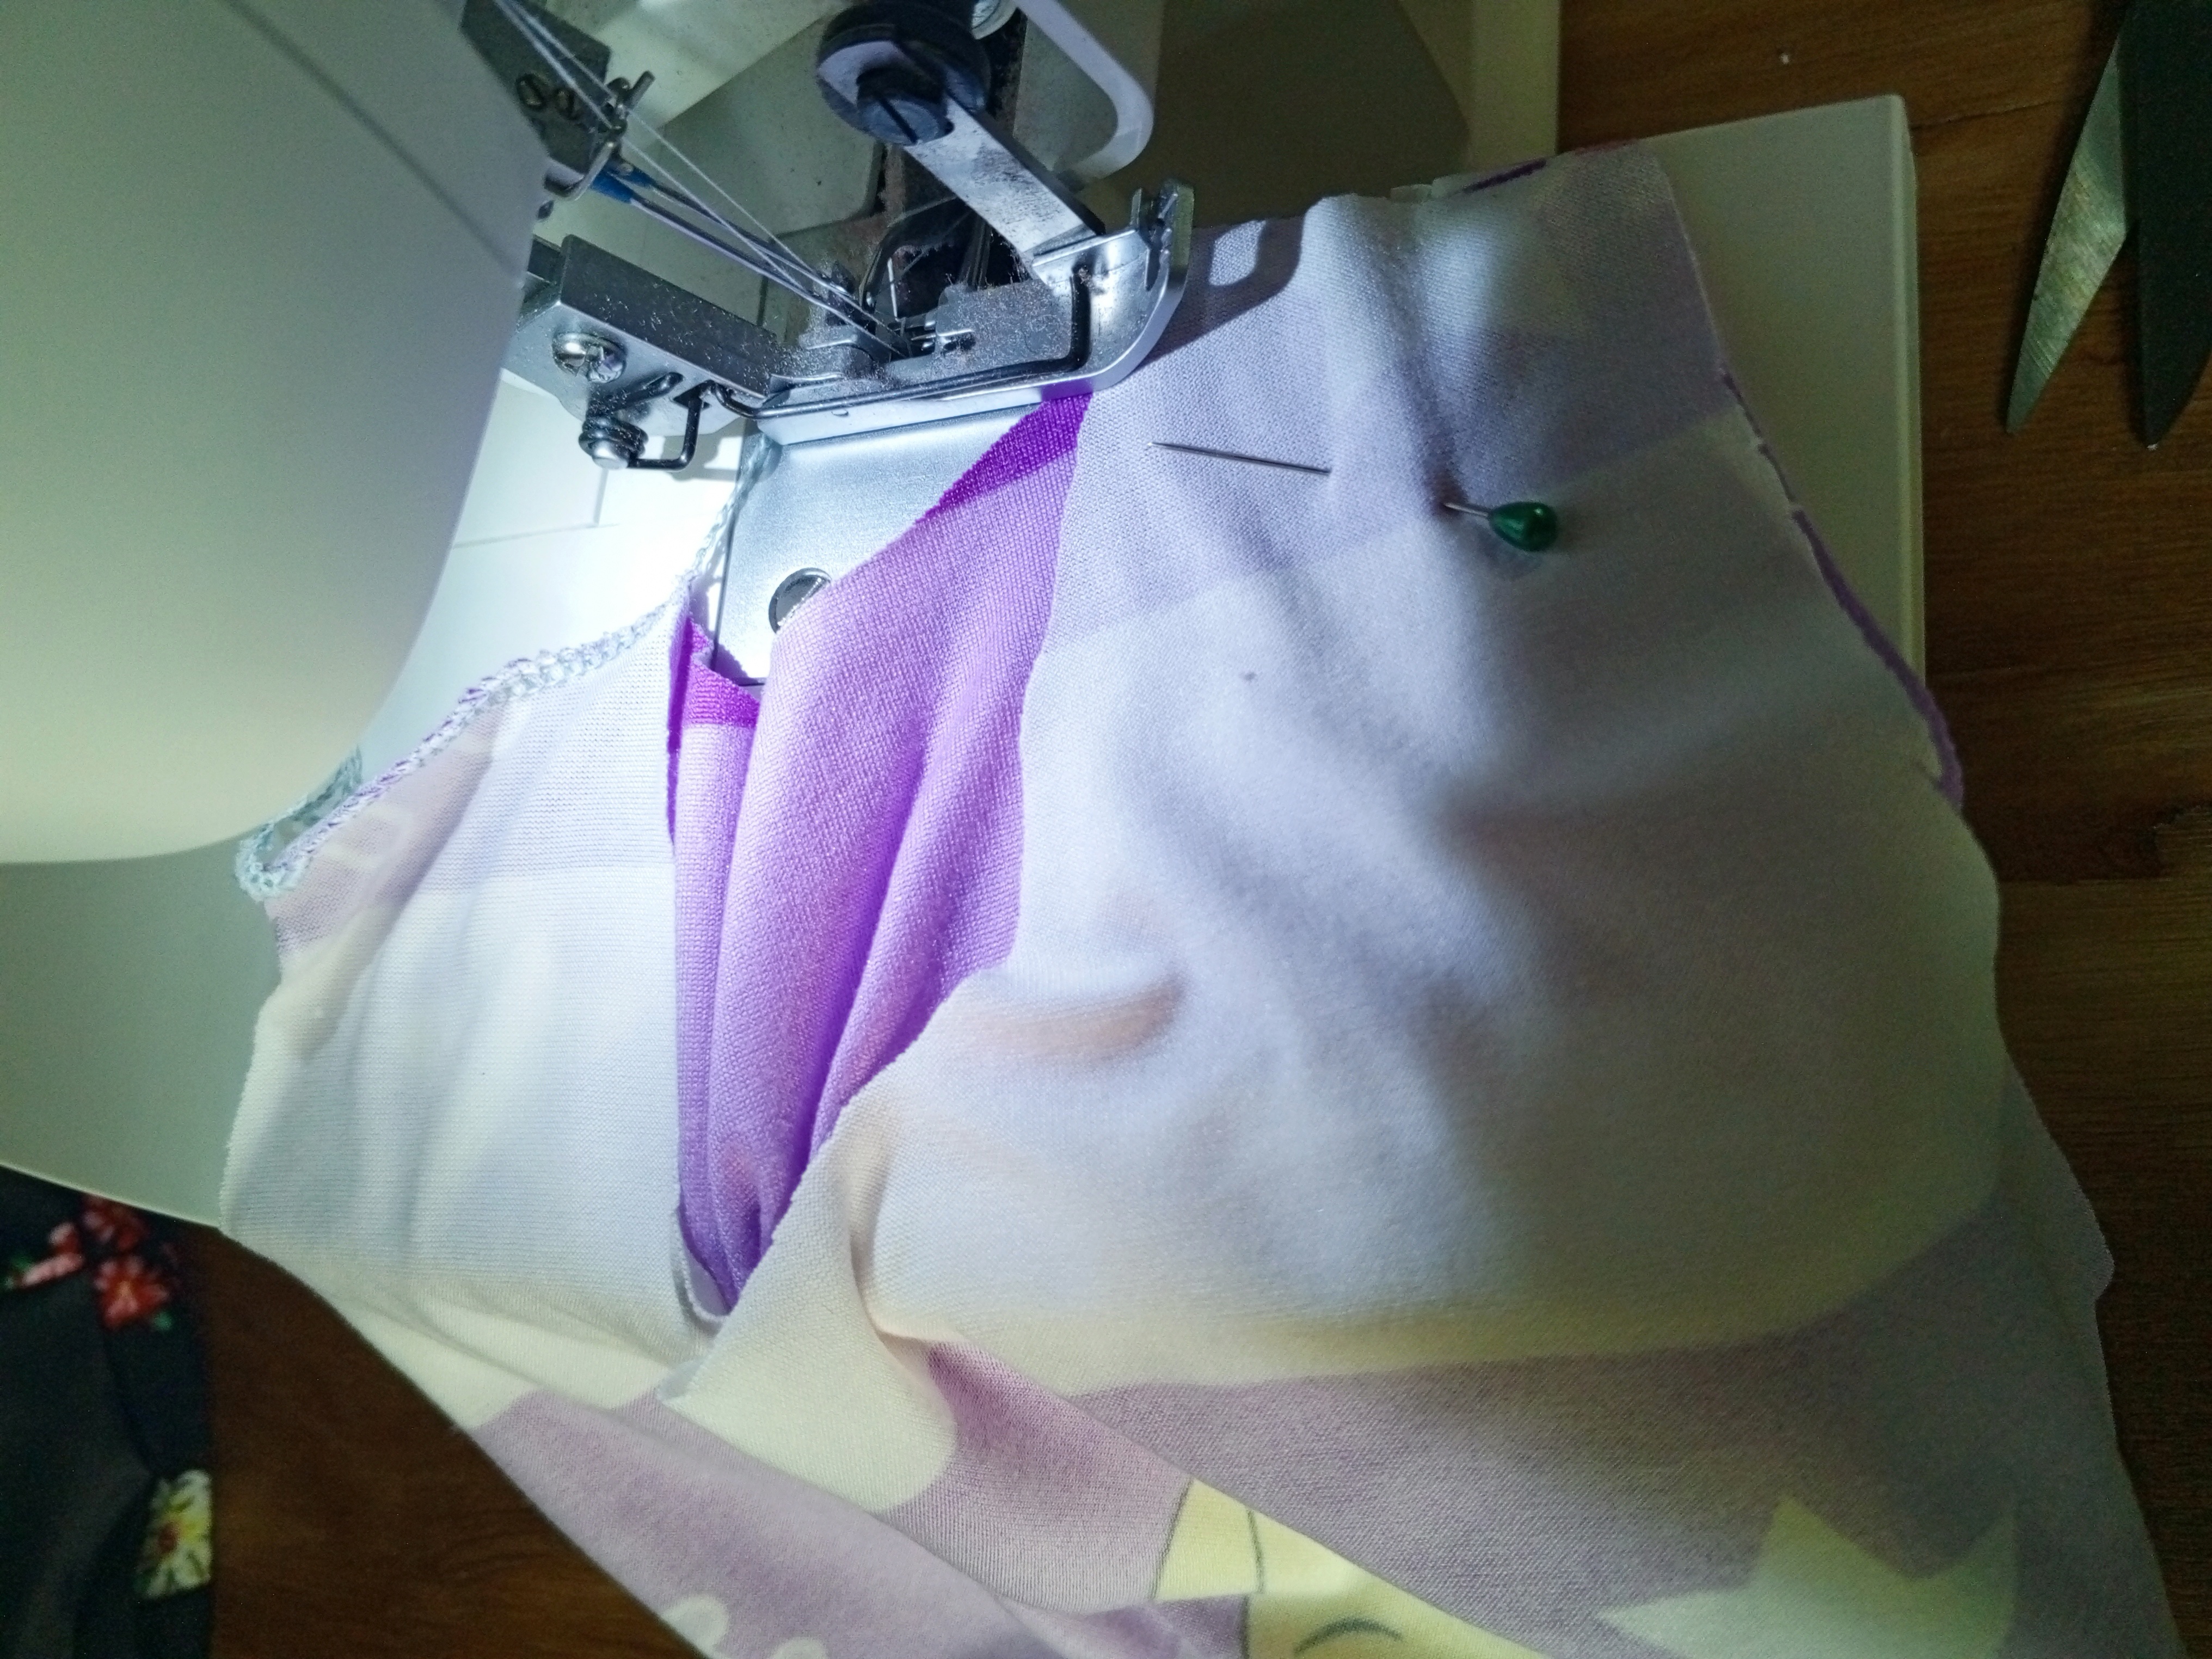
Luego fase de costura por los laterales de la camisa, Aquí también coloqué alfileres para evitar que la costura se se mueva esto es muy importante Ya que a veces cometemos el error de evitar los alfileres y después las piezas nos quedan de formas, así que hay que estar pendiente de este consejo.
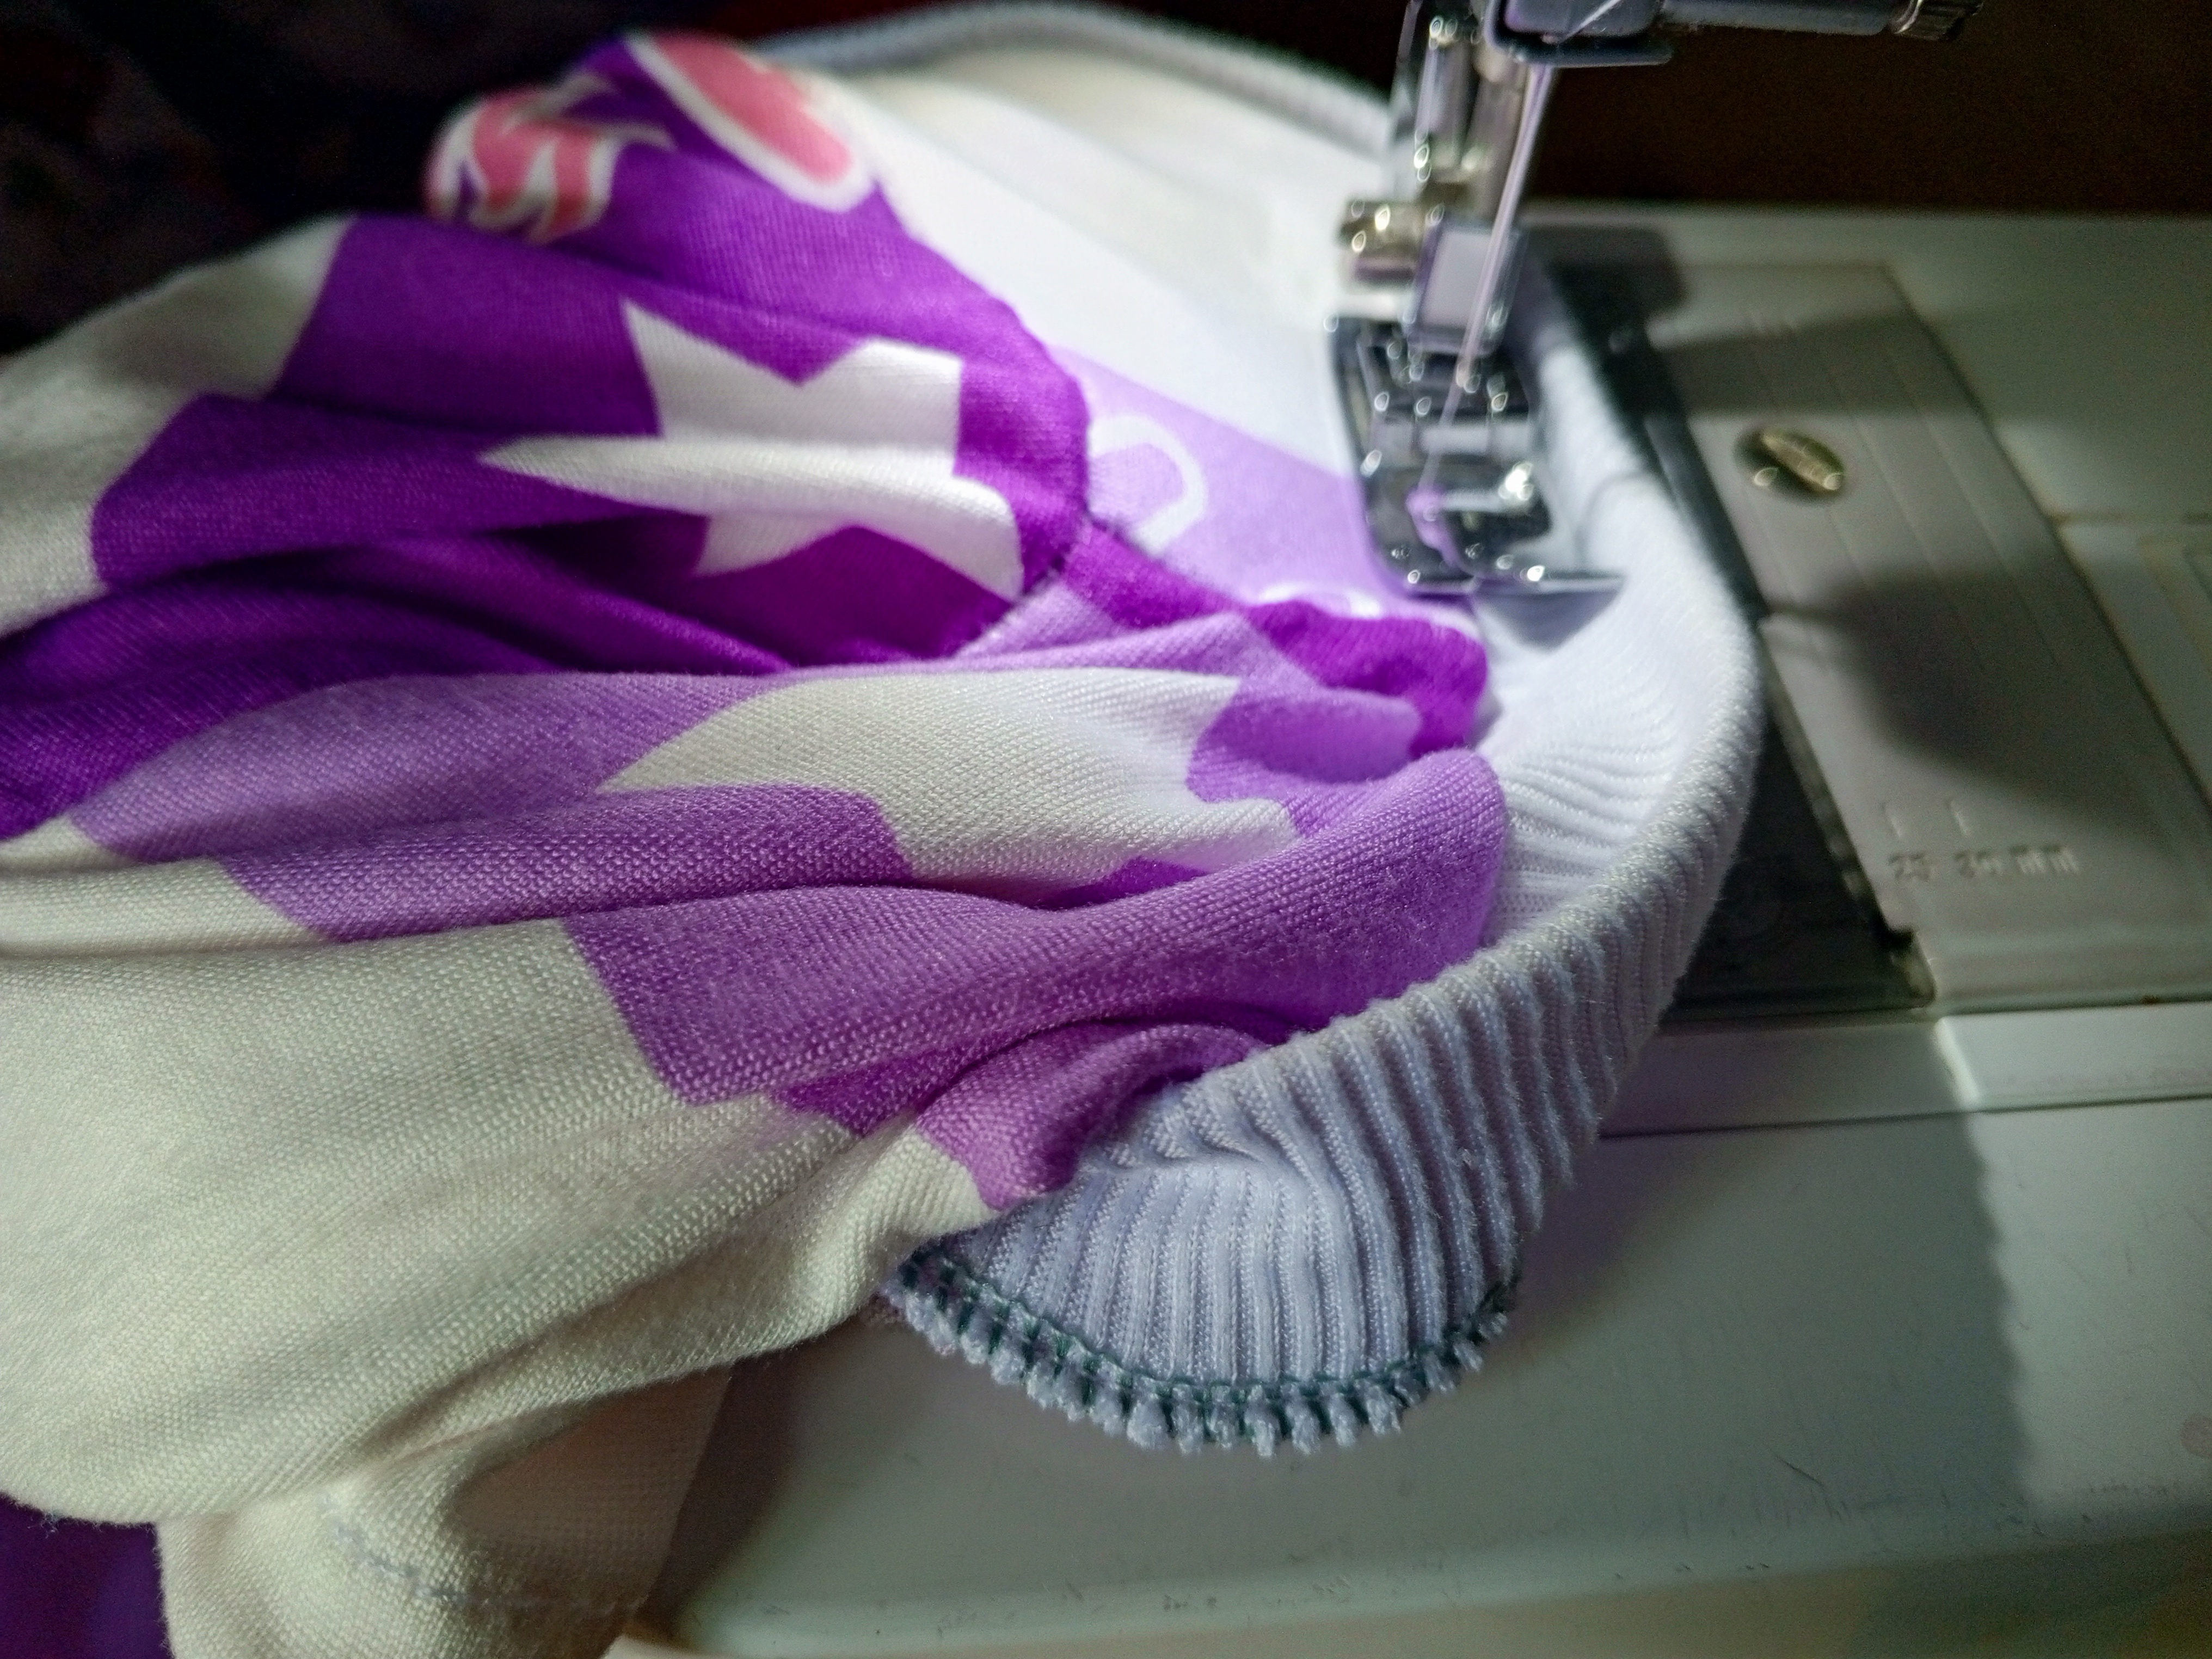
Luego me di el contorno del cuello y por qué la tira rítmica restándole tres centímetros después le pasó una costura overlock y luego finalicé cosiendo con costuras rectas los bordes de las mangas y también la parte inferior de la blusa.
Blusa terminada.
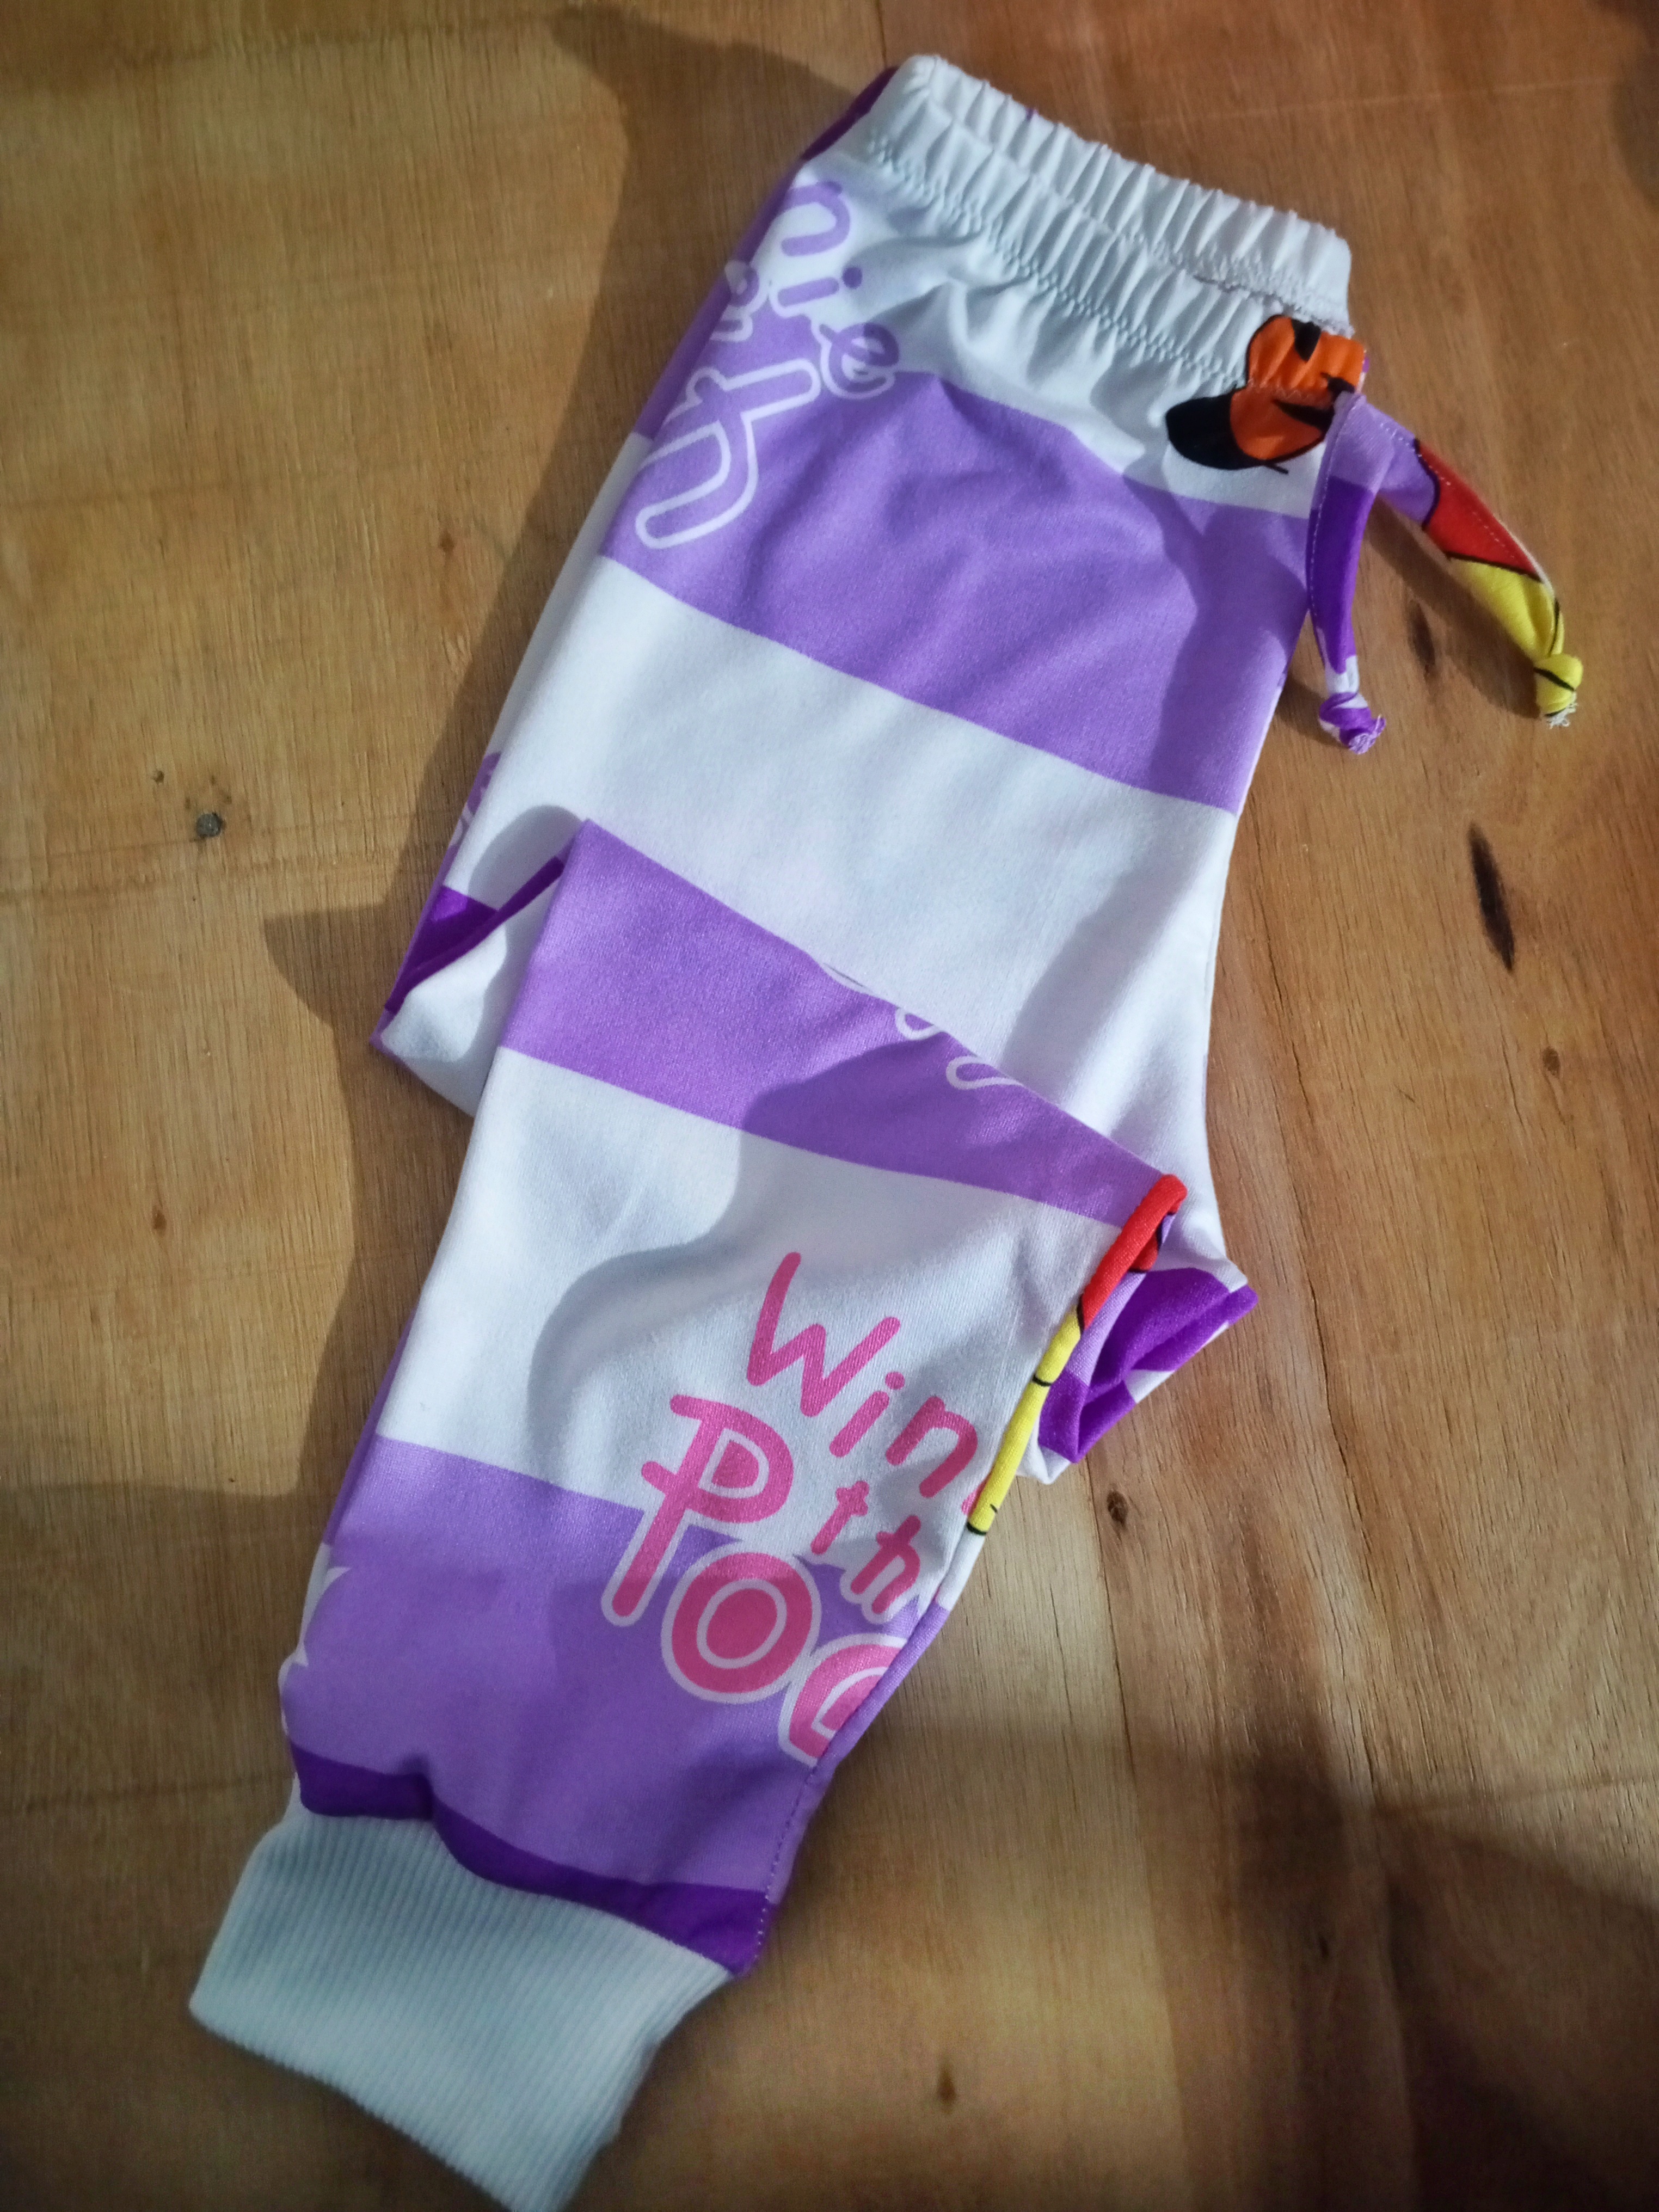
Pantalón terminado talla #2
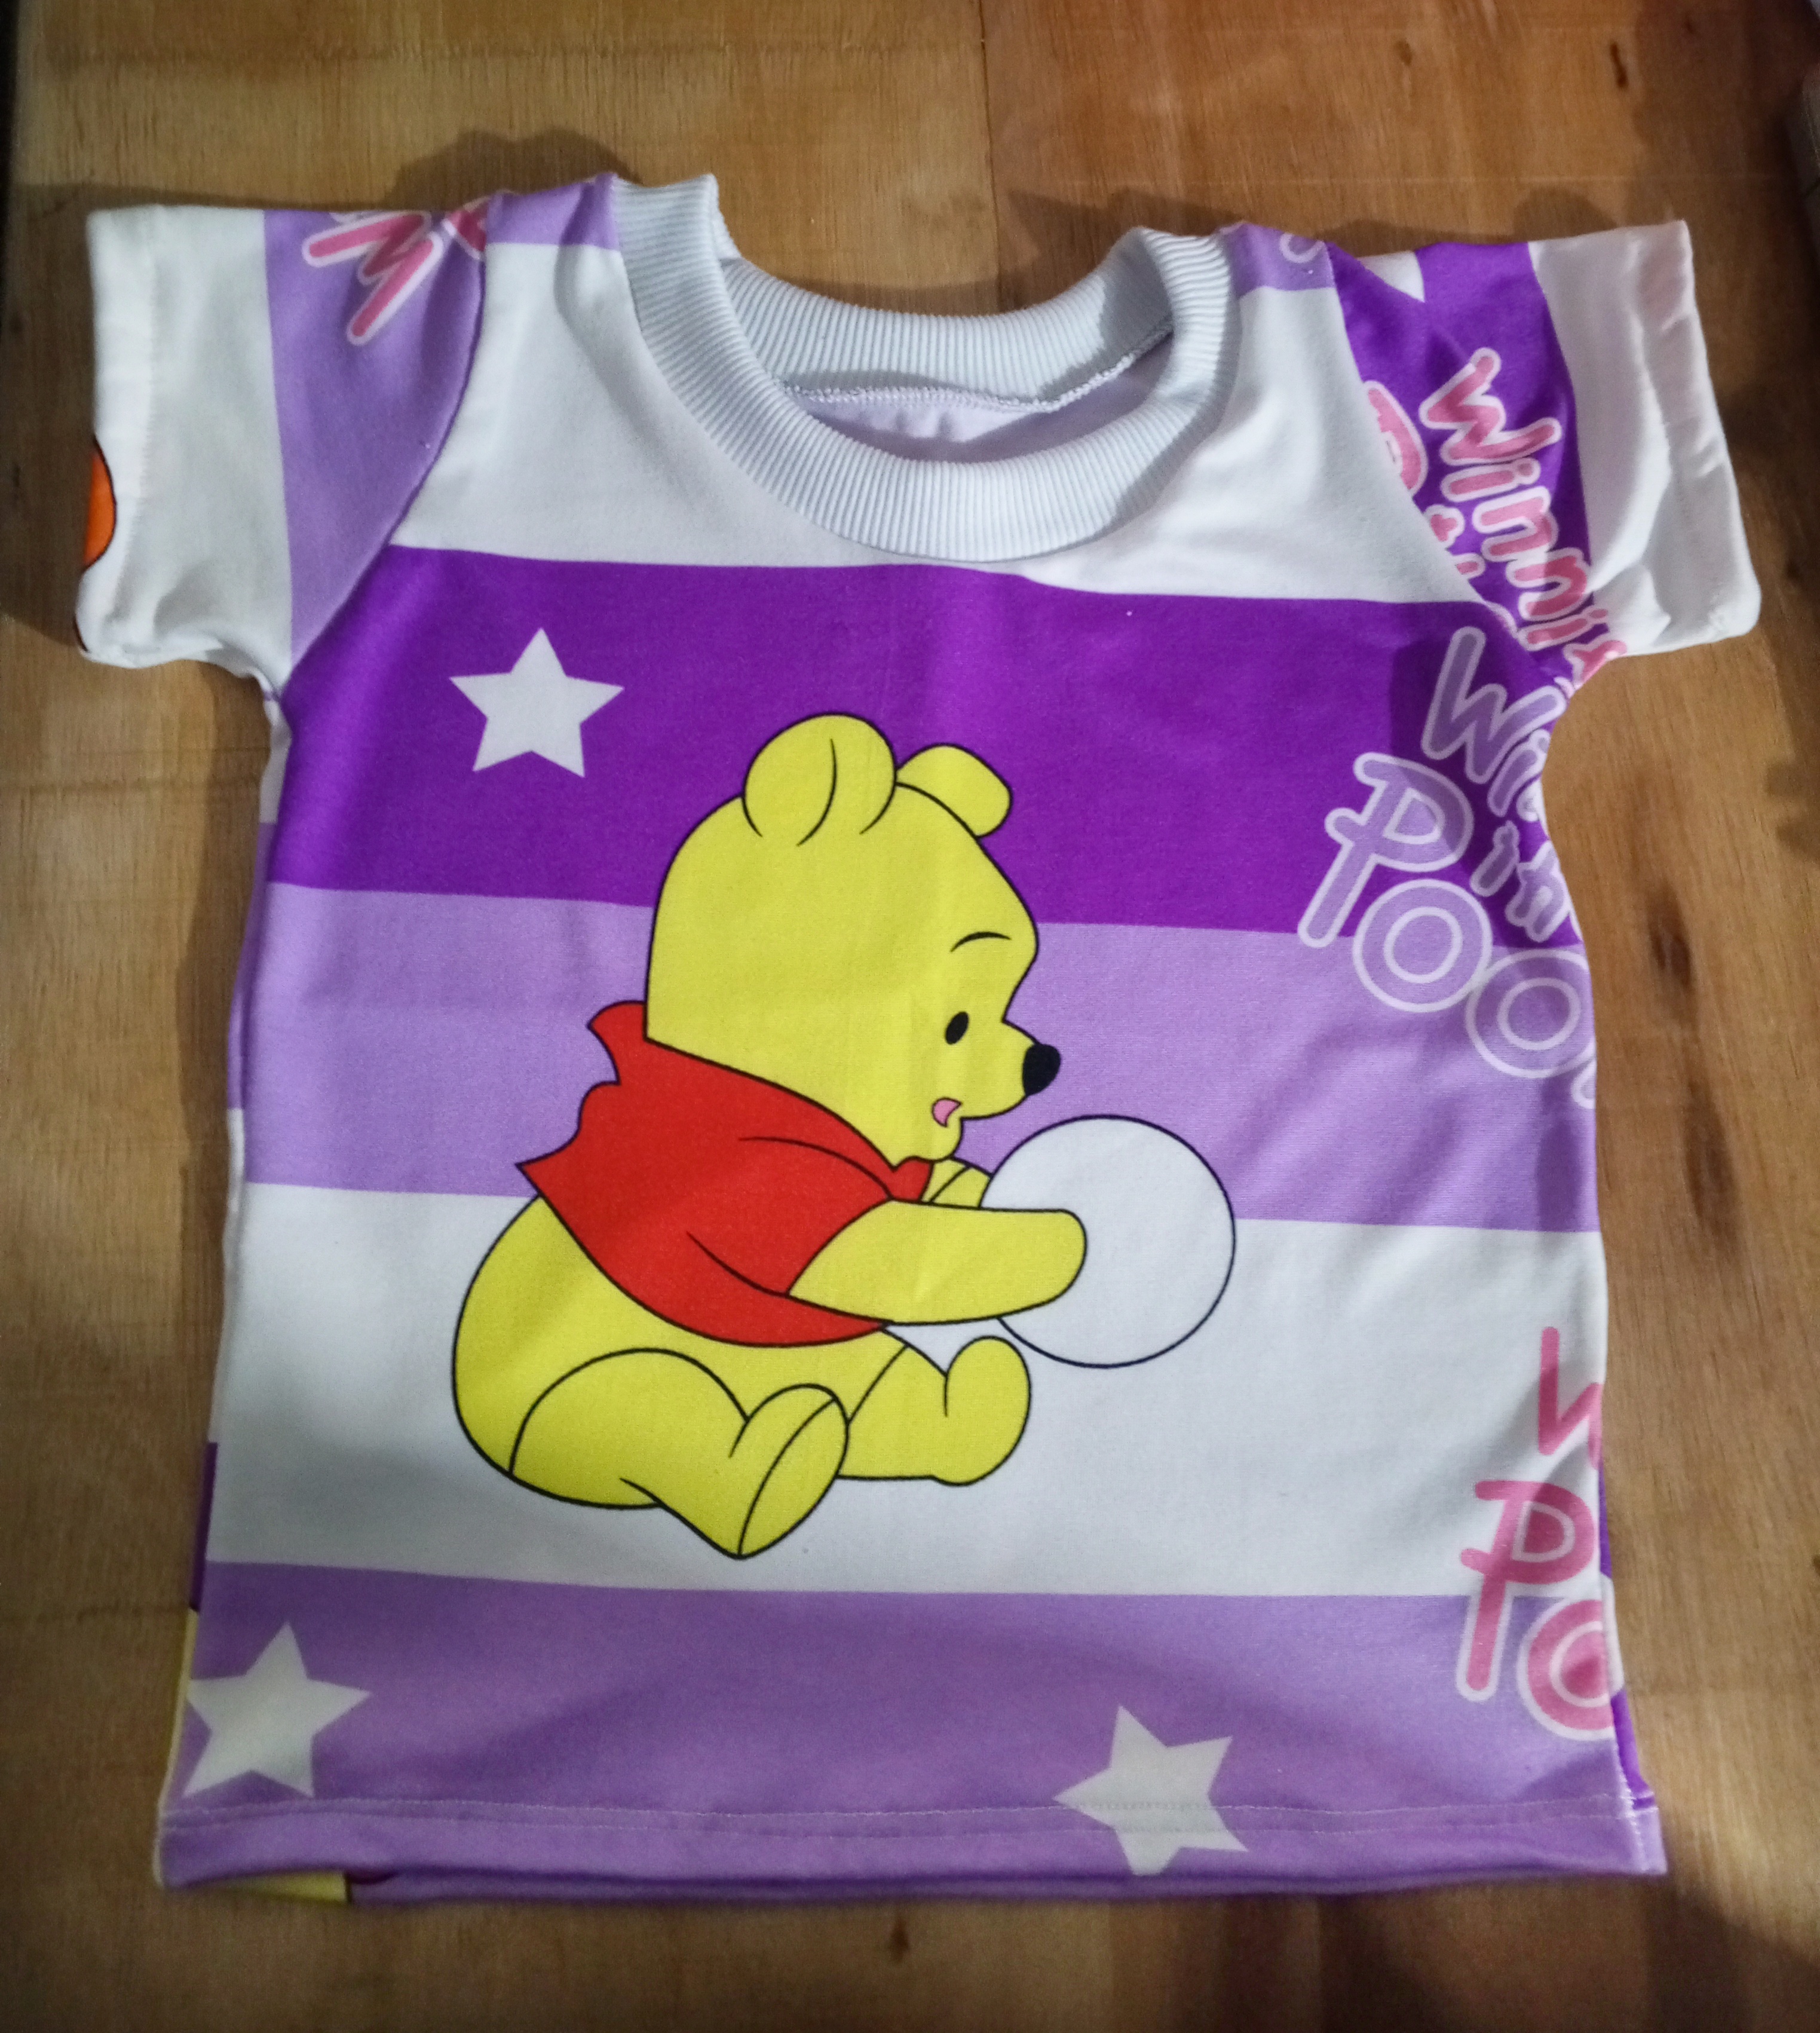
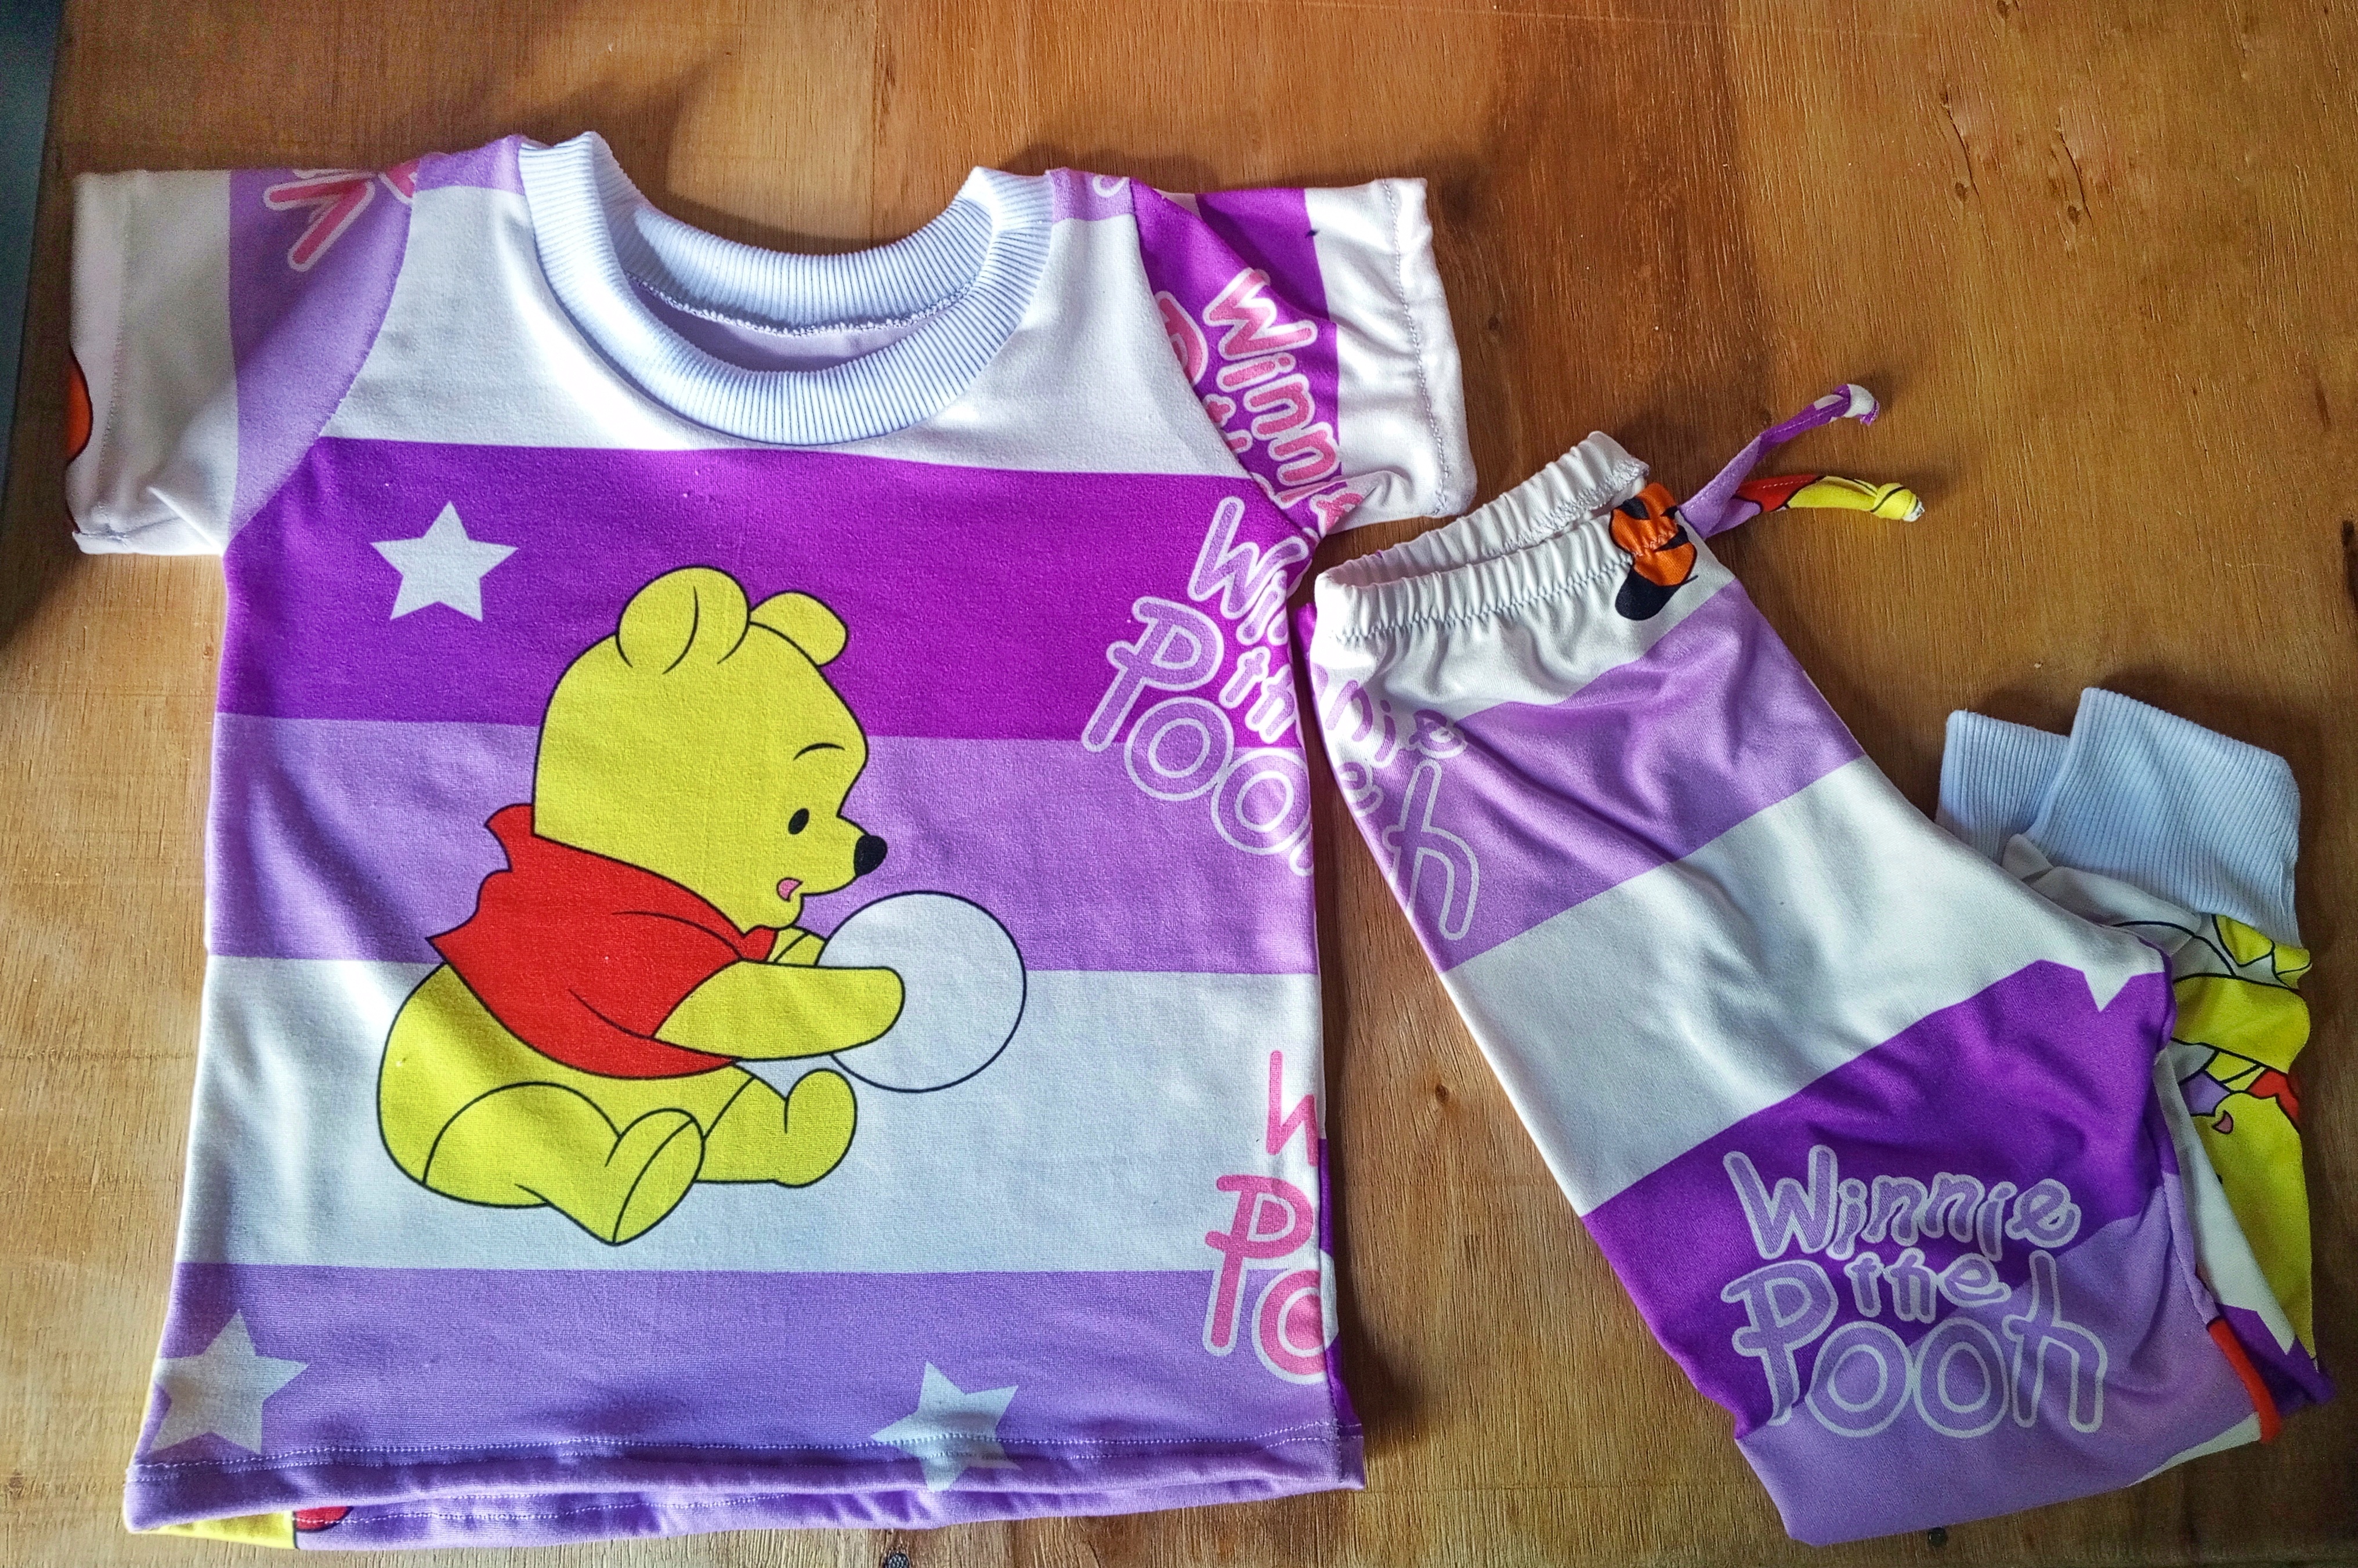
Pijama terminada.
ENGLISH
Greetings dear friends of hive today I am very happy to be again sharing with you about the art that I do, particularly since I entered the world of sewing I have learned many things, among them to sew my dreams and let my imagination fly because this art allows us to express ourselves freely.
This time I want to show you how I made a pair of pajamas to give as a gift to one of my daughter's cousin, I found this Winnie Pooh print that is very beautiful along with the purple tones.
The materials I used were the following:
- Micro peach printed fabric.
- Pins.
- Scissors.
- Sewing machine.
- White RIB fabric.
The first thing I did was to take the patterns and cut each piece, I started cutting the patterns of the pants and then I cut the shirt, the sleeves, the collar of the shirt and the hem of the pants since I will place the collar and hem in white with RIB fabric, since this is a special fabric used for this, as it has a spectacular elasticity and leaves a beautiful finish on the garments, I totally recommend it.
After cutting the pieces, I took the jumpsuit pieces, pinned them and then sewed them on the overlok machine, front and back.
Then I placed the jumpsuit piece and stitched the crotch part of the jumpsuit, I also placed pins so that the piece would not move.
This is how the monkey piece looks like.
Then I cut 7 centimeters wide from the RIB fabric and subtracted 2.5 centimeters from the length of the jumpsuit, then I cut a 1.5 centimeter wide elastic strip and measured the waist of the jumpsuit to calculate how much elastic I would need, subtracting a quarter from the initial measurement.
Process of sewing the shirt.
The first thing I did was to place the front and the back of the shirt right sides together, then I pinned the shoulders and sewed with the overlock machine.
Then I flipped the pieces over and took the shoulder part and pinned it to prevent the piece from moving.
Then I sewed it with the overlock.
Then sewing phase on the sides of the shirt, here I also placed pins to prevent the seam from moving, this is very important because sometimes we make the mistake of avoiding the pins and then the pieces are left with shapes, so you have to be aware of this advice.
Then I gave me the contour of the neck and why the rhythmic strip by subtracting three centimeters after I passed an overlock seam and then I finished sewing with straight seams the edges of the sleeves and also the bottom of the blouse.
Finished blouse.
Finished pant size #2
Finished pajamas.
Translation in Deepl
Join us on the Ecency Discord