ENGLISH VERSION
Hello everyone, today I have the pleasure of posting again in this beautiful #Holozing community, and this time I bring you a digital drawing of the Sea Healer. Without further ado, I'll explain how I made it.
SKETCH
The first thing I did was the sketch, for which I used the graphite pencil brush.

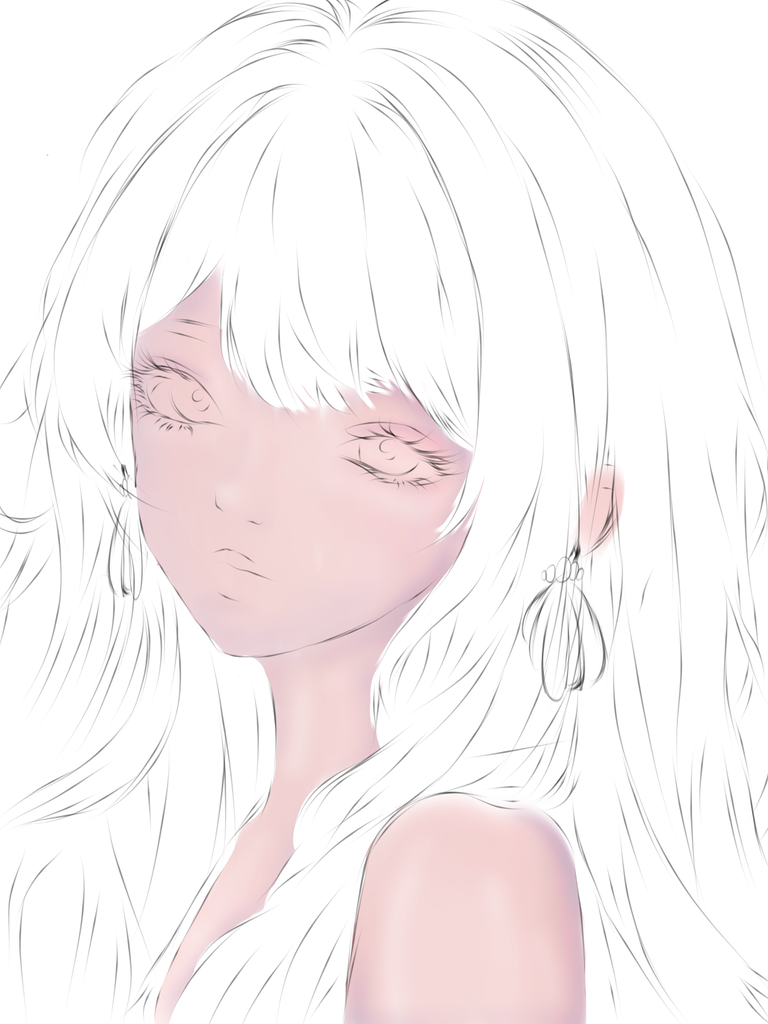
SKIN
To make the skin, I created another layer above the sketch layer and, with the blurred pencil brush, painted the base color. Then, I activated alpha lock on the layer. To create the shadows, I used a normal airbrush. For the base shadow, I used a color just a little darker than the skin color. For the darker shadows, I used pink and blue. Then, with the blur tool, I blurred the shadows for a better finish. In this part of the process, I also shaped the nose with the same brush and the same colors.
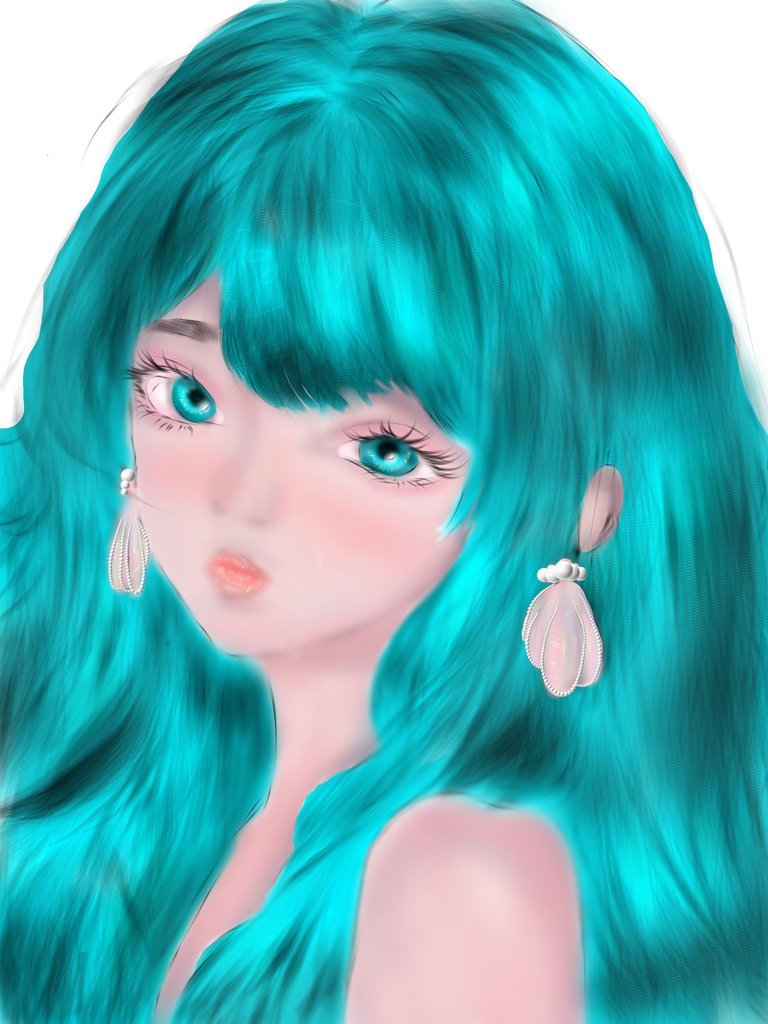
HAIR
For the hair, I created a new layer below the skin layer. I used the Blended Pencil Brush in a sky blue shade for the base, then the Hair Detail 4 by Chris brush to give the hair shape and volume. I recreated the shine with the Hair brush, then to give it more depth, I used the regular airbrush and a dark blue shade to touch up the ends and split ends.

FACE
For the face, I used a new layer above the skin layer. First, I drew the eyes with the Blended Pencil Brush and a white shade to color the sclera. Then, with the regular airbrush and some shades like red, blue, and brown, I added the shadows inside the eyes. For the iris, I used the Blended Pencil Brush again in a sky blue shade, and I added the details on another layer above it with the Flat Watercolor brush and colors like black, white, and light yellow. For the pupils, I used black and white with a smudged pencil brush. I did the eyelashes with the eyelash brush, and the eyelid shadows with the regular airbrush and the same colors as the skin shadow. I did the eyebrows with the Hair brush in a dark blue shade.
The next thing I drew on the face were the lips. I used a pink color for the background, applying it with the smudged pencil brush. Then, with a slightly lighter shade, I drew the edges with this same brush, and with a darker shade, I drew the centers of the lips. Then, with the smudge tool, I smudged the lips. For the lip gloss, I created another layer above this one, and with the flat watercolor brush and the white and yellow colors, I added small touches to simulate the shine.
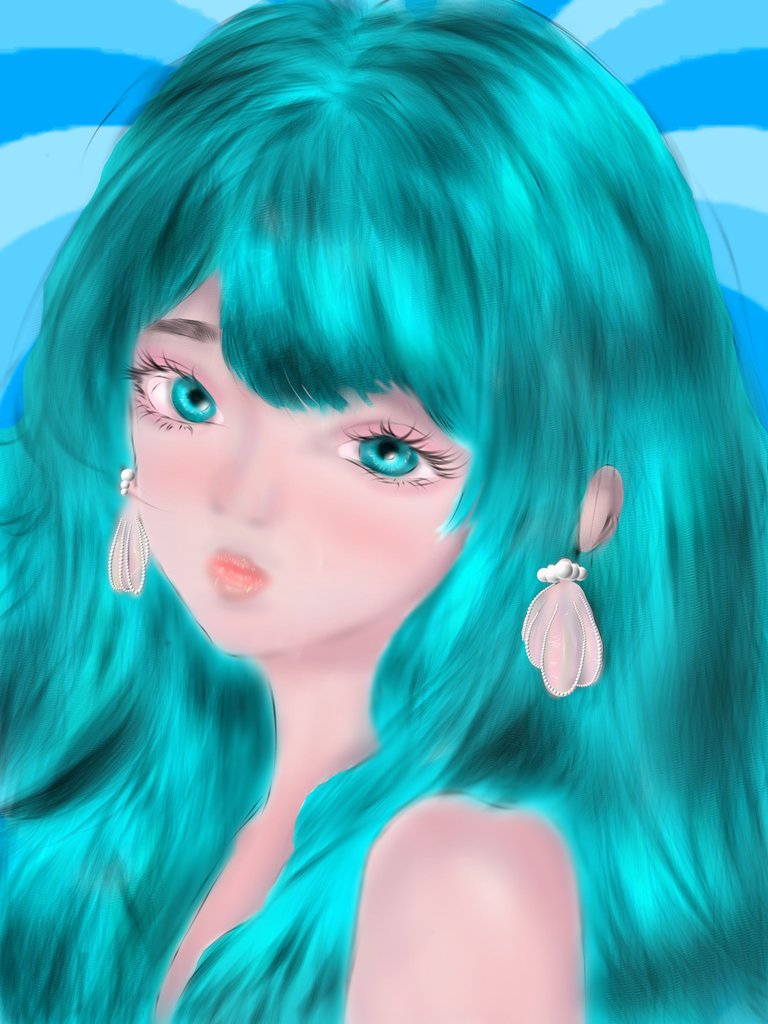
And this was the result of my work. I hope you like it as much as I do. I wish you all a happy, beautiful, and blessed day.
Translated by Deepl.com
VERSIÓN EN ESPAÑOL
Hola a todos hoy tengo el placer de publicar nuevamente en esta hermosa comunidad de # Holozing y está vez les traigo un dibujo digital de la Sanadora del Mar . Sin más preámbulos les explico como lo realicé.
BOCETO
Lo primero que hice fue el boceto para el utilicé el pincel lápiz grafito
PIEL
Para realizar la piel cree otra capa por encima de la capa del boceto y con el pincel lápiz difuminado pinté el color base luego active el bloqueo alfa en la capa para realizar las sombras con el aerógrafo normal para la sombra base tomé un color solo un poco más oscuro que el color de la piel y para las sombras más oscuras utilicé el rosado y el azul luego con la herramienta borrosidad difumine las sombras para un mejor acabado también en esta parte del proceso le di forma a la nariz con el mismo pincel y los mismos colores.
CABELLO
Para el cabello veré una nueva capa por debajo de la capa de la piel y utilicé el pincel lápiz difuminado en un tono azul cielo para la base y luego con el pincel Hair datail 4 by Chris para darle forma y volumen al cabello. Con el pincel Hair recree el brillo del cabello luego para darle más profundidad con el aerógrafo normal y un tono azul oscuro retoque las puntas y divisiones.
ROSTRO
En el rostro utilicé una nueva capa por encima de la capa de la piel lo primero que dibujé fueron los ojos con el pincel lápiz difuminado y un tono blanco le si color a le esclerótica ocular y luego con el aerógrafo normal y algunos tonos como rojo , azul y marrón hice las sombras de adentro de los ojos . Para el iris utilicé nuevamente el pincel lápiz difuminado con un tono azul cielo y los detalles de este los di en otra capa por encima de esta con el pincel acuarela plana y colores como el negro blanco y amarillo claro . Para las pupilas utilicé el color negro y blanco con el pincel lápiz difuminado. Las pestañas las realice con el pincel pestañas y las sombras de los párpados con el aerógrafo normal y los mismos colores de la sombra de la piel , las cejas las estuve realizando con el pincel Hair en un tono azul oscuro.
Lo siguiente que dibujé del rostro fueron los labios utilicé un color rosado para el fondo aplicándolo con el pincel lápiz difuminado y luego con un tono un poco más claro que el tono dibujé los bordes con este mismo pincel y con un tono más oscuro el centro de los labios. Luego con el instrumento borrosidad difumine los labios y para el brillo labial cree otra capa por encima de esta y con el pincel acuarela plana y el color blanco y amarillo di pequeños toques para simular el brillo.
Y este fue el resultado de mi trabajo espero que les guste tanto como a mí. Les deseo a todos un feliz bonito y bendecido día
Traducido por Deepl.com