🔸Sin más que añadir, a continuación los dejo con el paso a paso:
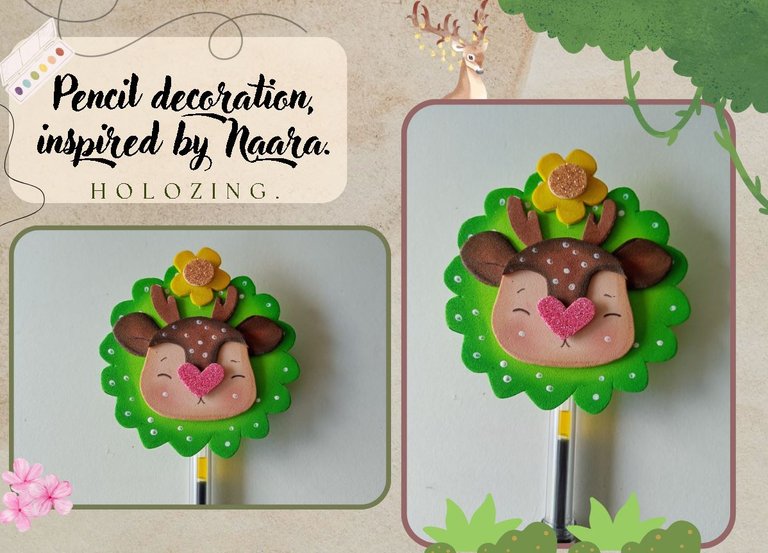
✨Good afternoon, holozing friends!✨ As always, I'm happy to stop by again to share a cute pencil decoration idea, inspired by Naara. This is my second time making a Naara creation; I think the first time it was an organizer, but I didn't really like the result of its face. However, you know that I share new ideas every week, and that helps me improve my creations a lot, so I think this time it turned out cute.
🔸Without more to add, then I leave you with the step by step:
♥️ESPERO QUE TE GUSTE,
¡Empecemos!
♥️I HOPE YOU LIKE IT,
Let's start!

✂️ MATERIALES | ✂️ MATERIALS
- Foami escarchado rosa.
- Foami escarchado dorado.
- Foami marrón.
- Foami amarillo.
- Foami crema.
- Foami verde.
- Pinturas y marcadores.
- Hoja blanca.
- Pegamento.
- Regla.
- Tijeras.
- Lápiz.
- Pink frosted foami.
- Gold frosted foami.
- Brown foami.
- Yellow foami.
- Cream foami.
- Green foami.
- Paints and markers.
- White paper.
- Glue.
- Ruler.
- Scissors.
- Pencil.
✨ PROCEDIMIENTO | ✨ PROCESS
✨ PASO 1:
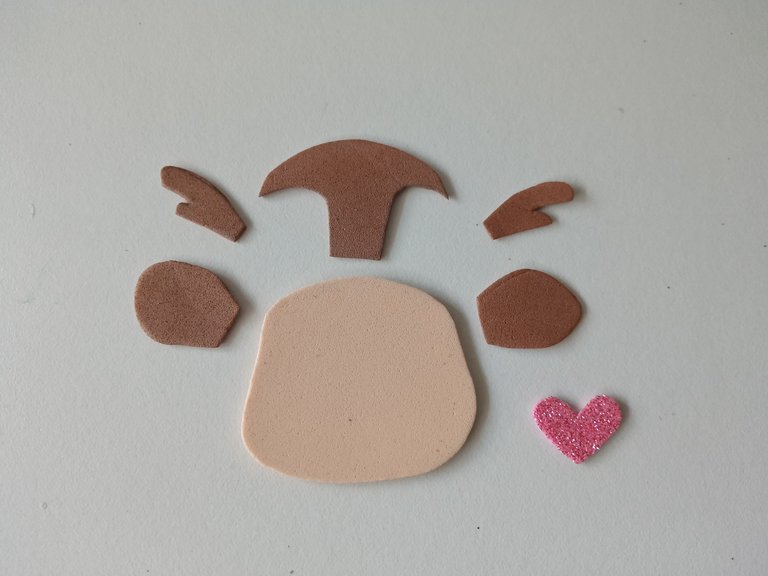
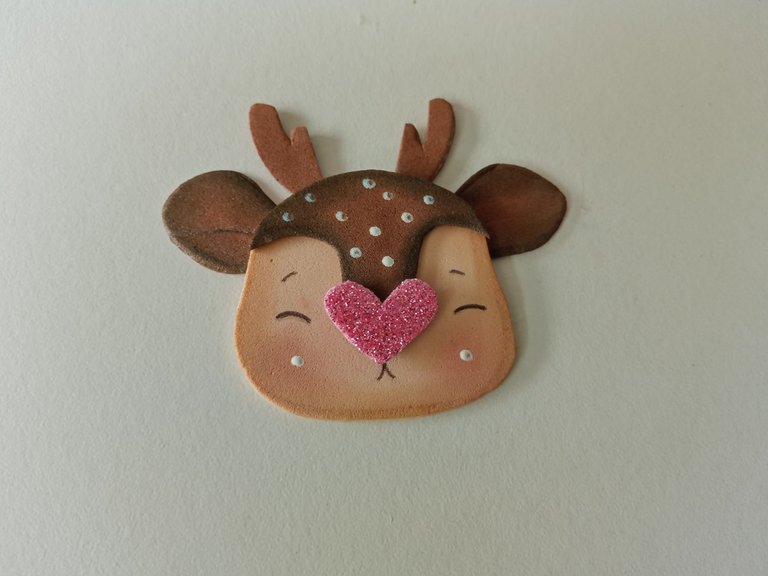
Como siempre, comencé dibujando el diseño de la criatura en una hoja blanca y en esta ocasión, quise elaborar solo la cabeza y que fuera un poco más grande. Además, hice un cilindro con bordes ovalados para la base y un poco de decoración extra con una flor. Al tener el diseño listo, transferí a los colores correspondientes de foami, como explico a continuación:
✨Cabeza de Naara: 4.5 cm x 4 cm en foami crema.
✨Parte superior de la cabeza: 4 cm x 2.5 cm en foami marrón.
✨Orejas: 2 cm en foami marrón.
✨Cuernos: 2 cm en foami marrón.
✨Nariz de corazón: 1.8 cm en foami escarchado rosa.
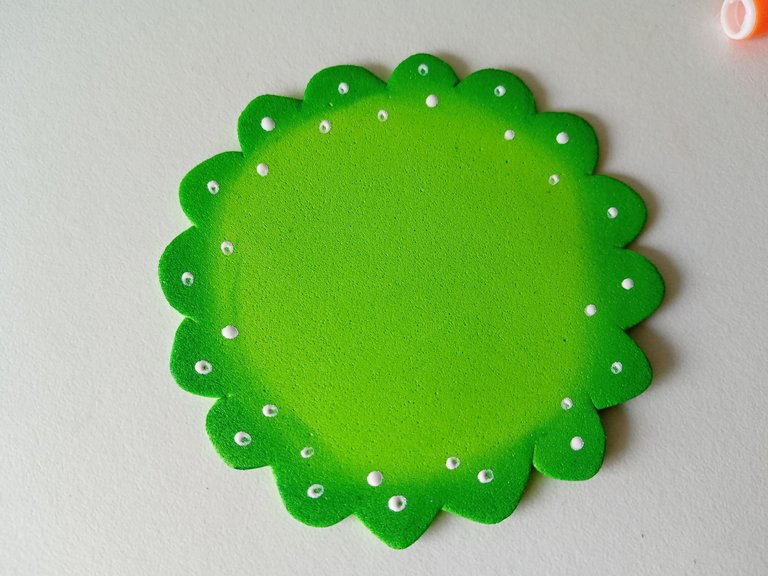
✨Circunferencia con bordes ovalados (fondo): 8 cm en foami verde.
✨Flor: 2 cm en foami amarillo.
✨Parte central de la flor: 1 cm en foami escarchado dorado.
✨ STEP 1:
As always, I started by drawing the creature's design on a white sheet of paper, and this time, I wanted to just make the head and make it a little bigger. I also made a cylinder with oval edges for the base and some extra decoration with a flower. Once I had the design ready, I transferred the corresponding colors of foam, as explained below:
✨Naara's head: 4.5 cm x 4 cm in cream foam.
✨Top of head: 4 cm x 2.5 cm in brown foam.
✨Ears: 2 cm in brown foam.
✨Horns: 2 cm in brown foam.
✨Heart-shaped nose: 1.8 cm in pink frosted foam.
✨Circle with oval edges (background): 8 cm in green foam.
✨Flower: 2 cm in yellow foam.
✨Center of flower: 1 cm in gold frosted foam.

✨ PASO 2:
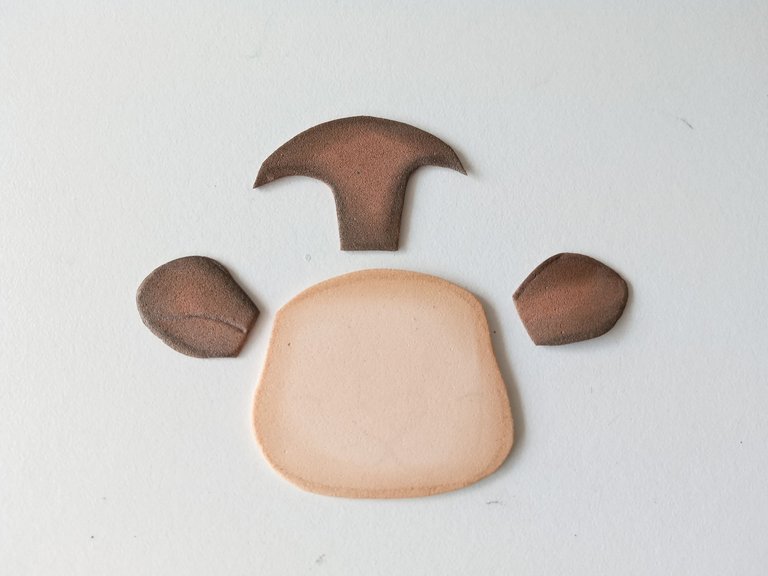
Al estar recortadas todas las piezas, es momento de dar color a los bordes. En esta ocasión, utilicé pintura verde para el fondo circular y para el resto de las piezas, utilicé marcadores. En el caso de la cabeza, utilicé un marcador marrón, en el caso de las piezas marrones utilicé un tono negro y para la flor, un tono mostaza.
✨ STEP 2:
Once all the pieces were cut out, it was time to color the edges. This time, I used green paint for the circular background, and for the rest of the pieces, I used markers. For the head, I used a brown marker, for the brown pieces, I used a black marker, and for the flower, I used a mustard shade.

✨ PASO 3:
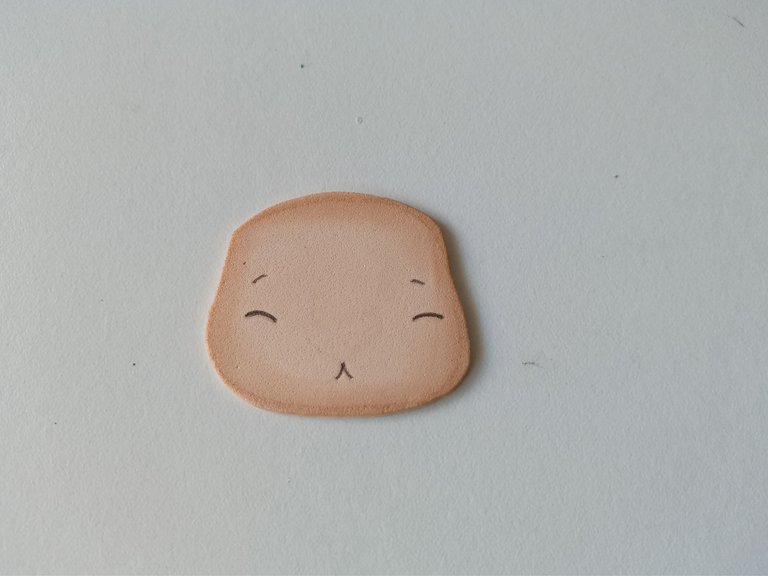
Al estar secas las piezas, comencé a dar más detalles específicos al rostro, como los ojos, cejas y boca. Mientras que, en el caso del fondo, lo que hice fue tomar la pintura blanca y, con la punta de un palito de altura, hice puntos en los bordes.
✨ STEP 3:
Once the pieces were dry, I began adding more specific details to the face, such as the eyes, eyebrows, and mouth. For the background, I took the white paint and, with the tip of a stick, made dots around the edges.
✨ PASO 4:
Luego, comencé a pegar hasta armar a la cabeza de Naara, comenzando por la parte superior de la cabeza, la nariz, las orejas y los cuernos. También, pinté las mejillas con un poco de rubor e hice algunos puntos en las mejillas y en la parte superior de la cabeza.
✨ STEP 4:
Then, I began gluing until I had assembled Naara's head, starting with the top of the head, the nose, ears, and horns. I also painted the cheeks with a little blush and made some dots on the cheeks and the top of the head.

✨ PASO 5:
Al estar secas las piezas, recorté una tira de 4.5 cm × 1.5 cm en foami escarchado dorado, pegué en la parte superior del lápiz o lapicero, seguido de la pieza circular con bordes ovalados, a Naara en medio y en la parte superior, en medio de los cuernos, la flor.
✨ STEP 5:
Once the pieces were dry, I cut a 4.5 cm × 1.5 cm strip of gold frosted foam, glued it to the top of the pencil or pen, followed by the circular piece with oval edges, Naara in the middle and on top, in the middle of the horns, the flower.


 | |
|---|
❤️ Hasta la próxima publicación.
❤️ Until the next post.

Todas las fotografías son de mi propiedad.
Separador y Fotos editadas en Canva
All photographs are my property.
Photos edited in Canva
Posted Using INLEO
Esta muy bello todo te queda muy lindo y tiernl
This is such a fashionable way to decorate our pencils. You replicated Naara so well that it almost looks like “Naara”. You did an awesome job friend, well done and keep the fire burning.
selected by @ibbtammy