
Are you paranoid about these big Tech/AI companies tracking you or your images and you want to AI generate your own images without them?
Are you too cheap to pay for premium and still want to generate images even when the services are bogged down by other users?
Well do I have the solution for you!
What Program are we using?
TLDR version is:
Stable Diffusion with Automatic1111
Long Version:
Stable Diffusion is a massively used open-source (read FREE) image generation Model. Think of a Model as basically a package that really smart people put together to perform a task. There is a Model for like a ChatBot. There is a Model for Image Generation. There are probably hundreds of different Models for Image Generation for we are using the Stable Diffusion Model in this Guide.
Automatic1111 is just a web interface for the Stable Diffusion. So once you have the AI Model setup and running you can use a Web URL to interact with it and generate your images. It is a web URL but that doesn't mean you can access it outside your network. This solution is a locally hosted and locally ran Image Generation system. So it all runs on your Computer and accessible from only your local computer. (Yes you could configure this technically to be accessible outside your network but why?)
Besides Stable Diffusion and Automatic1111 you are going to need Python and Git installed as well.
Requirements
- A dedicated GPU
- It doesn't have to be the latest and greatest but I would recommend any Nvidia RTX 3000 Series or newer.
- A modern CPU
- Again, it doesn't have to be the latest and greatest but something decent at least.
- 20GB of Hard Drive Space
- You will need Git and Python and then all the AI Libraries and such which are roughly 10GB.
That is pretty much it really. You don't need a lot to run this but obviously the better equipment you have the faster the Images will generate.
The best PC option is running Windows with an Nvidia GPU card. Most AI models are optimized for Nvidia GPUs. AMD GPUs are starting to get traction, but expect to jump through hoops to use them. The more VRAM your GPU has, the less trouble you will run into.
You need an Apple Silicon (M1/M2/M3/M4) to run on a Mac.
What To Install?
Follow these steps IN ORDER and you shouldn't have any problems but if you do ask in the comments and I will TRY to help. Or join my Discord for more help (link at the bottom of the article).
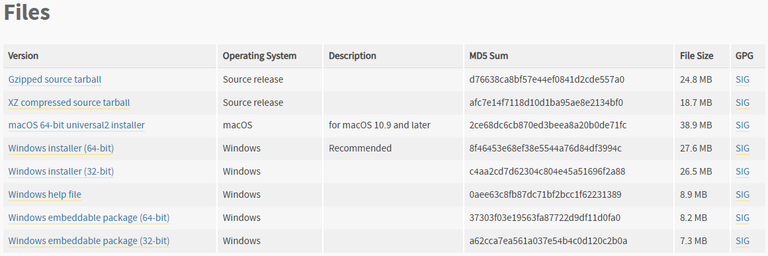
Step 1) Download Python 3.10.6
- Do NOT try to download the latest and greatest version of Python, trust me you will regret it when you have to uninstall it and install the 3.10.6 version lol.
- Go here https://www.python.org/downloads/release/python-3106/ and scroll down and find the one that works for you. I chose the
Windows Installer (64-bit)for my system.
- Once downloaded go through the install. There is 1 thing you HAVE to make sure is checked and that is the "Add Python to PATH" but for me personally that wasn't an option when I went through the initial install.
- What I recommend is run through the initial install. Once it's down run the installer again and select Modify.

- Then select all options on the first page if not already checked.
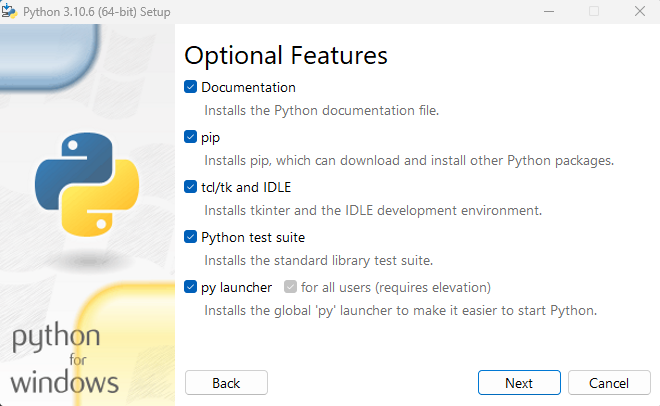
- Make sure to select "Add Python to environment variables"
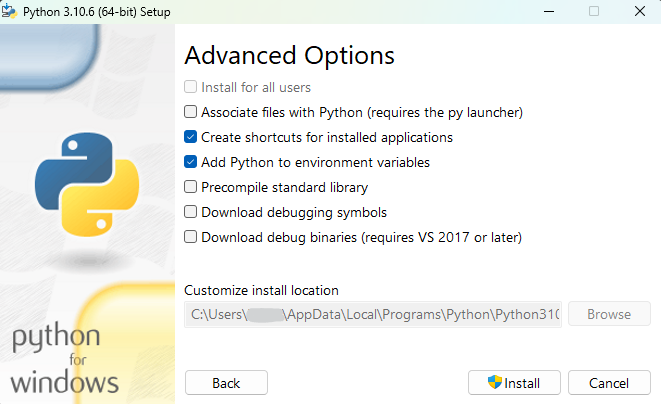
- Then click on Install and let it do it's thing.
- What I recommend is run through the initial install. Once it's down run the installer again and select Modify.
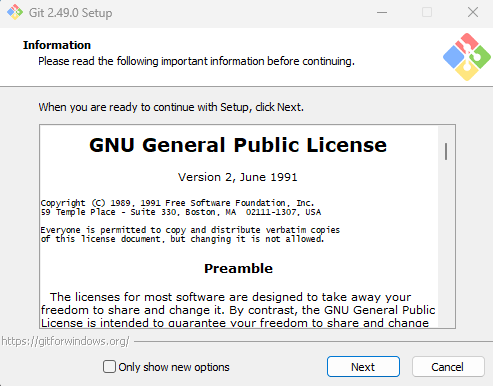
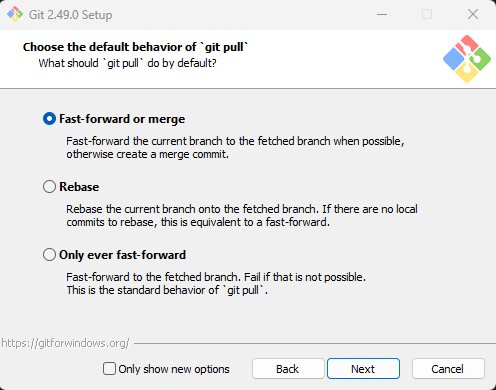
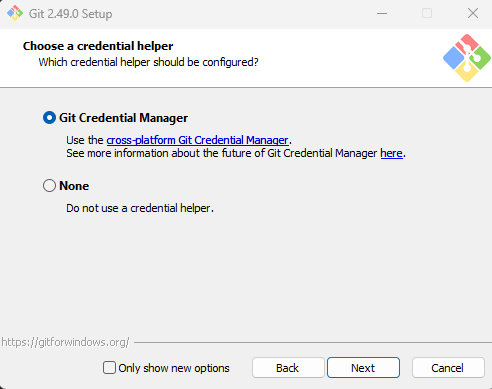
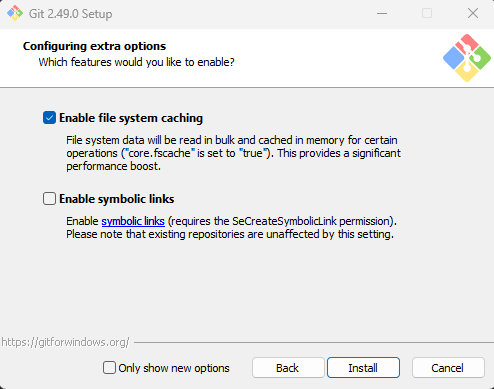
Step 2) Download GIT 2.49.0
- Now we need to install GIT. Why? Because GIT is what will allow us to download the Automatic1111 repository.
- So head here: https://git-scm.com/downloads/win and download GIT.
- I picked the Windows/x64 version
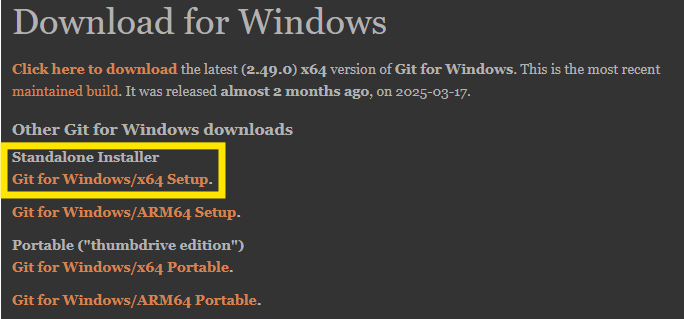
- It is a fairly standard installer as well so just follow the prompts and Next Next Next your way through them.
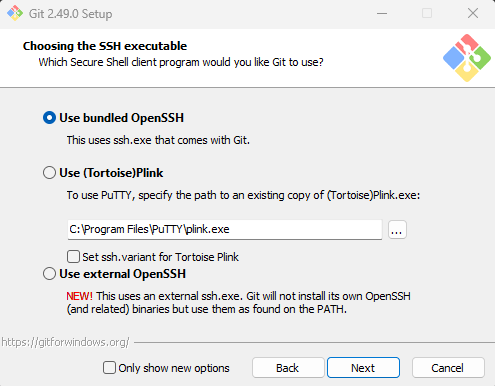
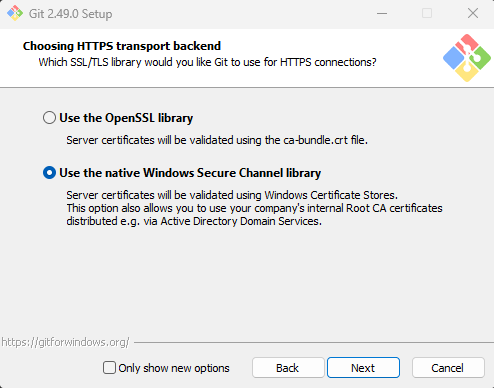
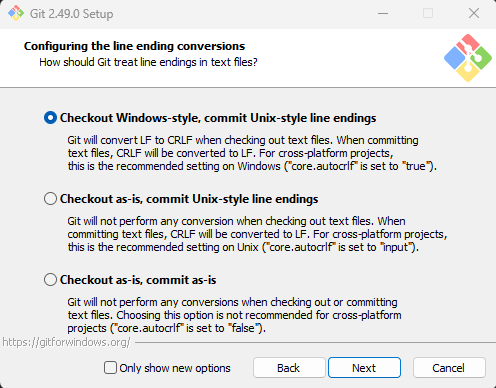
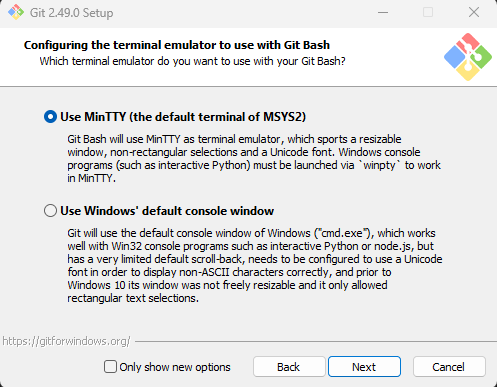
- For reference here are the options I had selected.
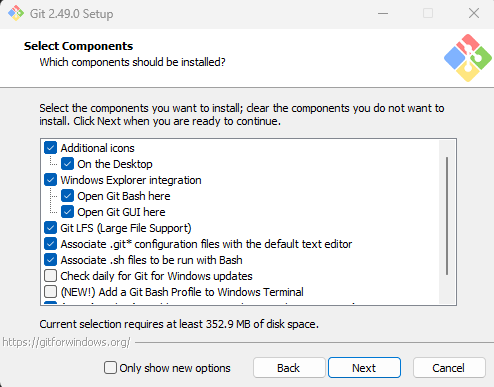 |  | 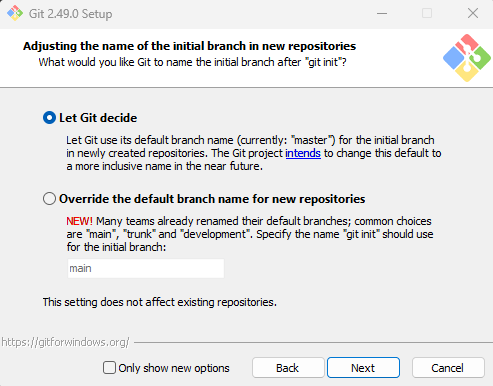 |
|---|---|---|
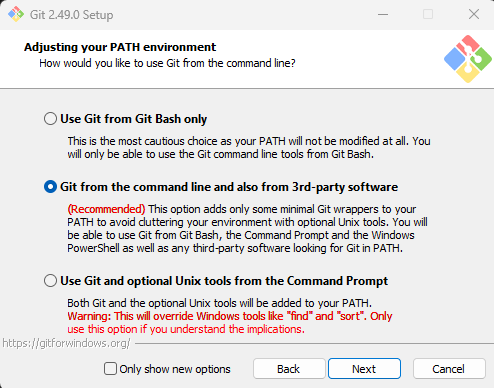 |  |  |
 |  |  |
 |  |
Step 3) Download Automatic1111
- First thing is to create a new folder. I created a folder called
AI Toolson my C: drive.

- Open the folder and while holding the
SHIFTkey right click in the open space and it will bring up more options. SelectOpen PowerShell window here.

- Next you have to run the git command to pull the respository down to your computer.
git clone https://github.com/AUTOMATIC1111/stable-diffusion-webui.git - Let that run and do what it needs to do.
Step 4) Download Stable Diffusion v1.5
- The version I downloaded was v1-5 which you can find here: https://huggingface.co/stable-diffusion-v1-5/stable-diffusion-v1-5/blob/main/v1-5-pruned-emaonly.ckpt
- If you are unfamilar, HuggingFace is basically like a repository for various AI stuff. Although the name is childish and silly, it is a reputable website in the AI DIY community.
- Click on Download and then copy and paste that .cpkt file to your AI Tools folder.
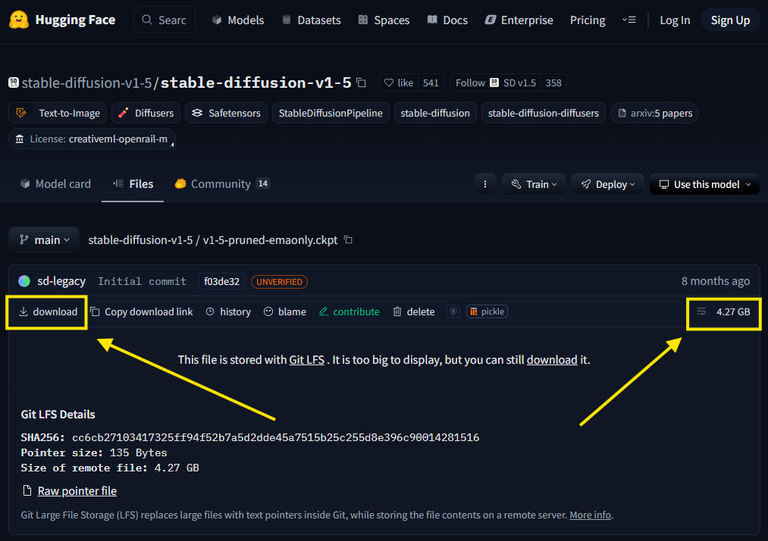
- Specifically put it in the
modulessubfolder. Mine is located at
C:\AI Tools\stable-diffusion-webui\modules
- Specifically put it in the
Step 5) Run your AI Image Generation Tool!
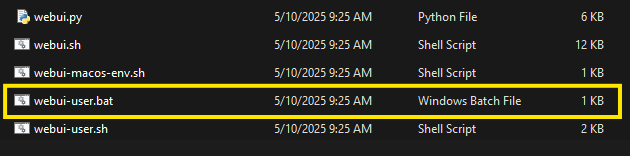
To do this all you have to do is double click on the
webui-user.batfile located in:
C:\AI Tools\stable-diffusion-webui
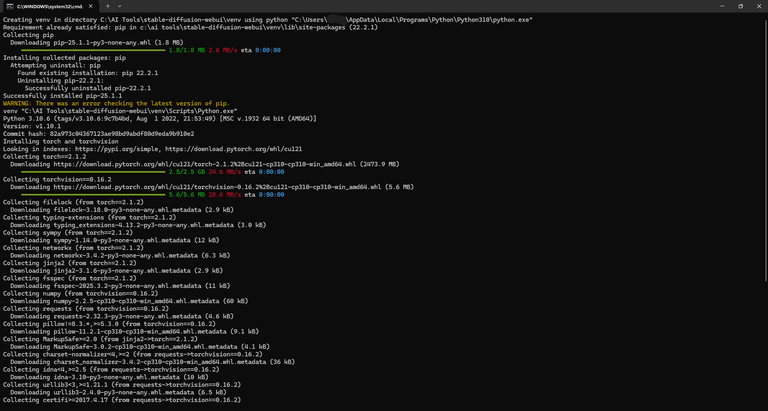
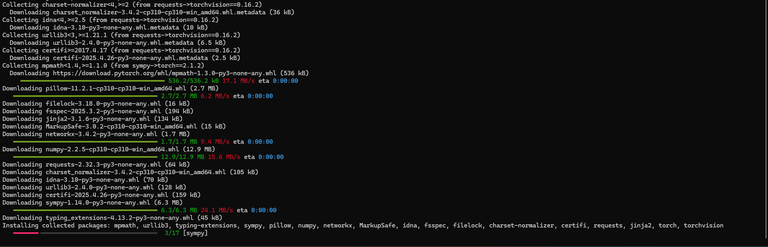
Once you run that for the first time a Terminal window will appear and it will start to download all the other dependencies that are required. Mine took less than 10 minutes to complete so just be patient.

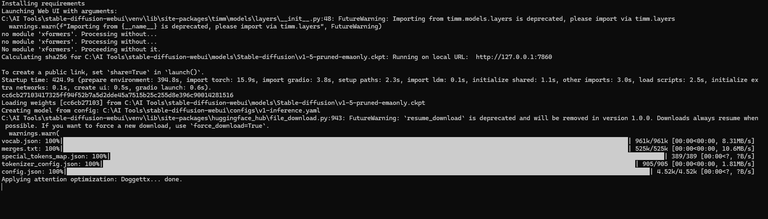
For me once it was completed it automatically opened a new Web Browser tab, but if yours does not then just navigate to http://127.0.0.1:7860/ in your Web Browser of choice!
Generate AI Images!!!
Your Automatic1111 web interface should look like this:

Here is a prompt I gave it. I was curious to test out the default settings by giving a lot of detail but things that don't make sense together.
A Thumbnail Picture for a blog post. 30 year old male typing at a computer. Camera angle is looking over the mans shoulders. Old rustic reclaimed wood desk with a state of the art Desktop Computer with a hologram keyboard that the person is typing on. The Desk in in the middle of a great green plain with flowers and a clear blue sky. It should be a Fantasy style with small magical energy emitting from the computer.
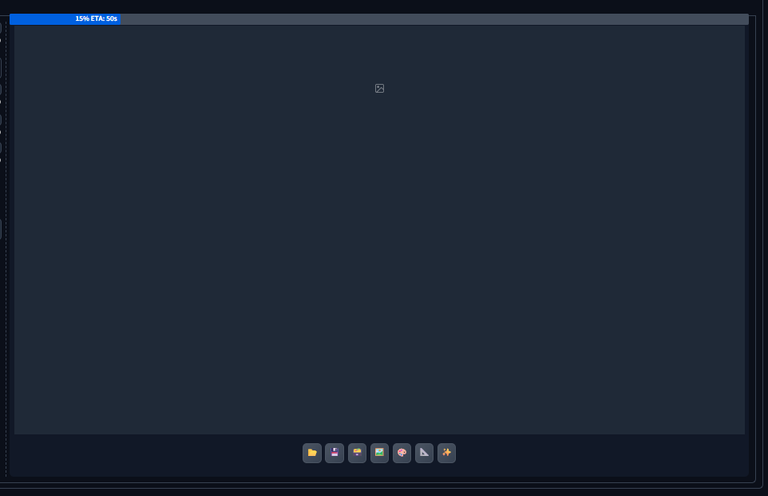
You will see a progress bar as it generates your picture...
And then the final result is...
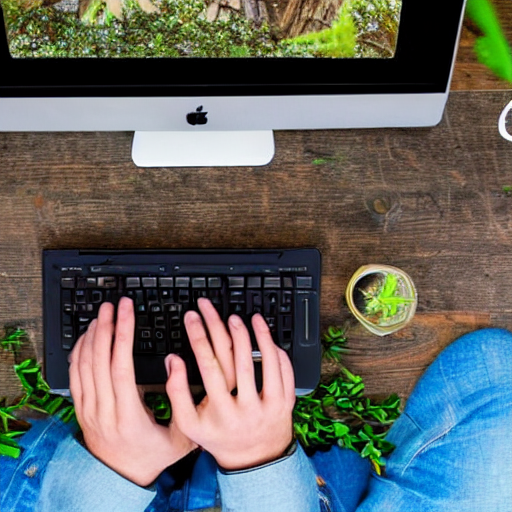
TERRIBLE, that is what it is hahahahaha.
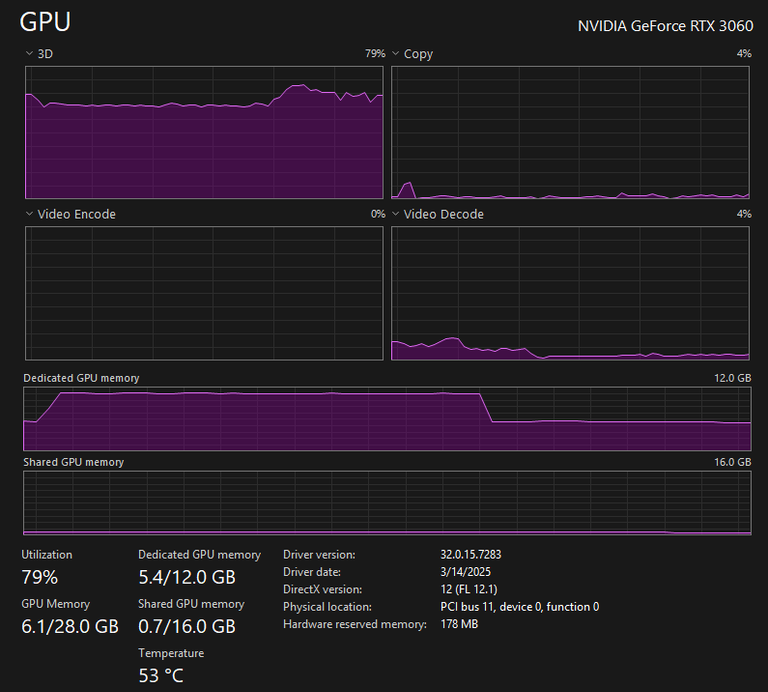
But on the plus side, it barely takes up resources. My CPU/RAM was uneffected and my GPU just spiked some on it's Dedicated RAM but not even by much. I am sure if I had a RTC 5090 the results would be the same but it would just generate MUCH faster!
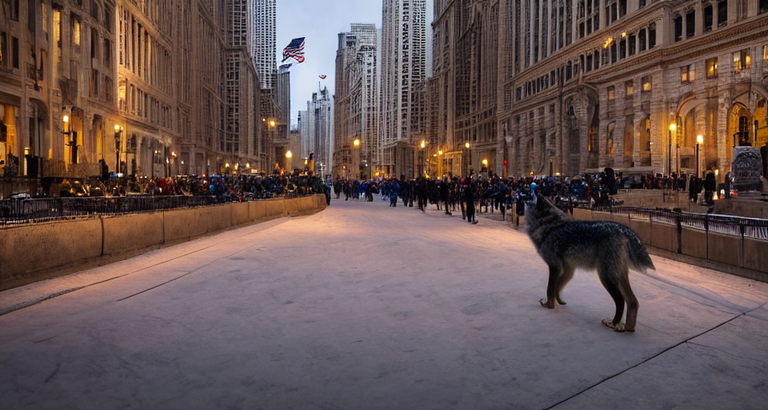
Try #2, we are getting better.
Now let's try giving it a image and then adding prompts to re-invent the image to something else!

BAHAHA this is so bad it's hilarious!
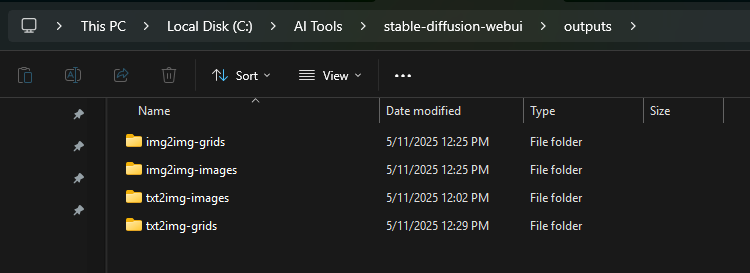
Also every image you generate gets saved to your computer. For my installation they are all saved here C:\AI Tools\stable-diffusion-webui\outputs
Help
You can read more about Stable Diffusion here: https://stable-diffusion-art.com/beginners-guide/
Prompt Guide: https://stable-diffusion-art.com/prompt-guide/
Image size: The size of the output image. The standard size is 512×512 pixels. Changing it to portrait or landscape size can have a big impact on the image. For example, use portrait size to generate a full-body image.
Sampling steps: Use at least 20 steps. Increase if you see a blurry image.
CFG scale: Typical value is 7. Increase if you want the image to follow the prompt more.
Seed value: -1 generates a random image. Specify a value if you want the same image.
Specific Guide to Generating Animals: https://stable-diffusion-art.com/animals/
Img2Img Guide: https://stable-diffusion-art.com/img2img/
That is it folks. That is how you can setup your own AI Image/Video Generator to run locally on your own PC. No Big Brother required!
If you are bored or if you enjoyed this Guide. I wouldn't say no to you voting for my Hive Witness Node or joining my Discord. Click each image below to go to each thing!
 |  |
|---|