Greetings friends, the other day I was thinking about making a pair of charms that looked like aged coins, precisely because I saw around the city some key chains of coins, but of old, rusty coins; there was even a key chain of an oxidized copper coin, with the typical blue color that copper takes when it oxidizes.
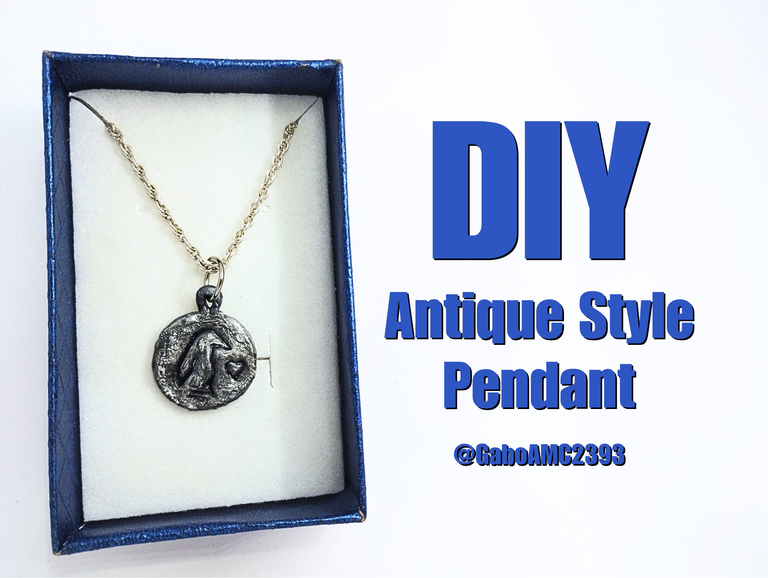
With the idea in mind, I knew that it was just a matter of putting my hands to work and I would achieve something great. That's how this came out, a round pendant, a plate, as if it were an old coin, one of those that were hammered by hand and always had imperfections.
Join me in the creative process of this beautiful pendant.
Español
Saludos amigos, el otro día estuve pensando en hacer un par de dijes que parecieran monedas envejecidas, precisamente porque vi por acá por la ciudad unos llaveros de monedas, pero de monedas viejas, oxidadas; incluso, había un llavero de una moneda de cobre oxidada, con el típico color azul que toma el cobre al oxidarse.
Con la idea en mente, sabía que solo era cuestión de poner manos a la obra y lograría algo genial. Así fue como salió esto, un dije redondo, plato, cómo si fuese un antigua moneda, de las que eran martilladas a mano y siempre quedaban con imperfecciones.
Acompáñenme en el proceso creativo de este hermoso dije.
Step by step
First I will mention the materials I used for this charm:
- Flexible dough
- Wire
- Paint
- Glue
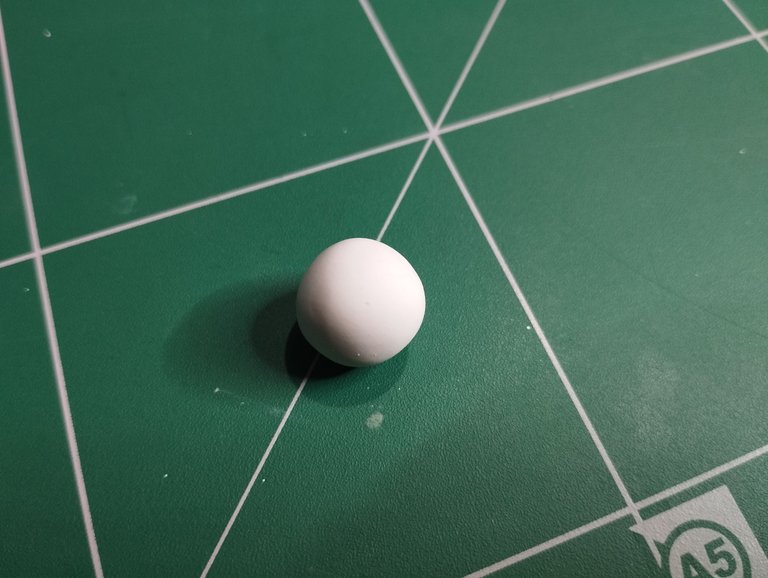
The flexible dough, although it looks like plasticine when it is wet, is a good material for molding and making durable pieces, because it dries out in the open air after a while.
With this material I started making a small sphere.
Paso a paso
Primero les mencionaré los materiales que utilicé para este dije:
- Masa flexible
- Alambre
- Pintura
- Pegamento
La masa flexible aunque parece plastilina cuando está húmeda, es un buen material para moldear y hacer piezas duraderas, pues está se seca al aire libre después de un tiempo.
Con este material comencé haciendo una pequeña esfera.
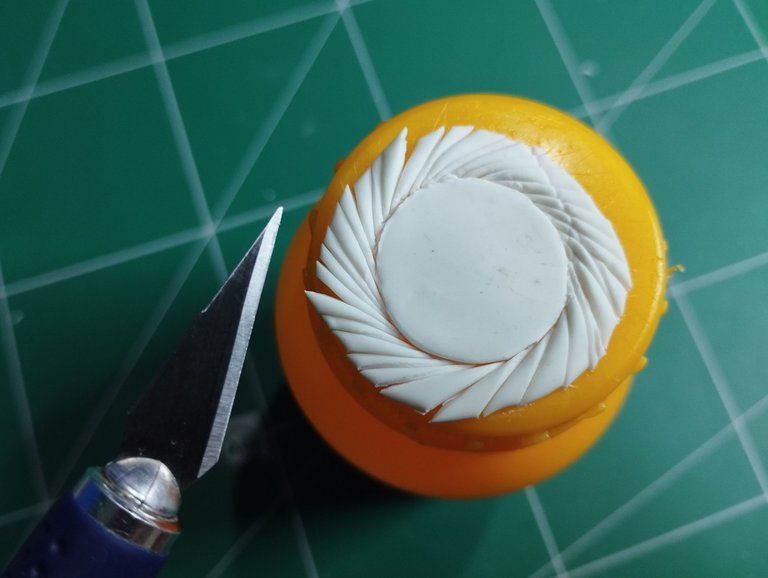
Here you can use any tool that can be used to flatten the sphere of flexible dough and give it a circular shape, as you can see in the image below.
In my case I used the flattened and rounded part of a spool of thread, with this I pressed the sphere and this is how it turned out.
Aquí pueden usar cualquier herramienta que sirva para aplastar la esfera de masa flexible y que quede con una forma circular, como pueden ver en la imagen de abajo.
En mi caso yo usé la parte aplanada y redondeada de un carrete de hilo, con esta presioné la esfera y así quedó.

Since the piece was left with an edge that I didn't need, I used the sharp end of the cutter and started making these diagonal cuts around the circle I had made so that it would hold its shape.
Como la pieza quedó con un borde que no necesitaba, usé la punta afilada del cutter y comencé a hacer estos cortes en diagonal alrededor del círculo que había hecho para que este mantuviese la forma.
I let it dry a bit and then carefully removed all the edge I had previously cut off.
Although there were some imperfections left on the edge around the circle, with the cutter I removed them, leaving it in the best rounded shape I could.
Dejé que secara un poco y entonces retiré con cuidado todo el borde que había cortado anteriormente.
Aunque quedaron algunas imperfecciones en el borde alrededor del círculo, con el cutter los eliminé, dejándolo de la mejor forma redondeada que pude.

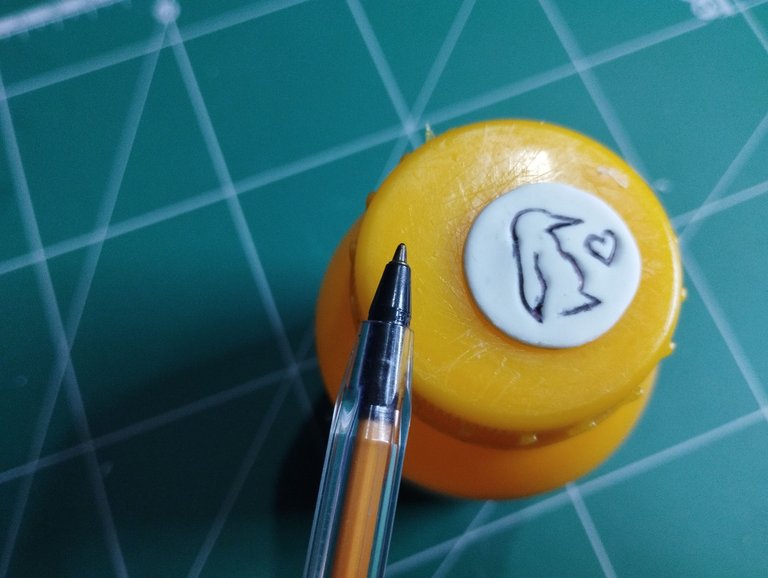
After I had my round charm, I wanted to make a drawing on it, so it wouldn't be so flat.
So I took a marker pen and made what would be a symbol similar to a penguin, with a heart on one side. Since the marker has a rounded tip, this helped me to create a sort of simple penguin bas-relief.
Después de que ya tenía mi dije redondo, quise hacer un dibujo en este, para que no fuese algo tan plano.
Por eso tomé un rotulador e hice lo que sería un símbolo similar al de un pingüino, con un corazón a un lado. Cómo el rotulador tiene una punta redondeada, esto me sirvió para crear una suerte de bajorrelieve sencillo de pingüino.
The next thing I did was to make a small wire ring covered with flexible dough, to glue on the top of the charm.
Lo siguiente que hice fue hacer un pequeño aro de alambre cubierto de masa flexible, para pegarlo en la parte superior del dije.

Once the material was dry, it was time for the painting process. I started with a black background as a base, which would paint the lines black so I could then apply the other color.
Una vez que secó el material, llegó la hora del proceso de pintado. Comencé con un fondo negro como base, lo cual pintaría las líneas de negro para luego poder aplicar el otro color.

One way to leave a rustic relief, with some bubbles and such, is to apply a thick layer of paint, in this case silver paint.
I applied it around the black lines, covering the entire top of the pendant. Once everything is covered, the secret is to place the piece in an oven for a couple of minutes, this will make the paint dry and create small bubbles.
Una manera de dejar un relieve rústico, con algunas burbujas y demás, es aplicar una gruesa capa de pintura, en este caso pintura plateada.
La apliqué alrededor de las líneas negras, cubriendo toda la parte superior del dije. Una vez cubierto todo, el secreto es colocar la pieza en un horno por un par de minutos, esto hará que la pintura se seque y se creen unas pequeñas burbujas.
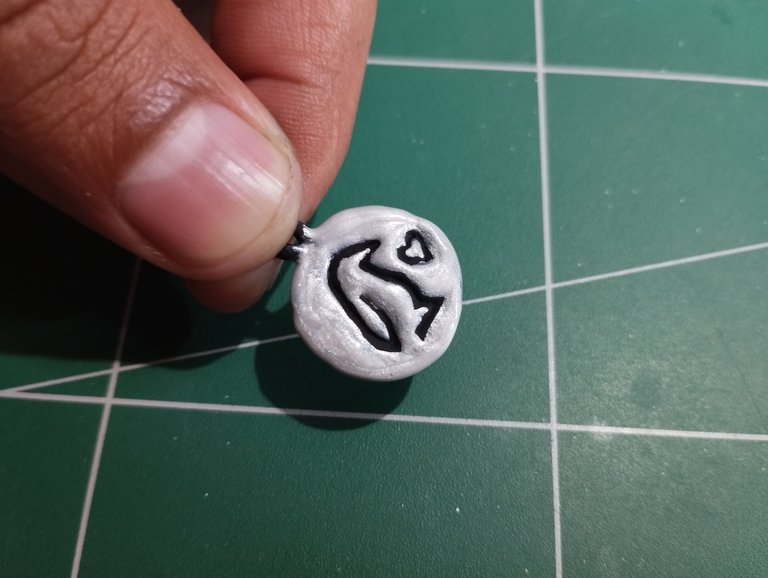
After it dries, do the same on the other side and apply other coats of silver paint, using the dry painting technique, the same with black to give more depth to the relief. The last thing was to apply a couple of coats of glue to protect.
Después que seque se hace lo mismo por el otro lado y se aplican otras manos de pintura plateada, aplicando la técnica de pintado en seco, lo mismo con negro para dar más profundidad al relieve. Lo último fue aplicar un par de capas de pegamento para proteger.

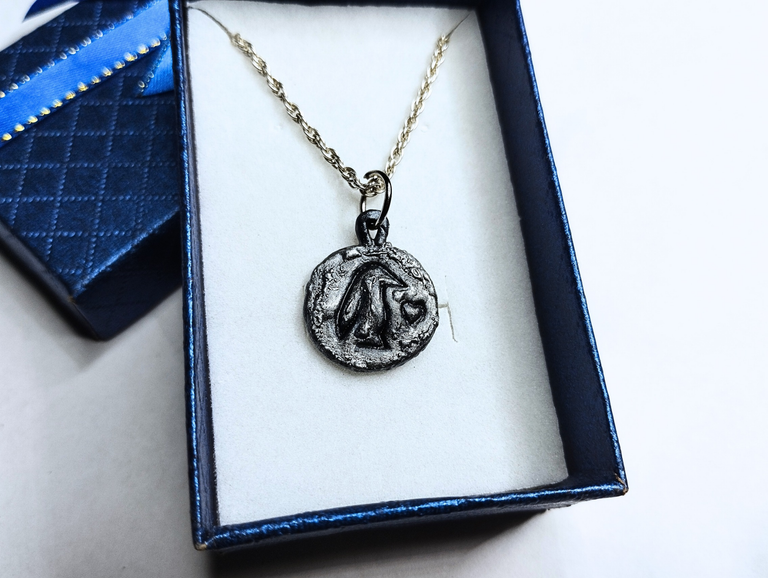
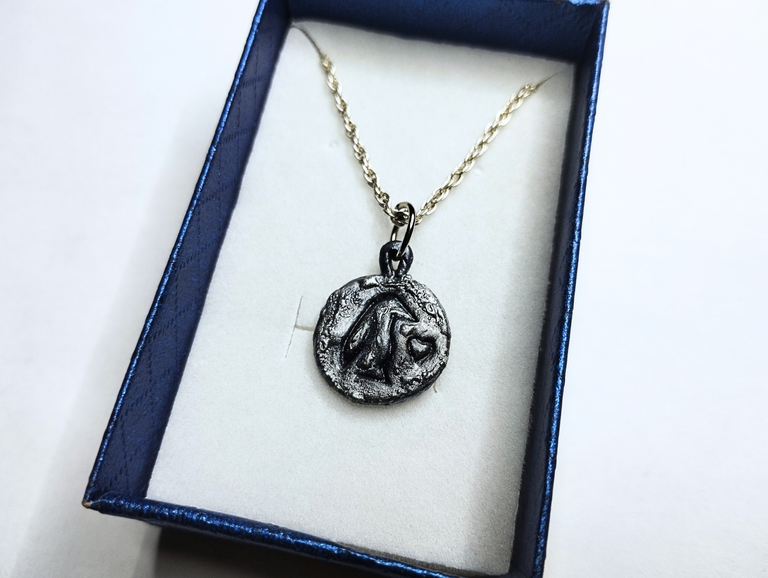
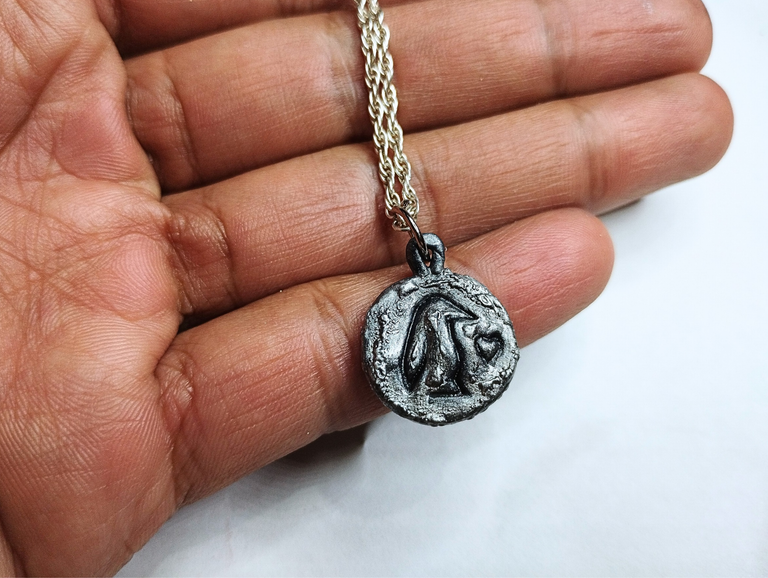
This way the pendant was finished. Below you can see a series of pictures of the final result:
De esta manera el dije quedó terminado. A continuación pueden ver una serie de fotografías del resultado final:

Well friends, that's all for now. I hope you liked what I said. I invite you to leave your opinions below in the comments, as always I will be happy to read them. With nothing more to add I'll say goodbye then...
See you next time!
Bien amigos, esto ha sido todo por ahora. Espero que mi dije les haya gustado. Los invito a dejar sus opiniones abajo en los comentarios, como siempre estaré encantado de leerlos. Sin más que agregar me despido entonces...
¡Hasta la próxima!

Sencillo pero muy llamativo. Destacó también la forma de presentarlo, excelente
Pues la magia está en los detalles amiga.
Saludos. Cuídate.😊
Pues esa era la idea al hacerlo, que pareciera una moneda vieja, si crees que me quedó bien pues muchas gracias.
Ay! Yo quiero, qué bello!!! Cuantas ideas con este material tan versatil, amé tu técnica, quiero aprenderla, quien fue la que pidio el pinguino? jajajajaja Yo quiero mi tuqueque
Dayana fue la que me pidió el pinguino, ahora voy por un todopoderoso tuqueque jajaja
!discovery 30
Hola! Gracias por el apoyo!
This post was shared and voted inside the discord by the curators team of discovery-it
Join our Community and follow our Curation Trail
Discovery-it is also a Witness, vote for us here
Delegate to us for passive income. Check our 80% fee-back Program
Excelente trabajo. Saludos
Gracias. Saludos.
@gaboamc2393 Saludos apreciado amigo, expectacular trabajo, excelente..un fuerte abrazo.
Gracias gracias, me alegra que te haya gustado. Saludos cordiales y un abrazo también.
Ooohh que bonito! No conocía esa técnica con el horno, gracias por compartirlo😊✨
Hay mil y un técnicas de trabajo que desconocemos, me alegra que hayas leído y comentado mi post. Muchas gracias.