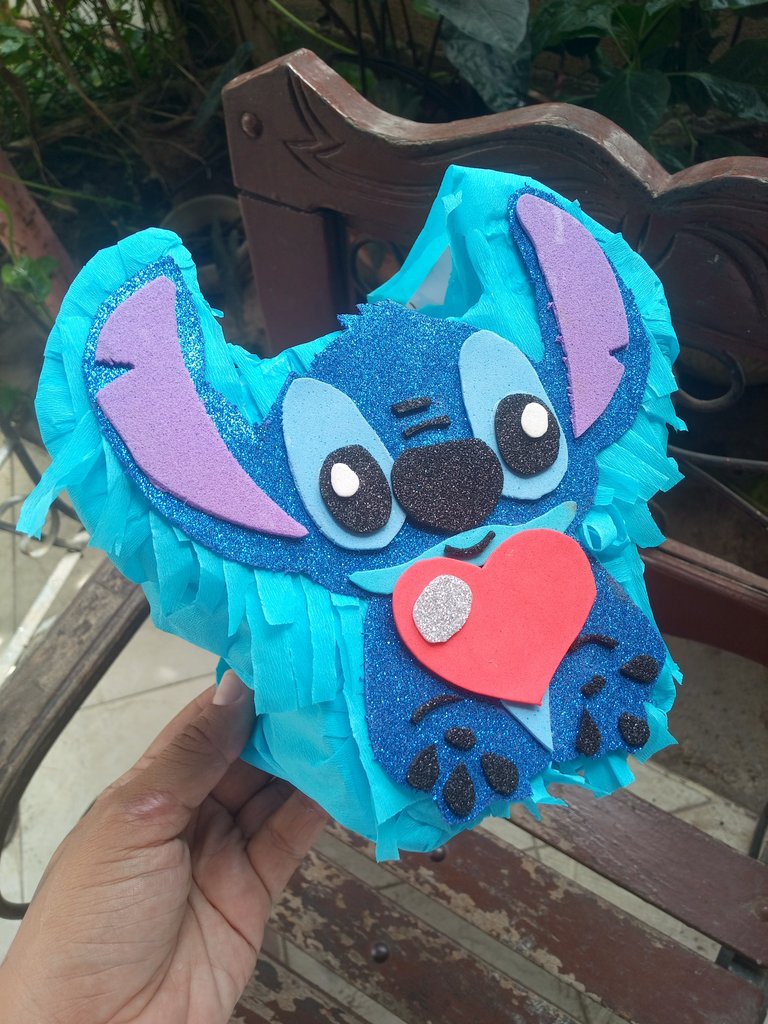
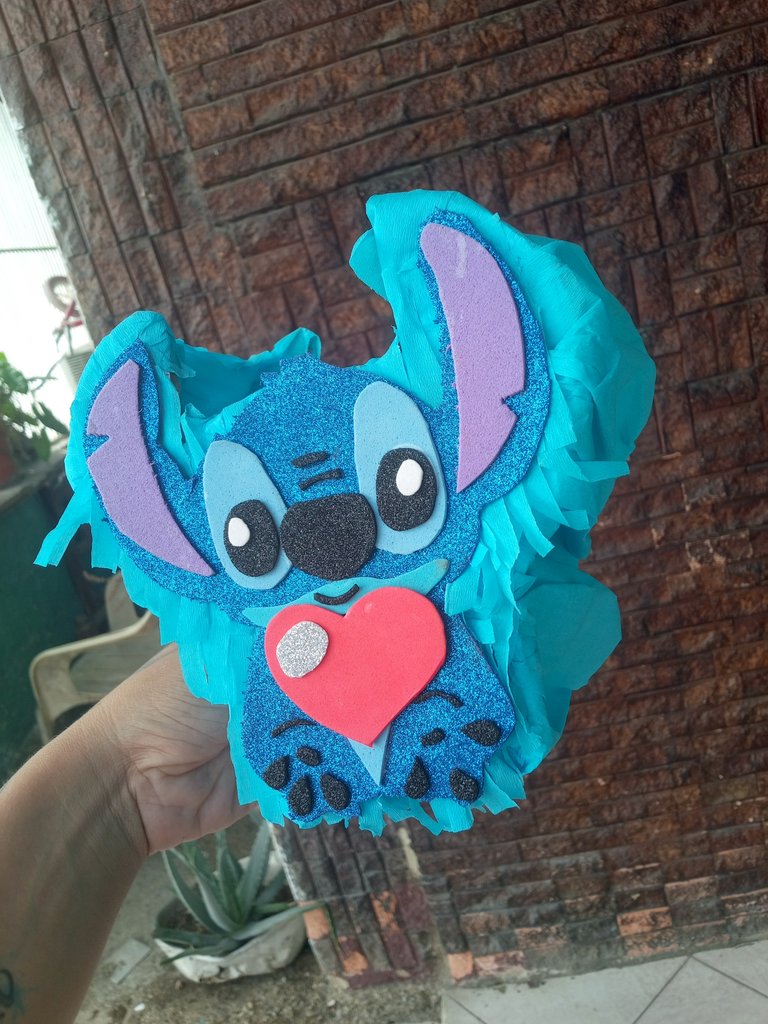
Buenas buenas! Cómo siempre qué puedo con alegría por aquí de poder compartir mis cositas qué hago día a día, está vez les vengó a enseñar un encargó qué tuve de una mini piñata de Stitch, sabemos qué últimamente está muy popular por su estrenó de la película, aunque sinceramente aún no la e ido a ver jeje 🤭
Hello hello! As always, I'm happy to share my daily work here. This time I'm here to show you an order I had for a mini Stitch piñata. We know it's been very popular lately because of the movie's release, although honestly, I haven't been to see it yet, hehe 🤭
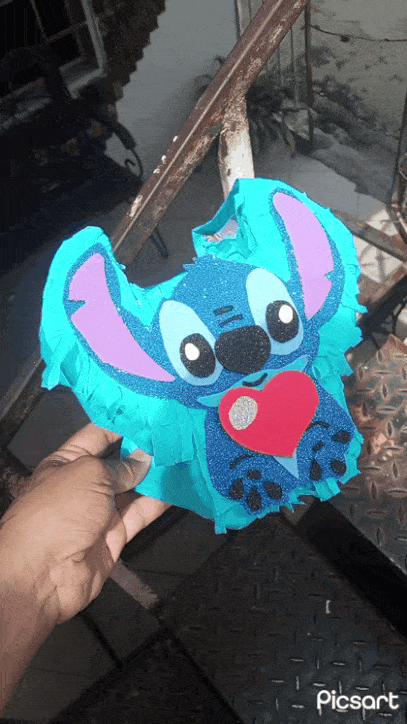
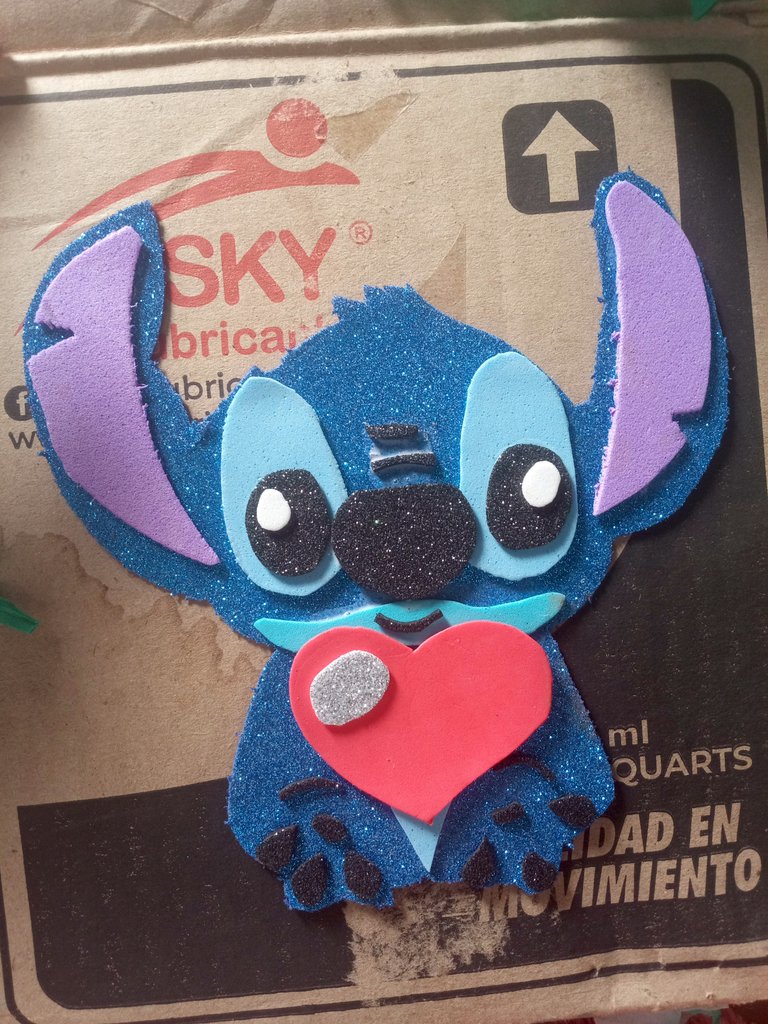
¿Que tal me quedo?
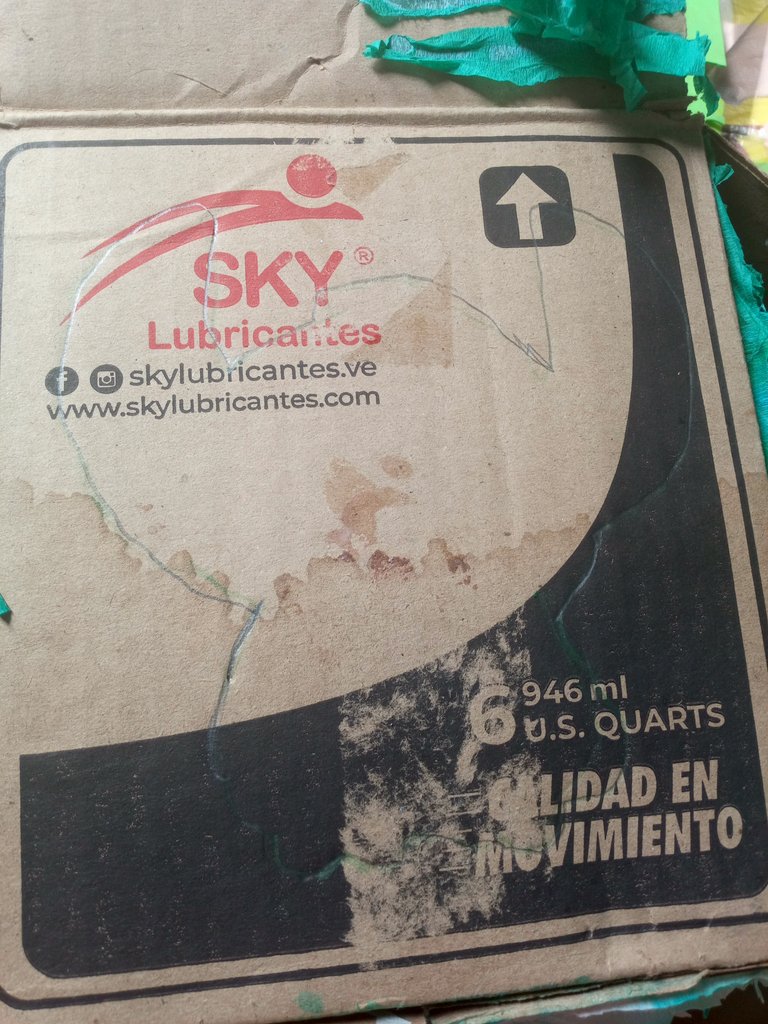
Los materiales que utilicé primero pará hacer la figura en foamis fueron
The materials he first used to make the foam figure were
- Foami azul escarchado
Frosted blue foami
- Foami azul claro
Light blue foami
- Foami negro escarchado
Frosted black foami
- Foami rojo
Red Foami
- Foami Blanco
White Foami
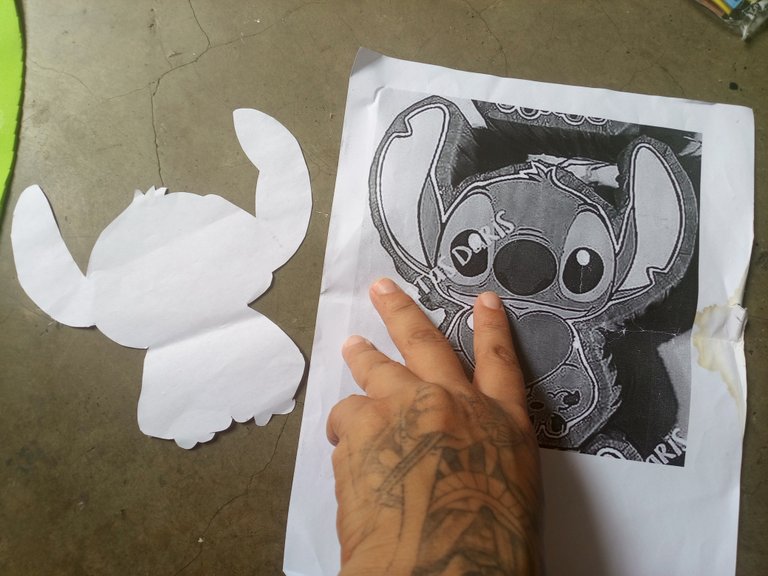
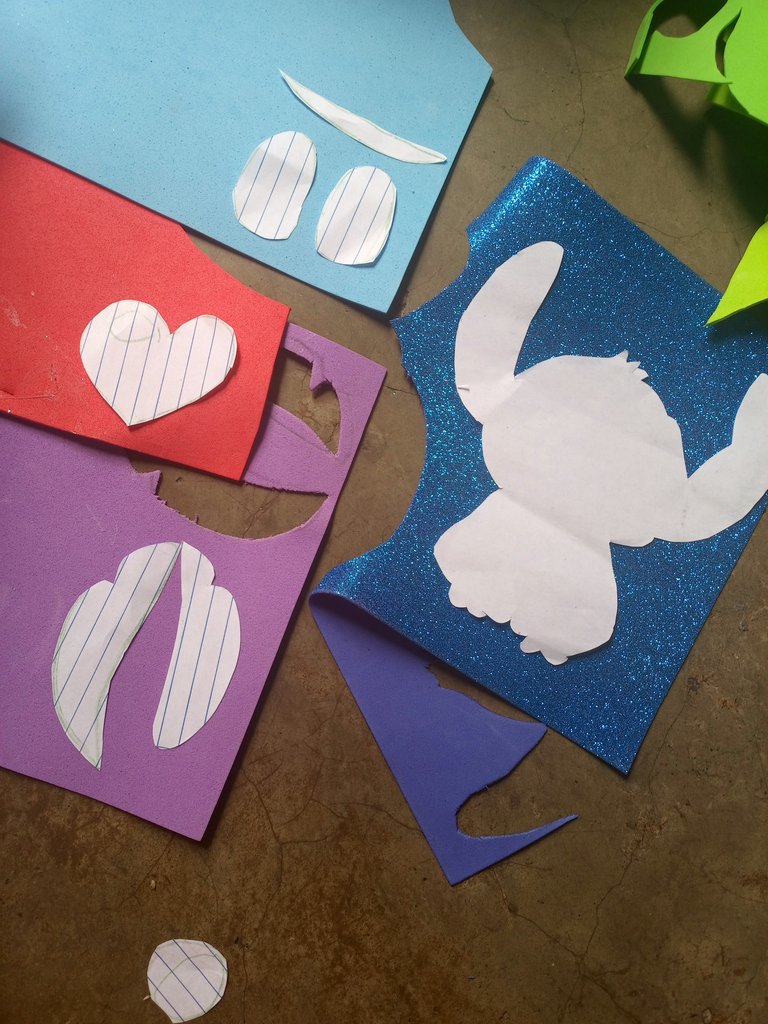
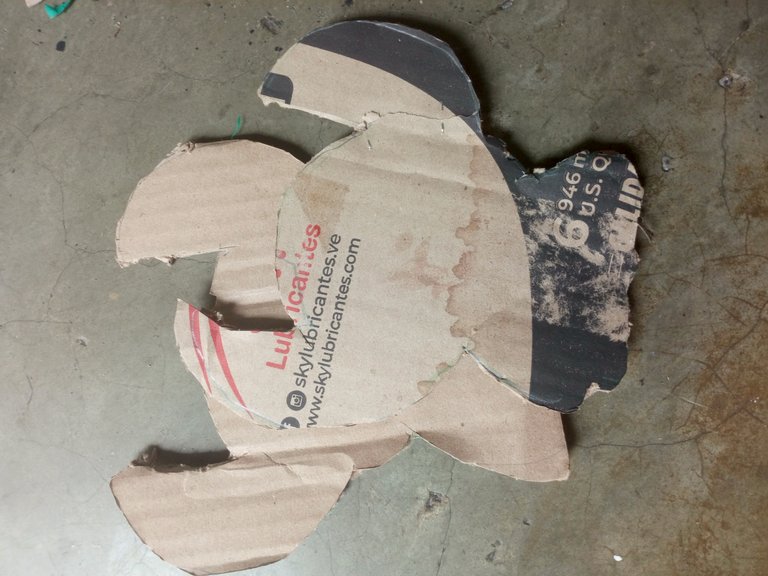
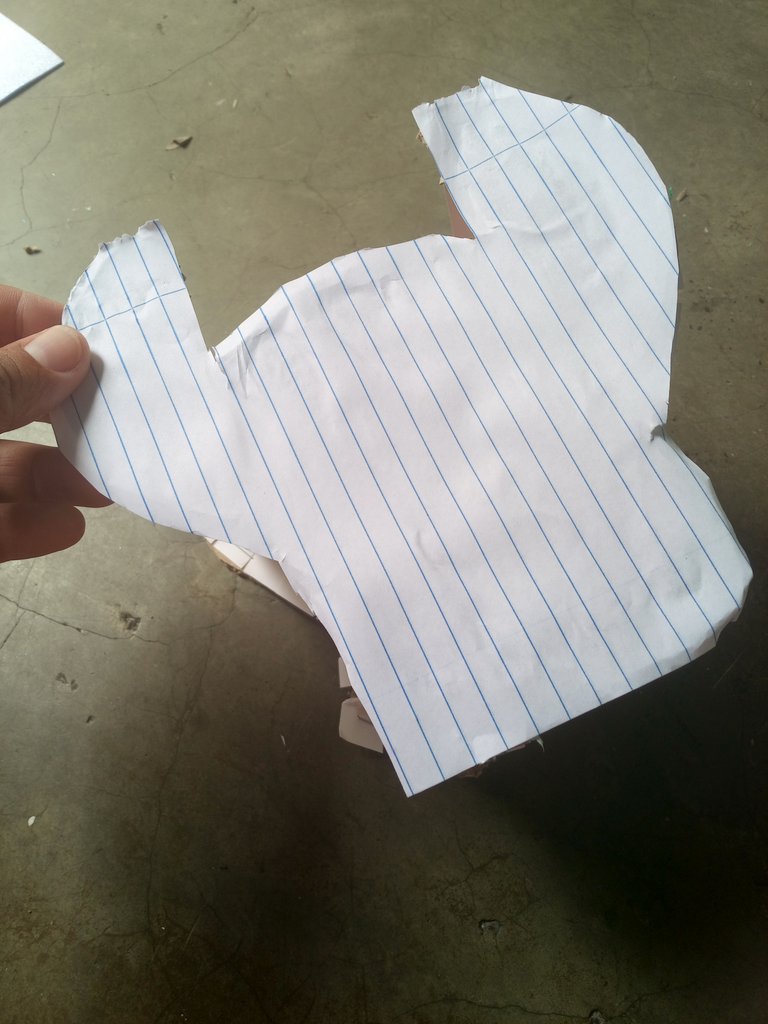
Para comenzar lo primero qué tube qué ir hacer fue sacarle copia al modeló qué me habían pedido y de la imagen saqué por partes los moldes qué iba a necesitar
To start, the first thing I had to do was make a copy of the model they had asked me for and from the image I took the parts of the molds I was going to need.
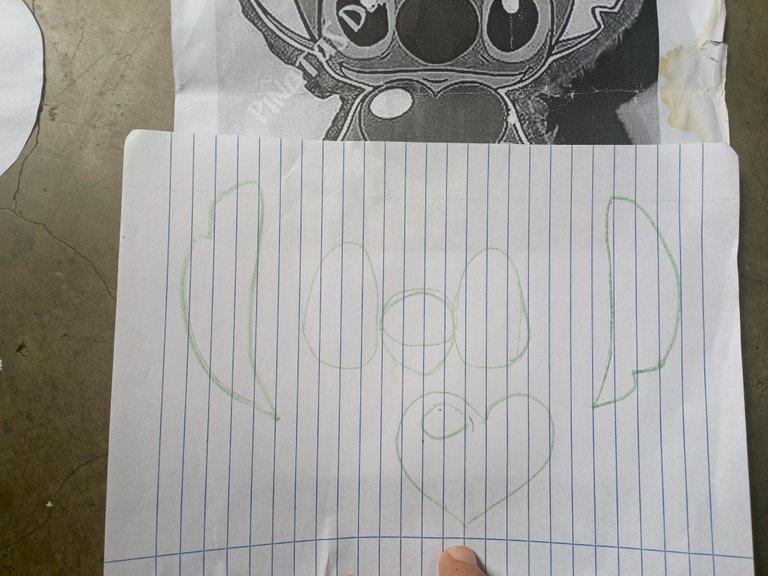
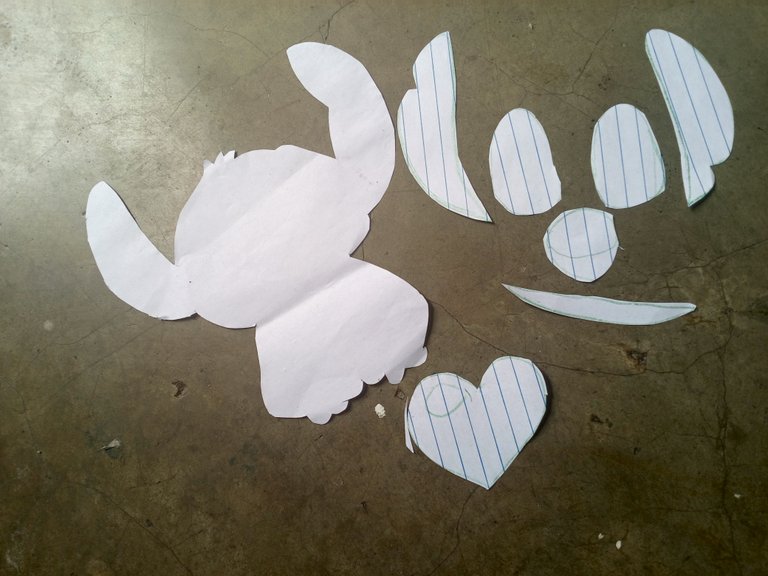
Coloqué cada molde sobré el foami correspondiente qué iba a realizar él recorté
I placed each mold on the corresponding foam that I was going to make and cut out
Once you have the cuts made, you just start assembling according to what you saw in the image of the initial model
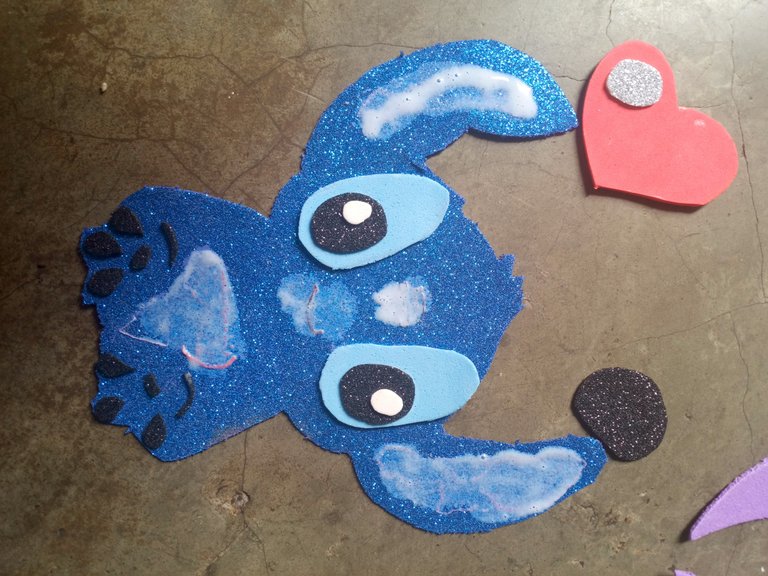
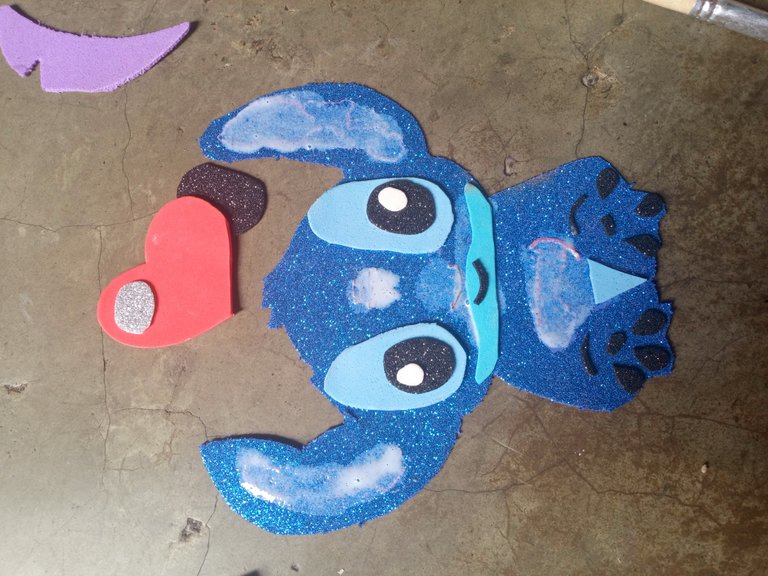
Fui armándolo y encajando cada pieza en su sitio
I was putting it together and fitting each piece into its place.
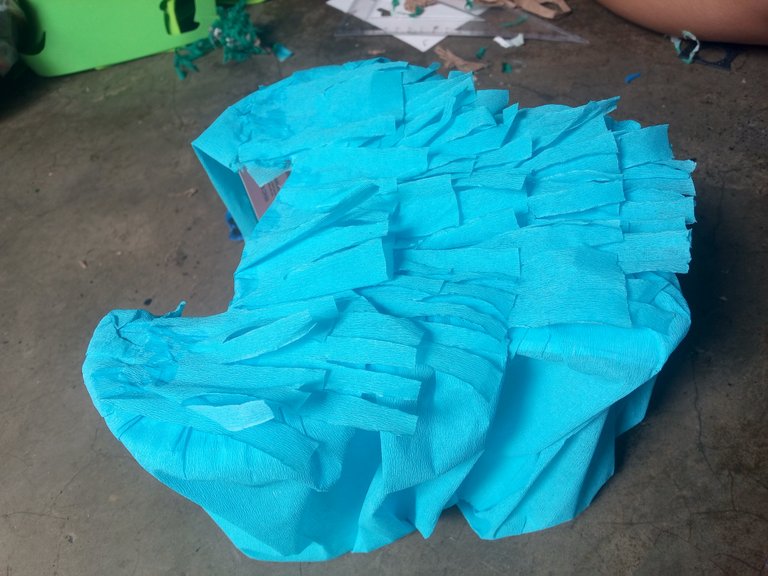
Para la basé de la Mini piñata digamos, lo común qué suelo explicar con las anteriores piñatas qué e subido, solo es recortar el molde deseado, recortar una tira de la medida deseada y grapar de cada lado
For the base of the Mini piñata, let's say, the usual thing that I usually explain with the previous piñatas that I have uploaded, is only to cut the desired mold, cut a strip of the desired size and staple on each side
Ya teniendo la base echa forre sus lados frontales con papel eso ayuda a qué el papel se vea con un buen tono de color
Once you have the base made, cover its front sides with paper. This helps the paper to look a good color tone
Forré sus lados,midiendo primero más o menos donde se iba a ubicar el Stitch
Once you have the base made, cover its front sides with paper. This helps the paper to look a good color tone

En su parte delantera forre con un corte sencillo y pegué la figura del Stitch
On the front I lined it with a simple cut and glued the Stitch figure
Que precioso trabajo❤️
Ha quedado muy hermosa, un excelente trabajo 👍🏻
Wow! So much creativity in one craft. You made a lovely piñata and it does look like the real Stitch. Awesome job friend, thanks for walking us through the process.
selected by @ibbtammy
Que tierno ideal para la fiesta de los niños ....muy buen trabajo...gracias
I love this mini piñata, it is very pretty.🤗
This is really creative my friend
I am not good at crafting of any form, and do I appreciate those who are good at it. It was nice coming across your post
que bonito y creativo!
how beautiful and creative!